
Related Manuals for Caple DD935BK


Summary of Contents for Caple DD935BK
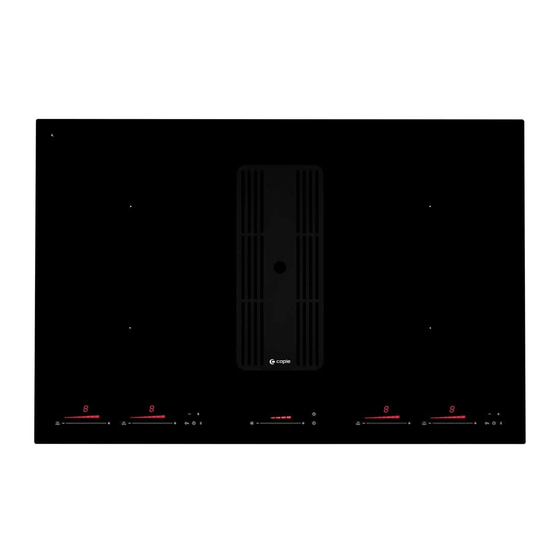
- Page 1 Downdraft induction hob instruction manual DD935BK Contact Caple on 0117 938 7420 or for spare parts www.caple.co.uk...
-
Page 2: Table Of Contents
CONTENTS WARNINGS SAFETY WARNINGS ENVIRONMENTAL PROTECTION INSTALLATION INSTRUCTIONS POSITIONING VENTILATION INSTALLATION ELECTRICAL CONNECTIONS COOKWARE HOB INSTRUCTIONS DOWNDRAFT INSTRUCTIONS CLEANING AND MAINTENANCE TROUBLESHOOTING Please keep this instruction manual for future reference Instruction manual DD935BK... -
Page 3: Warnings
- Children shall not play with the appliance. Please keep this instruction manual for future reference Instruction manual DD935BK... - Page 4 - The hob is hot during use and remains so for some time after being switched off. The risk of burns remains until the residual heat indicators have gone out. Please keep this instruction manual for future reference Instruction manual DD935BK...
-
Page 5: Safety Instructions
- Do not ever change or try to change the characteristics of this appliance. This would be a danger. Repairs must be performed only by an authorised technician. Always Please keep this instruction manual for future reference Instruction manual DD935BK... - Page 6 - Never use steam or high-pressure devices for cleaning your appliance (regulations regarding electrical safety). - Never use the extractor without the grease filters Please keep this instruction manual for future reference Instruction manual DD935BK...
-
Page 7: Environmental Protection
CE DECLARATIONS OF CONFORMITY This appliance has been manufactured to the strictest standards and complies with all applicable legislation, Low Voltage Directive (LVD) and Electromagnetic Compatibility (EMC). Please keep this instruction manual for future reference Instruction manual DD935BK... -
Page 8: Installation Instructions
Alternatively a vent grill can be installed onto the plinth in line with where the motor has been installed to allow the clean air to escape back into the room. Please keep this instruction manual for future reference Instruction manual DD935BK... - Page 9 - INSET Fig.1 - FLUSH MOUNTED Fig.3 Fig.2 ~ 2 mm ~ 2 mm min. 50 mm min. 50 mm 20 mm 20 mm Please keep this instruction manual for future reference Instruction manual DD935BK...
-
Page 10: Installation
- Use ducting approved by relevant standards in force. The manufacturer shall not be held liable for air capacity or noise problems due to non-observance of aforementioned instructions and no warranty will be provided in such a case. Instruction manual DD935BK... - Page 11 The air outlet which is not going to be used must always be covered and closed with the metal lid. Another two plastic flanges are provided with the appliance to connect different section ducts. Flanges provided have the following sections: 230x80 mm 220x90mm 218x55mm (recommended for recirculating mode installation only). Instruction manual DD935BK...
- Page 12 Place the wiring box near the appliance, in order to connect the flat cable to the corresponding flat cable of the touch - control panel. Connect the motor unit cable to the terminal block found inside the plastic black box, see fig. 15B. Instruction manual DD935BK...
- Page 13 Instruction manual DD935BK...
- Page 14 10 max 30 min 10 max 30 min 30 max 50 min 30 max 50 Fig.18 2 x 220-240 V~ 3x1,5mm blue earth brown 220-240 V~ Instruction manual DD935BK...
-
Page 15: Electrical Connections
The appliance must be fed through a differential protection device (RCD), with a nominal residual current not exceeding 30mA. If the power cord is damaged, call the after-sales service to avoid any risk. Please keep this instruction manual for future reference Instruction manual DD935BK... -
Page 16: Cookware
The cooking zones allow the use of cookware with bases of various diameters. It is, however, preferable to use the appropriate cooking zone for the dimension of the pot. Induction Please keep this instruction manual for future reference Instruction manual DD935BK... -
Page 17: Hob Instructions
B. Fan speed slidebar Max. Max. 2100 W 2100 W P: 3700 W P: 3700 W Octa 220x184 Octa 220x184 Max. Max. 2100 W 2100 W P: 3700 W P: 3700 W Please keep this instruction manual for future reference Instruction manual DD935BK... -
Page 18: Switching The Appliance On
NOTE: the settings of the bridge zone are only enabled by the front cooking zone slidebar and sensor keys. To disable the Bridge function press simultaneously on both Sliderbars of the two adjacent cooking zones. The bridge illuminated symbol turns off. Please keep this instruction manual for future reference Instruction manual DD935BK... - Page 19 3 seconds until the symbol , alternating with the selected heat level, appears on the cooking area display. Please keep this instruction manual for future reference Instruction manual DD935BK...
- Page 20 “+“ and “-“ keys within 5 seconds. Wait for 5 seconds for the automatic confirmation. The time countdown will start on the timer display. Please keep this instruction manual for future reference Instruction manual DD935BK...
- Page 21 On - Off key within 5 seconds, then pressing the Pause key within another 5 seconds. If the recall function is available the relative led will be flashing when the appliance is switched on again. Please keep this instruction manual for future reference Instruction manual DD935BK...
-
Page 22: Control Lock
The appliance has a safety switch that automatically switches off the cooking zones when they have been operating for a certain amount of time at a given power level. Please keep this instruction manual for future reference Instruction manual DD935BK... -
Page 23: Downdraft Instructions
Once clean and re inserted, reset the function by pressing the “TIMER” key for at least 3 seconds whilst the appliance is switched off. Please keep this instruction manual for future reference Instruction manual DD935BK... - Page 24 6 minutes operation. If the appliance is working at 3rd speed, it is automatically switched to 2nd speed, after 7 minutes operation. Operation speeds can still be changed during operation. The energy consumption of the appliance in standby mode is lower than 0.5W. Instruction manual DD935BK...
-
Page 25: Cleaning And Maintenance
The charcoal filters shall be replaced depending on use, at least once every six months. To buy replacement charcoal filters (CAP76CF), visit www.caple.co.uk. Use only tepid water and neutral detergents to clean the appliance; the use of products containing abrasive substances shall be avoided. -
Page 26: Troubleshooting
Safety Switch operates. activate it again. The Child Lock function Refer to “Using the hob” L comes on. operates. 4 chapter. Water or cooking utensils Remove the objects from the comes on. above the control panel. control panel. Instruction manual DD935BK... - Page 27 Contact Caple service E6 or E9 comes on. replacing. If you cannot find a solution to the problem yourself, contact Caple service. Provide the model and serial number from the rating plate. Telephone : 0117 938 1900 Email : service@caple.co.uk...
- Page 28 Caple Service Fourth Way Avonmouth Bristol BS11 8DW t: 0117 938 7420 e: service@caple.co.uk www.caple.co.uk V1 - 20112017 Please keep this instruction manual for future reference Instruction manual DD935BK...
Need help?
Do you have a question about the DD935BK and is the answer not in the manual?
Questions and answers