
Related Manuals for Caple C850I


Summary of Contents for Caple C850I
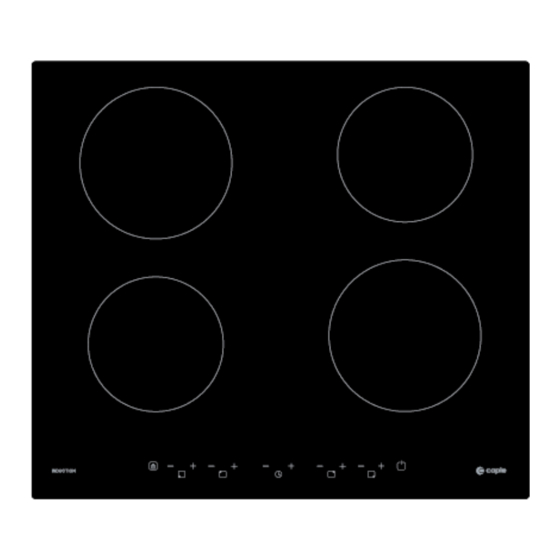
- Page 1 Instruction manual for induction hob Contact Caple on 0844 800 3830 or for spare parts www.4caple.co.uk...
-
Page 2: Product Overview
Congratulations on the purchase of your new Induction Hob. We recommend that you spend some time reading this Instruction / Installation Manual in order to fully understand how to instal and operate it correctly For installation, please read the installation section. Read all the safety instructions carefully before use and keep this Instruction / Installation Manual for future reference. -
Page 3: A Word On Induction Cooking
A Word on Induction Cooking Induction cooking is a safe, advanced, efficient, and economical cooking technology. It works by electromagnetic vibrations generating heat directly in the pan, rather than indirectly through heating the glass surface. The glass becomes hot only because the pan eventually warms it up. iron pot magnetic circuit ceramic glass plate... -
Page 4: Choosing The Right Cookware
Choosing the right Cookware • Only use cookware with a base suitable for induction cooking. Look for the induction symbol on the packaging or on the bottom of the pan. • You can check whether your cookware is suitable by carrying out a magnet test. -
Page 5: Using Your Induction Hob
Using your Induction Hob To start cooking 1. Touch the ON/OFF control. After power on, the buzzer beeps once, all displays show “ – “ or “ – – “, indicating that the induction hob has entered the state of standby mode. 2. -
Page 6: When You Have Finished Cooking
When you have finished cooking 1a. Turn the cooking zone off by scrolling down to“0” or touching “-” and “+” control together. Make sure the display shows“0” 1b. Turn the whole hob off by touching the ON/OFF control. 2. Beware of hot surfaces H will show which cooking zone is hot to touch. -
Page 7: Over Temperature Protection
• When the controls are locked, all the controls except the ON/OFF control are disabled. To lock the controls Touch the keylock control. The timer indicator will show “Lo“ To unlock the controls 1. Make sure the Induction hob is turned on. 2. -
Page 8: Using The Timer As A Minute Minder
Using the Timer You can use the timer in two different ways: • You can use it as a minute minder. In this case, the timer will not turn any cooking zone off when the set time is up. • You can set it to turn one cooking zone off after the set time is up. •... -
Page 9: Setting The Timer To Turn One Cooking Zone Off
5. When the time is set, it will begin to count down immediately. The display will show the remaining time and the timer indicator will flash for 5 seconds. 6. Buzzer will bips for 30 seconds and the timer indicator shows “- - “ when the setting time finished. -
Page 10: Cooking Guidelines
4. When the time is set, it will begin to count down immediately. The display will show the remaining time and the timer indicator flash for 5 seconds. NOTE: The red dot next to power level indicator will illuminate indicating that zone is selected. 5. -
Page 11: Heat Settings
setting higher than the lowest setting to ensure the food is cooked properly in the time recommended. Searing steak To cook juicy flavoursome steaks: 1. Stand the meat at room temperature for about 20 minutes before cooking. 2. Heat up a heavy-based frying pan. 3. -
Page 12: Care And Cleaning
• sautéing 7 - 8 • cooking pasta • stir-frying • searing • bringing soup to the boil • boiling water Care and Cleaning The settings below are guidelines only. The exact setting will depend on several factors, including your cookware and the amount you are cooking. Experiment with the cooktop to find the settings that best suit you. -
Page 13: Hints And Tips
Spillovers on the 1. Switch the power to the • The cooktop may beep and turn touch controls cooktop off. itself off, and the touch controls 2. Soak up the spill may not function while there is 3. Wipe the touch control area liquid on them. -
Page 14: Failure Display And Inspection
Fan noise coming from A cooling fan built into your This is normal and needs no action. the induction hob. induction hob has come on to Do not switch the power to the prevent the electronics from induction hob off at the wall while the overheating. -
Page 15: Technical Specification
The above are the judgment and inspection of common failures. Please do not disassemble the unit by yourself to avoid any dangers and damages to the induction hob. Technical Specification Cooking Hob C850I Cooking Zones 4 Zones Supply Voltage 220-240V~... - Page 16 Under any circumstances, make sure the Induction cooker hob is well ventilated and the air inlet and outlet are not blocked. Ensure the induction cooker hob is in good work state. As shown below Note: The safety distance between the hotplate and the cupboard above the hotplate should be at least 760 mm.
-
Page 17: Before Locating The Fixing Brackets
• you use heat-resistant and easy-to-clean finishes (such as ceramic tiles) for the wall surfaces surrounding the hob. When you have installed the hob, make sure that • the power supply cable is not accessible through cupboard doors or drawers •... -
Page 18: Safety Warnings
Connecting the hob to the mains power supply This hob must be connected to the mains power supply only by a suitably qualified person. Before connecting the hob to the mains power supply, check that: 1. the domestic wiring system is suitable for the power drawn by the hob. 2. -
Page 19: Important Safety Instructions
• out any work or maintenance on it. • Connection to a good earth wiring system is essential and mandatory. • Alterations to the domestic wiring system must only be made by a qualified electrician. • Failure to follow this advice may result in electrical shock or death. Cut Hazard •... - Page 20 • Failure to use caution could result in injury or cuts. Important safety instructions • Never leave the appliance unattended when in use. Boilover causes smoking and greasy spillovers that may ignite. • Never use your appliance as a work or storage surface. •...
- Page 21 This appliance is labeled in compliance with European directive 2002/96/EC for Waste Electrical and Electronic Equipment (WEEE). By ensuring that this appliance is disposed of correctly, you will help prevent any possible damage to the environment and to human health, which might otherwise be caused if it were disposed of in the wrong way.
Need help?
Do you have a question about the C850I and is the answer not in the manual?
Questions and answers