Table of Contents
Advertisement
Quick Links
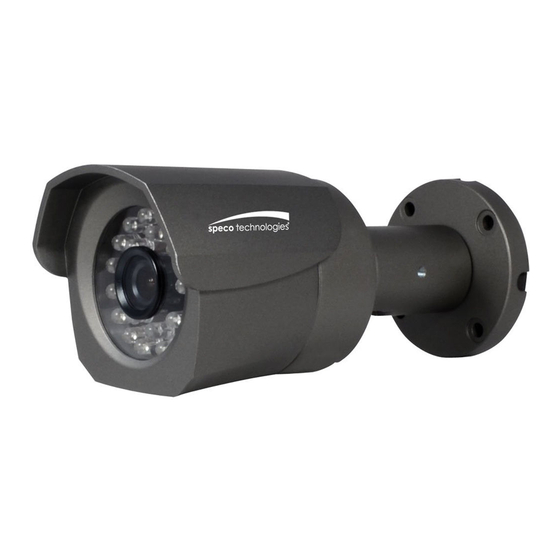
ZIP2B
2.0MP Full-HD IP
Indoor/Outdoor Mini Bullet Camera
Quick Manual
Ver. 0.5 / 2013.11
Before installing and using the camera, please read this manual carefully.
Be sure to keep it handy for future reference.
This equipment has been tested and found to comply with the limits for a Class A digital device, pursuant to part 15 of the FCC Rules.
These limits are designed to provide reasonable protection against harmful interference when the equipment is operated in a commercial
environment. This equipment generates, uses, and can radiate radio frequency energy and, if not installed and used in accordance with the instruction
manual, may cause harmful interference to radio communications. Operation of this equipment in a residential area is likely to cause harmful
interference in which case the userwill be required to correct the interferenece at his own expense.
1. Product & Accessories
Cable
Camera
Torx Wrench
Manual CD
Screw & Plastic Anchor-4pcs
Template Sheet
Quick Manual
Safety Information
CAUTION
RISK OF ELECTRIC SHOCK.
DO NOT OPEN
CAUTION:
TO REDUCE THE RISK OF ELECTRIC SHOCK, DO NOT REMOVE COVER (OR BACK) NO USER SERVICEABLE PARTS INSIDE.
REFER SERVICING TO QUALIFIED SERVICE PERSONNEL.
This symbol indicates that dangerous voltage consisting a risk of electric shock is present within this unit.
This exclamation point symbol is intended to alert the user to the presence of important operating and maintenance
(servicing) instructions in the literature accompanying the appliance.
WARNING
To prevent damage which may result in fire or electric shock hazard, do not expose this appliance to rain or
moisture.
WARNING
1. Be sure to use only the standard adapter that is specified in the specification sheet.
Using any other adapter could cause fire, electrical shock, or damage to the product.
2. Incorrectly connecting the power supply or replacing battery may cause explosion, fire, electric shock, or
damage to the product.
3. Do not connect multiple cameras to a single adapter. Exceeding the capacity may cause abnormal
heat generation or fire.
4. Securely plug the power cord into the power receptacle. Insecure connection may cause fire.
5. When installing the camera, fasten it securely and firmly. A falling camera may cause personal injury.
6. Do not place conductive objects (e.g. screw drivers, coins, metal things, etc.) or containers filled with
water on top of the camera. Doing so may cause personal injury due to fire, electric shock, or falling
objects.
2. Part Name
DC Power Cable
Pan/Tilt Stoper Screw
Lens
Reset Button
7. Do not install the unit in humid, dusty, or sooty locations. Doing so may cause fire or electric shock.
8. If any unusual smells or smoke come from the unit, stop using the product. In such case, immediately
disconnect the power source and contact the service center. Continued use in such a condition may
cause fire or electric shock.
9. If this product fails to operate normally, contact the nearest service center. Never disassemble or
modify this product in any way.
10. When cleaning, do not spray water directly onto parts of the product. Doing so may cause fire or
electric shock.
11. To disconnect power from the mains, pull out the mains cord plug.
When install the product, ensure that the plug is easily accessible.
CAUTION
1. Do not drop objects on the product or apply strong shock to it. Keep away from a
location subject to excessive vibrationor magnetic interference.
2. Do not install in a location subject to high temperature (over 122 degrees F), low temperature
(below 14 degrees F), or high humidity. Doing so may cause fire or electric shock.
3.
then move or reinstall it.
4. Remove the power plug from the outlet when then there is a lightning. Neglecting to
do so may cause fire or damage to the product.
5. Keep out of direct sunlight and heat radiation sources. It may cause fire.
6. Install it in a place with good ventilation.
7. Avoid aiming the camera directly towards extremely bright objects such as sun, as this
may damage the CMOS image sensor.
8. Apparatus shall not be exposed to dripping or splashing and no objects filled with
liquids, such as vases, shall be placed on the apparatus.
9. The Mains plug is used as a disconnect device and shall stay readily operable at any
time.
3. Installation
Before installing your camera, you have to read the following cautions.
2. Don't let the cable get caught in improper place or the electric line cover get damaged.
3. When installing your camera, don't allow any person to approach the installation site.
If you have any valuable things under the place, move them away.
RJ-45 Cable
Template Sheet
1
To pass cables through the wall/ceiling,
drill holes on the ceiling panel.
2
Connect the network cable, power cable
Bracket
respectively. See the section Cabling for
details.
3
Fix the camera on the wall/ceiling using
the screws provided.
Loosen the Pan/Tilt stoper screw a litte
After adjusting the view angle, tighten
4
the Pan/Tilt stoper screw.
Important Safety Instructions
WARNING
1. Read these instructions.
2. Keep these instructions.
3. Heed all warnings.
4. Follow all instructions.
5. Do not use this apparatus near water.
6. Clean only with dry cloth.
7. Do not block any ventilation openings. Install in accordance with the manufacturer's instructions.
8. Do not install near any heat sources such as radiators, heat registers, or other apparatus (including
9. Do not defeat the safety purpose of the polarized or grounding-type plug.
A polarized plug has two blades with one wider than the other. A grounding type plug has two
blades and a third grounding prong. The wide blade or the third prong is provided for your safety.
your outlet, consult an electrician for replacement of the
obsolete outlet.
10. Protect the power cord from being walked on or pinched particularly at plugs, convenience
receptacles, and the point where they exit from the apparatus.
11.
12.
damaged in any way, such as power supply cord or plug is damaged, liquid has been spilled or
objects have fallen into the apparatus, the apparatus has been exposed to rain or moisture, does
not operate normally, or has been dropped.
Reset to the Factory Default
Press the reset button for 5 seconds to return
Otherwise it may
the setup to the factory default.
Warning:
If you press the 'Reset' button, you will lose all
setting data.
If needed, please, make a note for further
installation.
Reset Button
apparatus has been
Advertisement
Table of Contents

Related Manuals for Speco ZIP2B


Summary of Contents for Speco ZIP2B
- Page 1 Safety Information Important Safety Instructions ZIP2B WARNING 7. Do not install the unit in humid, dusty, or sooty locations. Doing so may cause fire or electric shock. CAUTION 1. Read these instructions. 8. If any unusual smells or smoke come from the unit, stop using the product. In such case, immediately RISK OF ELECTRIC SHOCK.
- Page 2 6. Web Viewer Screen 4. Cabling The menu settings for the ZIP2B can be set over network using SpecoTech Multi-Client CMS software. Two Options Put the cursor of the mouse on the channel, which is connected to the site and right click on the mouse to Open Internet Explorer and enter camera’s IP address.
Need help?
Do you have a question about the ZIP2B and is the answer not in the manual?
Questions and answers