Clearaudio Performance DC User Manual
Black with black chassis
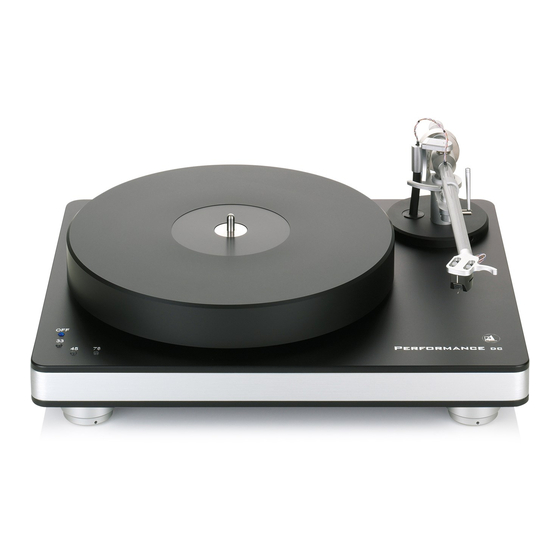
black with silver chassis
silver with silver chassis
silver with black chassis
silver with wood chassis
silver with wood chassis
Hide thumbs
Also See for Performance DC:
- User manual (20 pages) ,
- User manual (13 pages) ,
- User manual (13 pages)

Related Manuals for Clearaudio Performance DC


Summary of Contents for Clearaudio Performance DC
- Page 1 Performance DC User manual Black with black chassis Black with silver chassis Silver with silver chassis Silver with black chassis Black with wood chassis Silver with wood chassis © clearaudio electronic GmbH, 2017/11 Made in Germany...
- Page 2 We hope you will enjoy your new Clearaudio turntable. Clearaudio electronic GmbH Please read the warnings before connecting your Performance DC turntable to the mains supply. WARNINGS Don’t expose your turntable to rain or humidity. Don’t handle the mains leads with wet hands.
-
Page 3: Table Of Contents
User manual Contents 1. Packaging overview ..........4 2. Setup and operation ..........5 3. Special notes ............12 4. Technical data ............. 13 Warranty information ..........14 Made in Germany... -
Page 4: Packaging Overview
1. Packaging overview Performance DC The Clearaudio turntable is delivered in specially designed custom packaging. Please check the contents according to the following list before you set up your new Clearaudio Performance DC turntable. 1. Layer (top): Top of bearing, belt, fittings and... -
Page 5: Setup And Operation
User manual 2. Setup and operation Performance DC turntable consists of several components, as described in No 1 (Packaging overview). The setup is easy, as some of the components are pre-assembled at the factory. Please make use of the white gloves enclosed in order to avoid scratches or unwanted fingerprints (e.g on the platter). - Page 6 Please remove the protective seal from the bearing shaft and place two drops of the synthetic be- aring oil on the ceramic bearing shaft. Slip the bearing top onto the bearing shaft of the turntable (also available through www.analogshop.de Art. No. AC068). Pic. 5: Bearing oil © clearaudio electronic GmbH, 2017/11...
- Page 7 User manual Now you can set the bearing upper part carefully onto the bearing. To avoid damages make sure you slide the bearing upper part slowly and carefully on the polished ceramic shaft. Pic. 6: Fitting the bearing upper part Now you can set the sub-platter carefully onto the bearing (see Pic.
- Page 8 Please note: Pic. 9: Adjustment of the level position Through turning the feets clockwise you will raise the turntab- le, by turning counter clockwise the turntable will lower. Pic. 9.1: Adjustment of the height © clearaudio electronic GmbH, 2017/11...
- Page 9 User manual Performance DC Clarify If the turntable was purchased as a package together with the tonearm, please follow the below described installation of the tonearm. Position of the screw to fasten the tone- arm with 2 mm allen Boring for the tone-...
- Page 10 User manual If you purchased the Clearaudio Performance DC as package with tonearm and cartridge, you received also a Smart Stlyus Gauge as accessories, which allows you to adjust the tracking force of the cartridge. This position of the diamond corre- lates to a tracking force of 20 mN (2.0g).
- Page 11 If you want to check the speed of your turntable by yourself over the time, we recommend to use a Stroboscope Testrecord. To adjust the speed so perfectly and precisely as possible, we recommend the Clearaudio Stroboscope Testrecord (Art. No. AC038) and the Clearaudio “Speed Light” (Art. No. AC039, both available at www.analogshop.de).
-
Page 12: Special Notes
• To avoid any dust coming into the bearing, the bearing hole needs to be covered as well. 3.3 Service In case of any necessary, service for all Clearaudio products should be done by authorized perso- nal only. In case of any repair, the Clearaudio... -
Page 13: Technical Data
Warranty: 5 years* * Provided that the warranty card is correctly completed and returned to Clearaudio within 14 days of purchase. Clearaudio electronic is not responsible for typographical errors in descriptions. Technical specifications subject to change or improvement without prior notice. -
Page 14: Warranty Information
5 years, it is necessary that you fill out and send the corresponding part of the warranty registration certificate /card back to Clearaudio, within two weeks after purchase. Only if the product is returned in its original packing Clearaudio can provide the warranty of 5 years. - Page 15 ESPAÑOL GARANTIA Para obtener información acerca de la garantia póngase en contacto con su distribuidor Clearaudio. GUARDE SU RECIBO DE COMPRA Su recibo de compra es su prueba permanente de haber adquirido un aparato de valor, Este recibo deberá...
- Page 16 91054 Erlangen Germany Phone/Tel.: +49 9131 40300 100 Fax: +49 9131 40300 119 www.clearaudio.de www.analogshop.de info@clearaudio.de Handmade in Germany (Technische Änderungen vorbehalten - Technical specification are subject to change without prior notification) 2017 © clearaudio electronic GmbH, 2017/11 Made in Germany...
Need help?
Do you have a question about the Performance DC and is the answer not in the manual?
Questions and answers