Table of Contents
Advertisement
Advertisement
Table of Contents

Subscribe to Our Youtube Channel
Related Manuals for AEG RT 1350 E


Summary of Contents for AEG RT 1350 E
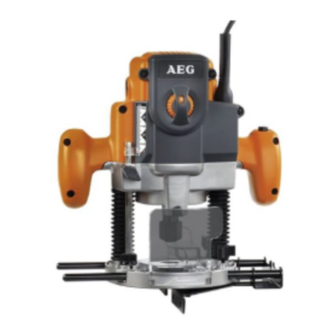
- Page 1 RT 1350 E Instructions for use...
- Page 2 Fig. 1 Fig. 2 Fig. 3 Fig. 4 Fig. 5 Fig. 6 - 2 -...
- Page 3 Fig. 7 Fig. 8 SPEED SPEED Fig. 9 Fig. 10 Fig. 11 Fig. 12 - 3 -...
- Page 4 Fig. 13 Fig. 14 Fig. 15 Fig. 16 Fig. 17 Fig. 18 Fig. 19 - 4 -...
- Page 5 Fig. 20 Fig. 21 Fig. 23 Fig. 22 - 5 -...
- Page 6 Refer 12/27/04 5:04 PM Page A5 GENERAL SAFETY RULES WARNING! e) Do not overreach. Keep proper footing and balance at Read all instructions. Failure to follow all all times. This enables better control of the power tool in instructions listed below may result in electric shock, unexpected situations.
- Page 7 Refer 12/27/04 5:04 PM Page A6 WARNING: SPECIFIC SAFETY RULES Some dust created by power sanding, sawing, grinding, drilling, and other construction activities Hold tool by insulated gripping surfaces when contains chemicals known to cause cancer, birth performing an operation where the cutting tool may defects or other reproductive harm.
- Page 8 Refer 12/27/04 5:04 PM Page A7 SPINDLE LOCK DESCRIPTION A spindle lock secures the spindle so that only one wrench is needed to loosen collet nut and change cutters. NOTE: Do 1. Speed selection 18. Collet adaptor not run router with spindle lock engaged. sight windows 19.
- Page 9 WARNING: FEATURES Do not attempt to modify this tool or create accessories not recommended for use with this tool. Any such alterationor The template must be at least 5mm thick to allow for the modification is misuse and could result in a hazardous protrusion of the guide.
- Page 10 Make sure the hex nuts are securely tightened against ADJUSTMENTS each other. Rotate depth stop knob (8) to desired position, loosen lock WARNING: knob (10) and adjust stop bar (9) until it touches depth stop. Do not use cutters with undersized shanks. Under- Slide zero-reset indicator (11) up or down the scale (12) on sized shanks will not tighten properly and could be stop bar until red line on zero-reset indicator aligns...
- Page 11 ZERO RESET INDICATOR ADJUSTMENTS The zero reset indicator allows you to use the scale provided on the housing to make quick depth of cut changes to existing depth of cut settings. Simply choose SPEED SELECTION CHART a reference point on the scale and slide the zero reset CUTTER SIZE indicator up or down the scale the distance required for 6mm 8mm 12mm...
- Page 12 Unlock plunge lock lever to raise cutter from any OPERATION preset depth of cut. This also permits raising cutter inside router subbase. When routing straight cuts across stock, clamp a straight Place router on workpiece inside pattern to be routed. edge to the workpiece to use as a guide.
- Page 13 WARNING: threads of the shaft, and on the taper in the shaft. When servicing use only identical AEG replacement Replace the collet assembly onto the shaft by hand only. parts. Use of any other parts may create a hazard Never tighten the collet nut without a bit in the collet.
- Page 16 . a e g - p t . c o m AEG Elektrowerkzeuge Max-Eyth-Straße 10 D-71364 Winnenden Germany...
Need help?
Do you have a question about the RT 1350 E and is the answer not in the manual?
Questions and answers