Table of Contents
Advertisement
Quick Links
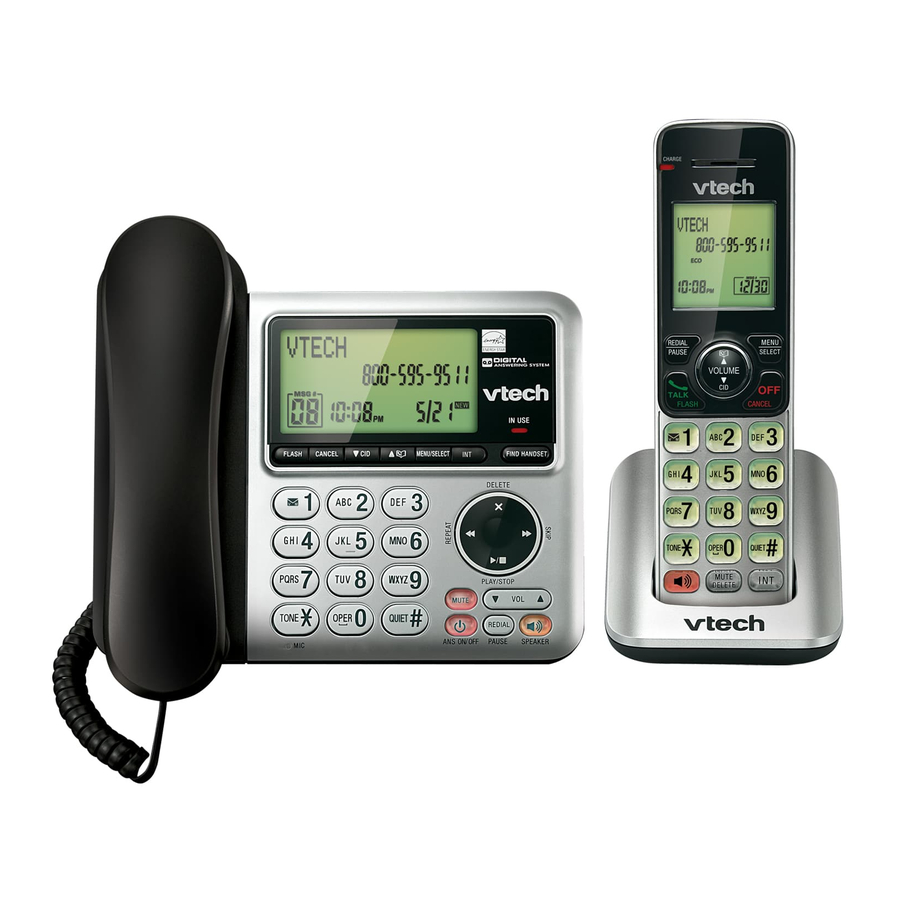
User's manual
w w w.v t e c h c a n a d a . c o m
Model: CS6449
Congratulations
on purchasing your new VTech product. Before using this telephone, please read
Important Safety Instructions on page 68 of this manual.
This manual has all the feature operations and troubleshooting necessary to install
and operate your new VTech telephone. Please review this manual thoroughly to
ensure proper installation and operation of this innovative and feature rich VTech
product. For support, shopping, and everything new at VTech, visit our website at
www.vtechphones.com.
In Canada, please visit www.vtechcanada.com.
®
The ENERGY STAR
program (www.energystar.gov) recognizes and
encourages the use of products that save energy and help protect our
environment. We are proud to mark this product with the ENERGY STAR
label indicating it meets the latest energy efficiency guidelines.
Telephones identified with this logo have reduced noise and interference
Compatible with
Hearing Aid T-Coil
when used with most T-coil equipped hearing aids and cochlear implants. The
TIA-1083 Compliant Logo is a trademark of the Telecommunications Industry
Association. Used under license.
T
TIA-1083
®
Advertisement
Table of Contents

Related Manuals for VTech CS6449


Summary of Contents for VTech CS6449
- Page 1 VTech telephone. Please review this manual thoroughly to ensure proper installation and operation of this innovative and feature rich VTech product. For support, shopping, and everything new at VTech, visit our website at www.vtechphones.com. In Canada, please visit www.vtechcanada.com.
- Page 2 Getting started Getting started Parts checklist Telephone installation Install the telephone base and charger(s) as shown below. Your telephone package contains the following items. Save your sales receipt and original packaging in case it is necessary to ship your telephone for warranty service. The telephone base is already for tabletop use.
- Page 3 Getting started Getting started Battery installation Battery charging Install the battery as shown below. Once you have installed the battery, the screen indicates the battery status (see the table below). If necessary, place the handset in the charger to charge Plug the battery connector securely into the socket inside the handset battery the battery.
- Page 4 Getting started Getting started Installation options Press the hook and remove the handset tab from the telephone base. Rotate and replace it to hold the corded handset securely in place when the Your telephone base is ready for tabletop use. If you want to mount your telephone base is mounted on the wall.
- Page 5 Getting started Getting started Wall mount to tabletop installation Telephone base layout MENU/SELECT To change the telephone base from the wall mount position to tabletop position: Press to show the menu. Press when the phone is While in the menu, press Remove the telephone base from the wall.
- Page 6 Getting started Getting started Telephone base layout Handset layout CHARGE light On when the handset is charging. /VOLUME (directory/volume) Press to show directory entries (page 48). FIND HANDSET Press to scroll up while in menus. While the phone is idle, press to page all handsets While entering names or numbers, press to move X/DELETE...
-
Page 7: Handset Settings
Getting started Handset settings Handset layout Using the menu /CID/VOLUME (caller ID/volume) To enter the handset menu: Press /CID to show the caller ID history (page 54). Press MENU/ when the handset is not in use. >Play messages SELECT Answering sys Press to scroll down while in menus. - Page 8 Handset settings Handset settings Ringer volume (handset) LCD language You can set the ringer volume to one of six levels or turn the You can select a language (English, French or Spanish) to >Ringers >LCD language be used in all screen displays. ringer off.
- Page 9 Handset settings Handset settings Key tone Set date and time You can adjust the key tone volume or turn it off for each handset. If you turn the The answering system announces the date and time of each message prior to key tone off, there are no beeps when you press the handset keys.
- Page 10 You hear a confirmation tone. previous menu. You hear a confirmation tone. CID TIME SYNC Website >On Use this feature to view the VTech website address. Settings Press MENU/ when the handset is not in use. >Website SELECT Press to highlight >Website, then press...
- Page 11 Answering system settings (handset only) Answering system settings (handset only) Use the answering system menu of any system handset to set or change the To delete your outgoing announcement: outgoing announcement, call screening, number of rings, remote access and When the handset is in idle mode, press MENU/ to enter the main menu.
- Page 12 Answering system settings (handset only) Answering system settings (handset only) Call screening Press to scroll and choose among >2, >4, >6 or # OF RINGS >Toll saver. >2 Use this feature to choose whether incoming messages can be heard over the telephone base speaker when they are being recorded.
-
Page 13: Telephone Base Settings
Answering system settings (handset only) Telephone base settings Message alert tone Using the menu When the message alert tone is set to ON, and there is at least one new To enter the handset menu: message, the telephone base beeps every 10 seconds. Unless you change it, Press MENU/ when the telephone base is not... - Page 14 Telephone base settings Telephone base settings Ringer volume LCD language You can set the ringer volume or turn the ringer off. When You can select a language (English, French or Spanish) to Ringer volume RINGER VOLUME be used in all screen displays. the ringer is off, appears on the screen.
- Page 15 Telephone base settings Telephone base settings Repeat Step 3 to set the correct date and year and then • Your telephone service provider may alert you of new messages with a stutter SET DATE press SELECT to advance to set the time. MENU/ (broken) dial tone.
- Page 16 Use the dialing keys to enter a three-digit home area code. Website • Press /DELETE to delete a digit. MUTE Use this feature to view the VTech website address. >Website • Press and hold /DELETE to delete all digits. MUTE -End of list-...
- Page 17 Telephone operation Telephone operation Making a call Answering a call Using a cordless handset: Using a cordless handset: Press on the handset. Press or any dialing key (0-9, # or ) on the handset to answer a /FLASH /FLASH call. When you hear a dial tone, dial the number.
- Page 18 Telephone operation Telephone operation Auto off To edit a number: • While the desired number displays, press /SELECT A call ends automatically when you put the handset in the telephone base or charger. MENU Enter number (see step 5 in the To create a new directory entry section 888-408-2006 (If the telephone base speakerphone is active, placing the corded handset in the on page 44 for details).
- Page 19 Telephone operation Telephone operation Exiting the menu Chain dialing On the handset, press /CANCEL to cancel an operation, back up to the Use this feature to initiate a dialing sequence from numbers stored in the previous menu, or exit the menu display. Press and hold /CANCEL to return directory, caller ID log or redial list while you are on a call.
-
Page 20: Multiple Handset Use
Multiple handset use Multiple handset use Multiple handset use To access a number from the redial list while on a call: Temporary tone dialing If you have pulse (rotary) service only, you can switch from pulse to tone dialing Using a cordless handset: temporarily during a call. - Page 21 If the other handset does not answer the intercom call within 100 seconds, or additional expansion handsets (model Vtech CS6400) for this telephone base. if it is accessing the answering system, is out of range, or has no power, your You can register up to 12 handsets to the telephone base.
- Page 22 Multiple handset use Multiple handset use Call transfer using intercom • If you press INTERCOM when there is no cordless handset registered to the telephone base, Int requires two handsets displays on the base screen. Use the intercom feature to transfer an outside call to the telephone base or a •...
- Page 23 Multiple handset use Multiple handset use 3. From this intercom call, you have the following options: conversation. Press MENU/SELECT. Press / Call • to highlight Share call, then press MENU/ You can transfer the call. Press MENU/SELECT twice to transferred >Transfer SELECT.
- Page 24 Directory Directory 8. Press MENU/SELECT to store your new directory entry. There is a Creating a new directory entry The name and the telephone number appear. To change Using a cordless handset: them later, see page 50. Press MENU/ in idle mode to enter the main menu. SELECT Answering sys Using the telephone base:...
- Page 25 Directory Directory Adding a predialed telephone number to the directory Reviewing directory entries You can save a predialed telephone number to the directory. Using a cordless handset or telephone base: Using a cordless handset: 1. Press / on a cordless handset or press / on the telephone base when 1.
- Page 26 Directory Directory Searching by name To dial, delete or edit entries Follow the steps below to search for directory entries on a cordless handset or To dial, delete or edit a directory entry (name and number), the entry must be displayed on the cordless handset or the telephone base screen. Use the the telephone base.
- Page 27 Directory Caller ID • Press /DELETE to erase a letter. About caller ID MUTE EDIT NAME Mike Smith_ This product supports caller ID services offered by most telephone service • Press and hold • /DELETE to erase all letters. MUTE providers.
- Page 28 Caller ID Caller ID How the caller ID history (call log) works Memory match The telephone stores caller ID information about the last 50 incoming calls in the If the incoming telephone number matches the last seven digits of Mike telephone base.
- Page 29 Caller ID Caller ID Review the caller ID history by pressing /SELECT, Dial a call log entry MENU Directory then press or / to scroll to >Call log, then To dial a call log entry when in the call log: >Call log press /SELECT twice to select >Review.
- Page 30 Answering system settings Answering system settings Answering system settings • Press /DELETE on the cordless handset or X/DELETE on the Answering system and voicemail MUTE telephone base to backspace and erase a digit. Your telephone has separate indicators for two different types HANDSET •...
-
Page 31: Answering System Settings
Answering system settings Answering system settings Answering system settings Answering system new message indication If you attempt to turn on the answering system but the memory is full, Memory HANDSET full displays on the cordless handset and telephone base screens. The base also 1 new message The handset screen shows , XX New message(s) and the... - Page 32 Answering system settings Answering system settings Temporarily turn off the message alert tone the telephone base screen shows No message and you hear, “You have no messages.” If the new message alert tone is turned on (see page 23), the telephone base beeps every 10 seconds when there are new or missed messages.
- Page 33 Answering system operation Answering system operation Press /SELECT again to confirm. The screen displays Deleting... then Message window displays MENU All old msgs deleted! There is a confirmation tone. Recording and playing Window display Description memos No message. Memos are messages you record at a cordless handset or the telephone base. You can record, playback, and delete them like incoming messages.
- Page 34 Answering system operation Appendix Remote access Handset display screen messages A two-digit security code is required to access the answering system remotely The telephone number you have entered is already in the Already saved directory. from any touch-tone telephone. The preset code is 19; see Remote access code on page 46 to change it.
- Page 35 Appendix Appendix Another system handset is calling. The telephone base is paging the handset(s). HANDSET X Paging is calling all handsets The handset is on a call. (For systems with two or Phone more handsets) The battery is very low. The handset should be charged. Place in There is a call coming in.
- Page 36 Appendix Appendix Handset and telephone base indicators Handset icons Handset lights The battery icon flashes when the battery is low and needs charging. On when the handset speakerphone is in use. The battery icon animates when the battery is charging. CHARGE On when the handset is charging in the telephone base or charger.
- Page 37 The handset provided with your telephone system is already registered and It takes up to 10 hours for the battery to be fully charged. When it is fully charged, you can named HANDSET. You can add new handsets (Vtech CS6400, available expect the following performance:...
- Page 38 Appendix Appendix Deregister handsets Troubleshooting If you have difficulty with your telephone, please try the suggestions below. For customer If you want to replace a handset, or reassign the designated handset number of service, visit our website at www.vtechcanada.com or call 1 (800) 267-7377. a registered handset, you must deregister all handsets that are registered to the My telephone doesn’t work at all.
- Page 39 Appendix Appendix Troubleshooting Troubleshooting My cordless handset isn’t performing normally. I get noise, static, or weak signals even when I’m near the telephone base. • • Make sure you plug the power cord securely into the telephone base. Plug the power If you subscribe to high-speed Internet service (DSL - digital subscriber line) through adapter into a different, working electrical outlet without a wall switch.
- Page 40 Appendix Appendix Troubleshooting Troubleshooting • • The caller must be calling from an area that supports caller ID. the telephone base to another location, preferably to a higher location. • Both your and your caller’s telephone service providers must use caller ID compatible •...
- Page 41 Appendix Appendix Troubleshooting Troubleshooting • If there is a fax machine connected to the same telephone line, try disconnecting New voicemail and show on the handset display and I don’t know why. the fax machine. If that solves the problem, consult your fax machine documentation •...
- Page 42 Appendix Appendix Important safety instructions Precautions for users of implanted cardiac pacemakers When using your telephone equipment, basic safety precautions should always be followed to reduce Cardiac pacemakers (applies only to digital cordless telephones): the risk of fire, electric shock and injury, including the following: Wireless Technology Research, LLC (WTR), an independent research entity, led a multidisciplinary Read and understand all instructions.
- Page 43 Administrative Council for Terminal Attachments (ACTA). The label on the back or bottom of this area. VTech’s involvement in this program is part of its commitment to protecting our environment and equipment contains, among other things, a product identifier in the format US:AAAEQ##TXXXX. This conserving natural resources.
- Page 44 Repairs to this telephone equipment can only be made by the manufacturer or its The manufacturer of this VTech Product warrants to the holder of a valid proof of purchase (“Consumer” authorized agents. For repair procedures, follow the instructions outlined under the Limited warranty.
- Page 45 Product in transit. If the Product failure is not covered by this limited warranty, or proof of Telephone base: 6V DC @ 400mA purchase does not meet the terms of this limited warranty, VTech will notify you and will request that you Charger: 6V AC @ 300mA authorize the cost of repair prior to any further repair activity.
- Page 46 A member of THE VTECH GROUP OF COMPANIES. Distributed in the U.S.A. by VTech Communications, Inc., Beaverton, Oregon 97008. Distributed in Canada by VTech Technologies Canada Ltd., Richmond, B.C. V6W 1L5. Copyright © 2011 for VTECH TELECOMMUNICATIONS LTD. Printed in China.
Need help?
Do you have a question about the CS6449 and is the answer not in the manual?
Questions and answers
Want to have our name displayed when call someone; how do I do that?
The VTech CS6449 does not control how your name appears when calling someone. Your caller ID name is determined by your phone service provider. To display your name correctly, contact your service provider to ensure your caller ID information is set up properly.
This answer is automatically generated