Table of Contents
Advertisement
Quick Links
Advertisement
Table of Contents

Related Manuals for Di-LOG DL6505


Summary of Contents for Di-LOG DL6505
-
Page 1: Operating Manual
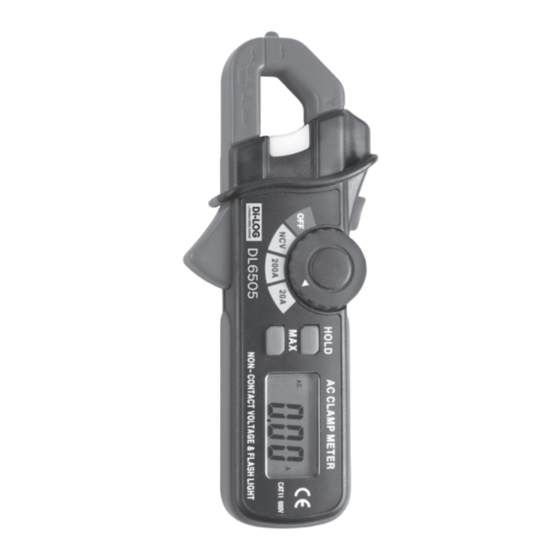
DL6505 200A AC MINI CLAMP-ON METER 61010-1 CAT II 600V... -
Page 2: Safety Information
Safety Information This manual contains information that must be followed for operating the meter safely and maintaining the meter in a safe operating condition. If this meter is not used in the manner specified, the protection provided may be impaired. Warning! Warns of potential danger, refer to the instruction manual to avoid personal injury or damage to the meter. - Page 3 Where applicable use GS38 approved leads (not supplied) these are available from Di-Log. When using test leads keep fingers behind the finger guards. Do not apply more than the rated voltage, as marked on the meter between the terminals or between any terminal and ground.
- Page 4 Safety Information Before measuring current check the meters fuses and turn off power to the circuit before connecting the meter to the circuit. Replace the battery as soon as the low battery indicator appears. If the battery is low the meter may give false readings.
- Page 5 Features • 3-1/2 digit (2000 count) LCD display • High resolution to 10mA AC • Built-in non-contact AC voltage detector plus flashlight • MAX Hold and Data Hold • Auto power off • (18mm) Jaw opening...
-
Page 6: Specifications
Specifications Display: 3-1/2 (2000 count) Digit LCD Polarity: Minus sign ( - ) indicates negative polarity Overload indication: “OL” displayed on the LCD DCA zero adjust: One touch zero key Display rate: 2 readings/second, nominal Battery: Two 1.5V AAA batteries Low Battery indication: “BATT”... - Page 7 Specifications Range Specifications Function Range Resolution Accuracy (of reading) AC Current (50/60Hz) 200mA ±(3.0% + 8 digits) Non-Contact AC Voltage 100VAC to 600VAC 50/60Hz...
-
Page 8: Input Limits
Specifications Meter Description 1. Current sensor jaw 2. Torch button 3. Rotary function switch 4. Data HOLD key 5. LCD display 6. Clamp trigger 7. MAX HOLD key 8. Non-contact AC voltage indicator light 9. Non-contact AC voltage detector probe tip Input Limits Function Maximum Inputs... -
Page 9: Ac Current Measurements
AC Current Measurements 1. Set the Function switch to the ACA range. 2. Press the jaw trigger and clamp around, fully enclosing a single conductor. Do not allow a gap between the two halves of the jaw. Refer to the diagram at right for the correct way to enclose a single conductor. - Page 10 Non-Contact AC Voltage Meassurements Warning: RISK OF ELETROCUTION. BEFORE USE, ALWAYS TEST THE VOLTAGE DETECTOR ON A KNOWN LIVE CIRCUIT TO VERIFY PROPER OPERARTION. 1. Touch the probe tip to the hot conductor or insert into the hot side of the electrical outlet. 2.
- Page 11 Operations Torch Press and hold the top button to turn the torch on. Release the button to turn the torch off. Data Hold To freeze the current reading on the LCD, press the “Hold Backlight” key. The word HOLD will appear on the LCD while the meter is in the Data Hold mode.
-
Page 12: Warranty & Maintenance
Warranty & Maintenance 24 Month Warranty Di-Log instruments are subject to stringent quality controls. If in the course of normal daily use a fault occurs we will provide a 24 month warranty (only valid with invoice). Faults in manufacture and materials defect will be rectified by us free of charge, provided the instrument has not been tampered with and returned to us unopened.
Need help?
Do you have a question about the DL6505 and is the answer not in the manual?
Questions and answers