Sign In
Upload
Download
Table of Contents
Contents
Add to my manuals
Delete from my manuals
Share
URL of this page:
HTML Link:
Bookmark this page
Add
Manual will be automatically added to "My Manuals"
Print this page
×
Bookmark added
×
Added to my manuals
Manuals
Brands
Kenwood Manuals
Freezer
KFC60B15
Installation instructions manual
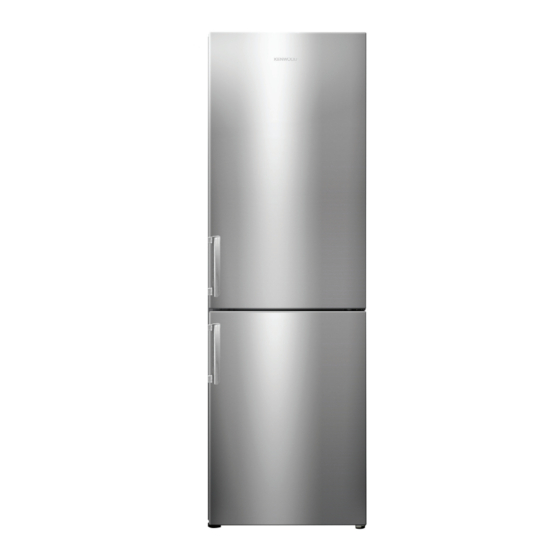
Kenwood KFC60B15 Installation Instructions Manual
60cm frost free
Hide thumbs
1
2
Table Of Contents
3
4
5
6
7
8
9
10
11
12
13
14
15
16
17
18
19
20
page
of
20
Go
/
20
Contents
Table of Contents
Bookmarks
Table of Contents
Table of Contents
Safety Warnings
Unpacking
Installation
Location
Levelling the Unit
Free Space Requirements
Installling the Door Handle
Reversing the Door Swing
Cleaning before Use
Before Using Your Unit
Product Overview
Main Unit
Operation
Switching on Your Unit
Super Freeze Mode
Holiday Mode
Noises Inside the Unit
Tips for Keeping Food in the Unit
Preparations for Freezing
Defrosting Frozen Food
Cleaning the Interior and the Exterior of the Unit
Maintenance
Changing the Internal LED Light
Care When Handling / Moving Your Unit
Servicing
Switching off for Long Periods of Time
Condensation
Disposal
Specifications
Advertisement
Quick Links
1
Reversing the Door Swing
2
Main Unit
3
Switching on Your Unit
4
Servicing
5
Changing the Internal Led Light
6
Specifications
Download this manual
60cm Frost Free Fridge Freezer
KFC60B15 / KFC60W15 /
KFC60X15
installation / instructions manual
Table of
Contents
Previous
Page
Next
Page
1
2
3
4
5
Advertisement
Table of Contents
Need help?
Do you have a question about the KFC60B15 and is the answer not in the manual?
Ask a question
Questions and answers
Related Manuals for Kenwood KFC60B15
Freezer Kenwood KFC60X15 Installation Instructions Manual
60cm frost free (20 pages)
Freezer Kenwood KNF60X17 Installation Instructions Manual
60cm total frost free fridge freezer (20 pages)
Freezer Kenwood K250CFW17 Installation Instructions Manual
(20 pages)
Freezer Kenwood KUF55X18 Installation Instructions Manual
55cm undercounter freezer (16 pages)
Freezer Kenwood KNFD60T19 Instruction Manual
60cm total frost free fridge freezer with water dispenser (24 pages)
Freezer Kenwood KMD60X19 Instruction Manual
64cm multi-door total frost free fridge freezer (20 pages)
Freezer Kenwood K4D556X18 Installation Instructions Manual
Total frost free fridge freezer with water dispenser (16 pages)
Kenwood KSBSDIX16 / KSBSDIB17 - Fridge Freezer with Water and Ice Dispenser Manual
(article)
Freezer Kenwood KNF55B17 Installation Instructions Manual
55cm total frost free fridge freezer (20 pages)
Freezer Kenwood KTF60X15 Installation Instructions Manual
60cm frost free tall freezer (24 pages)
Freezer Kenwood KFF2DW14 Installation Instructions Manual
American style fridge freezer (20 pages)
Freezer Kenwood KSBSB15 Installation Instructions Manual
American style fridge freezer (20 pages)
Freezer Kenwood KSBSDX19 Installation Instructions Manual
American style fridge freezer with water dispenser (20 pages)
Freezer Kenwood KSBSB17 Installation Instructions Manual
American style fridge freezer (20 pages)
Freezer Kenwood KNF60HX18 Installation Instructions Manual
60cm total frost free (20 pages)
This manual is also suitable for:
Kfc60w15
Kfc60x15
Kfc55b15
Kfc55x15
Kfc55w15
Knfd55b17
...
Show all
Knfd55w17
Knfd55x17
Table of Contents
Save PDF
Print
Rename the bookmark
Delete bookmark?
Delete from my manuals?
Login
Sign In
OR
Sign in with Facebook
Sign in with Google
Upload manual
Upload from disk
Upload from URL


Need help?
Do you have a question about the KFC60B15 and is the answer not in the manual?
Questions and answers