
Related Manuals for Tork DGS100A


Summary of Contents for Tork DGS100A
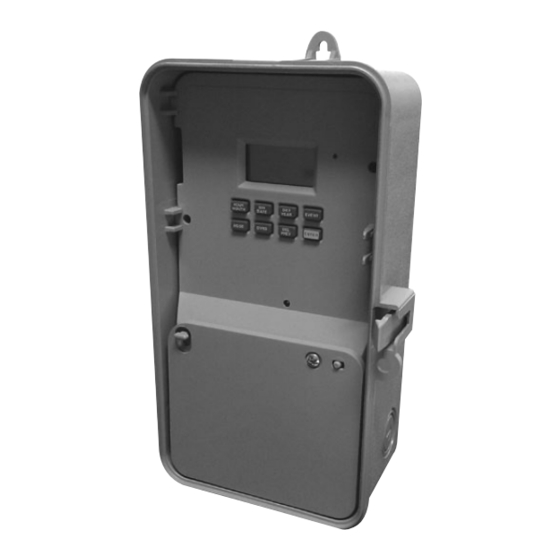
- Page 1 INSTRUCTION MANUAL LISTED DIGITAL TIME SWITCH 7 DAY DGS100A DGS100A-12 DGS100A-24 FOR TECHNICAL SUPPORT: 888.500.4598 888.500.4598 • www.nsiindustries.com MLI-198(B)
-
Page 2: Table Of Contents
TABLE OF CONTENTS Section Page Installation Instructions and Capabilities . . . . . . . . . . . . . . . . . . . . . . . . . . . 1 1 .0 Clock Format . -
Page 3: Capabilities
TORK MODEL DGS100A/DGS100A-12/DGS100A-24 7 DAY DIGITAL TIME SWITCH READ INSTRUCTIONS CAREFULLY BEFORE ATTEMPTING TO INSTALL TIME SWITCH. SEE WARNING ON FRONT PANEL – Failure to comply with instructions could result in personal injury and/or property damage . INSTALLATION: UNIT IS TO BE INSTALLED BY A LICENSED ELECTRICIAN 1 . -
Page 4: Clock Format
FEATURES Daylight saving - Automatic (user selectable) Leap year - Automatic compensation Power outage - Permanent schedule retention . Super capacitor provides 7 days of real time back up . Manual override - Until the next scheduled event AM/PM or 24 hour format - user selectable Multi-Voltage Input: 120 –... -
Page 5: Daylight Saving Time
NOTE: The day of the week will automatically set once the date is entered . 4.0 DAYLIGHT SAVING TIME After setting or modifying the date, display will show: a . For standard USA daylight savings (DSt), press MODE and go to step 5 .0 . b . -
Page 6: Duty Cycle And Signal
Now press MONTH and DATE buttons to modify the starting DST settings . Pressing DAY changes default day . EXAMPLE: A screen showing “04:01 SU S” represents April (04), the first week (01), Sunday (SU), and the Start (S) of daylight savings time . Press ENTER to save and the display will show: Now press MONTH and DATE buttons to modify the ending DST settings . -
Page 7: To Set Duty Cycle And Signal
the ON duration of each duty cycle . Skip the OFF duration entry . The load will turn ON for the duration of the ON period, and it will not be repeated . Once you’ve selected a cycle time, you need to program the schedule in Section 6 .0 . -
Page 8: Schedule Set Mode
Follow the same procedures above to set the second signal or duty cycle entries . Press MODE key to advance to next screen . 6.0 SCHEDULE SET MODE Press MODE key until display shows: 6.1 SETTING HOURS, MINUTES, AND DAYS Note: A schedule is needed for each event . - Page 9 Press ENTER to save . Follow the same procedures above to set more schedule entries . Press MODE when schedules are complete . Unit is in the AUTO (automatic) mode . The word FLASH may appear to indicate a new program has been written to memory .
-
Page 10: Review, Modify And Delete
7.0 REVIEW, MODIFY AND DELETE Press MODE to advance to any of the following MODES: 1 . AUTO MODE: In this automatic mode, the unit will execute the scheduled programs . Time, day, seconds and load status are displayed . C1is displayed when Duty Cycle is programmed and operating . - Page 11 daylight savings dates noted by ON . To remove daylight savings time setting, press DEL to change screen to show OFF . DST may be activated again by pressing DEL . Press ENTER to save changes . To change from the standard DST month/ week/day setting press HOUR and refer to step 4 .1 .
- Page 12 4 . A “PF” on the display indicates a Power Failure and the unit requires AC power to operate . The time and date are protected for 7 days by the super cap . The program is retained in permanent memory . 5 .
-
Page 13: Wiring Diagram
DGS100A 120/277VAC DGS100A-12 DGS100A-24... - Page 16 888.500.4598 • www.nsiindustries.com...
Need help?
Do you have a question about the DGS100A and is the answer not in the manual?
Questions and answers