
Related Manuals for GPX PJ308W


Summary of Contents for GPX PJ308W
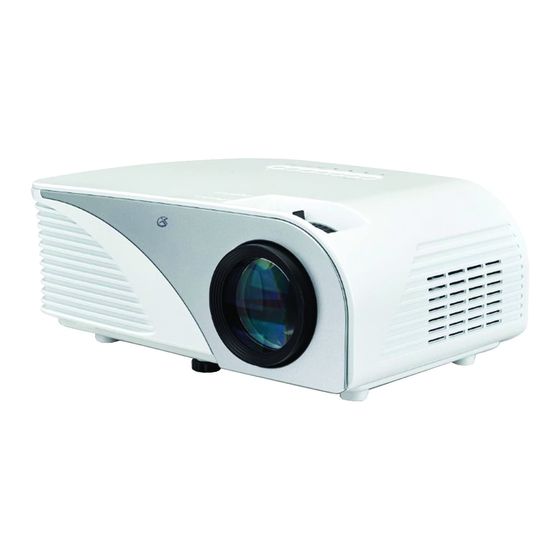
- Page 1 Mini Projector User’s Guide for Model PJ308W v1993-01 For the most up-to-date version of this User’s Guide, go to www.gpx.com...
-
Page 2: Important Safety Instructions
Safety Instructions & Warnings Important Safety Instructions Battery Warnings • Read these Instructions. • WARNING: Do not ingest battery, Chemical Burn Hazard. • Keep these Instructions. • If the remote control supplied with this product contains a coin/button cell battery and the coin/button cell battery is •... - Page 3 • If the air vents become clogged or dirty, use a vacuum or air WARNING: To reduce the risk of electric CAUTION compressor and nozzle to clean. Do not use canned air, as the RISK OF ELECTRIC SHOCK shock, do not remove cover (or back). No DO NOT OPEN gas may leave a residue inside the enclosure.
-
Page 4: Table Of Contents
Table of Contents Overview ................... 5 Features Includes Projector . -
Page 5: Overview
Overview Features Includes • Supports 480p, 720p, 1080i, 1080p • Remote control: requires 2 AAA batteries • Native Resolution: 800 x 480 (not included) • LED bulb with 20,000 hour life • 3.5mm to RCA audio/video adapter • Brightness: 800 lumens •... -
Page 6: Projector
Projector Controls & Features AUDIO HDMI IN AV IN VGA IN... -
Page 7: Settings Menu
1. Focus Adjustment 7. HDMI Input 2. Keystone Adjustment 8. Audio Output 3. Power Indicator Light 9. 3.5mm AV Input 4. Controls 10. Remote Sensor Press Volume to adjust the volume level. Aim here when using the remote. Press for menu navigation. 11. -
Page 8: Remote
Remote Functions Power Zoom Press to power ON or OFF. Press to zoom display image in or out. Zoom Play/Pause Mute Press to play or pause an individual Press to mute volume. chapter or track. Previous / Next Back / Fwd Press to skip between chapters or tracks. -
Page 9: Projector Setup
Projector Setup Power Plug the AC/DC power adapter (included) into a standard wall outlet and the DC power input on the rear of the unit. After connecting power, please allow approximately 5 seconds to pass before powering the unit ON. AUDIO HDMI IN AV IN... -
Page 10: Height Adjustment
Projector Setup Height Adjustment Rotate peg to adjust height (peg not to scale). Image Adjustment Focus Adjustment Keystone Adjustment Increase or reduce to image size to sharpen image. Adjust image corners to reduce image distortion. -
Page 11: Basic Setup
Note: The following information is intended as a guide to help you determine which type of use may best suit your application. Instructions for connecting the projector to other devices follows on pages 13-15. Basic Setup For use with an external media source using the projector's built-in speakers. Audio/Video cable from media source to projector... -
Page 12: Connecting To Other Devices
Connecting to Other Devices HDMI HDMI offers superior sound and picture quality, and is the easiest way to play media from a computer, Blu-Ray player, or other device with an HDMI output. Requires an HDMI cable (not included) and a device with an HDMI output. 1. -
Page 13: Audio/Video Input
Connecting to Other Devices Audio/Video Input Requires a 3.5mm to 3 x RCA audio/video adapter (included) and a RCA audio/video cable (not included). 1. Connect the 3.5mm to 3 x RCA audio/video adapter to the AV input on the unit. 2. -
Page 14: Computer Video (Vga)
Connecting to Other Devices Computer Video (VGA) Note: VGA connections do not support audio. You will need to use the computer's speakers to hear audio. Requires a VGA cable (not included) and a desktop PC or laptop with a VGA output. 1. -
Page 15: External Audio
External Audio Note: Speakers must have their own power supply. Requires a 3.5 mm to RCA stereo cable (not included). 1. Using a 3.5 mm to RCA stereo cable, connect the Audio Out on the projector to external powered speakers. 2. -
Page 16: Customer Support
Pour télécharger ce guide de l’utilisateur en anglais, espagnol ou français, ou pour obtenir des réponses à des questions fréquemment posées, consultez la rubrique d’assistance sur: www.gpx.com Copyright © 2018 Digital Products International (DPI, Inc.) All other trademarks appearing herein are the property of...
Need help?
Do you have a question about the PJ308W and is the answer not in the manual?
Questions and answers