Table of Contents
Advertisement
Quick Links
Download this manual
See also:
User Manual
Advertisement
Table of Contents

Subscribe to Our Youtube Channel
Related Manuals for ACTi KCM-3311


Summary of Contents for ACTi KCM-3311
- Page 1 Encoder Firmware V4.06.09 User’s Manual KCM-3311 3.6x Zoom H.264 4-Megapixel IP D/N PoE Indoor Dome with P-Iris, Advanced 2013/10/31...
- Page 2 Method 2: Using the Flush Mount ............9 Adjusting the Viewing Angle..............19 Accessing the Camera ......... 21 If you have DHCP server / router in your network: ....... 21 If you do NOT have DHCP server / router in your network: ....21 www.acti.com...
-
Page 3: Precautions
Operation of this equipment in a residential area is likely to cause harmful interference in which case the users will be required to correct the interference at their own expense. www.acti.com... -
Page 4: Safety Instructions
Safety Check Upon completion of any service or repairs to this video product, ask the service technician to perform safety checks to determine if the video product is in proper operating condition. www.acti.com... -
Page 5: Package Contents
Hardware Manual Introduction Package Contents KCM-3311 Accessories Warranty Card Drill Template www.acti.com... -
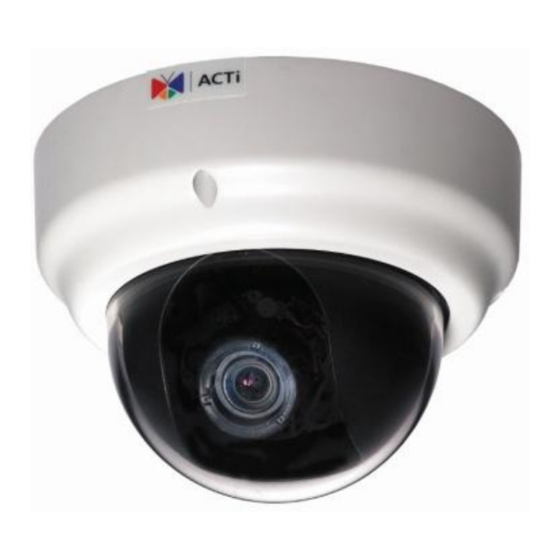
Page 6: Physical Description
The Power LED light will come back on and stay on after a few more seconds. The unit will start up with factory default settings automatically. Restore to Default Power On Complete On (3s) Off (about 15s) Off (10~15s) Stay On About 20 Seconds www.acti.com... - Page 7 Press the Power Button and then camera will reboot automatically. 3) Ethernet Port The IP device connects to the Ethernet via a standard RJ45 connector. Supporting NWAY, this IP device can auto detect the speed of local network segment (10Base-T/100Base-TX Ethernet). www.acti.com...
-
Page 8: Installation
2) Remove the cover Remove the dome cover by unscrewing the three attachments 3) Screw the camera to the wall/ceiling 4) Connect cables to connectors Please follow the instructions in the Physical Description section for how to connect to each connector. www.acti.com... -
Page 9: Method 2: Using The Flush Mount
Phillips screwdriver (not supplied) To mount the camera, follow the procedures below: 1) Drill a Hole on the Ceiling Drill a 184-mm diameter hole on the ceiling where you want to mount the camera, then route the network cable through the hole. www.acti.com... - Page 10 Hardware Manual 2) Remove the Camera Casing Remove the three (3) screws to detach the camera casing. www.acti.com...
- Page 11 Hardware Manual 3) Prepare the Flush Mount Unpack the flush mount. Retaining bracket Peel off the lining of the three (3) foam rubber pads and attach a rubber pad to each retaining bracket. www.acti.com...
- Page 12 Hardware Manual 4) Attach the Camera to the Mount Align the screw holes on the camera to the screw holes on the mount. Attach the three (3) screws to secure the camera to the mount. www.acti.com...
- Page 13 Using a screwdriver, loosen the retaining brackets according to the thickness of the ceiling. 6) Connect the Network Cable Route the network cable to pass through the gap of the mount and connect it to the Ethernet port of the camera. www.acti.com...
- Page 14 Position the retaining brackets to hold the mount on the ceiling. NOTE: The following illustration shows how the flush mount will look like when viewed from inside the ceiling. In case you cannot access inside the ceiling, use your fingers to position the retaining brackets through the hole. www.acti.com...
- Page 15 The camera has zoom lens and auto focus capabilities so you do not need to manually adjust the focus. Position the lens on the target view area. To accurately position the target area, view the camera’s Live View on the Web Configurator, please refer to Accessing the Camera on page 21 for more information. www.acti.com...
- Page 16 Align the screw holes on the camera and the camera casing. Attach the three (3) screws, supplied with the flush mount package, to secure the camera casing. 10) Attach the Flush Mount Cover Align the metal latches and the latches on the flush mount cover. www.acti.com...
- Page 17 Hardware Manual Push to firmly secure the flush mount cover latches. The mounted camera should look like the image below: www.acti.com...
- Page 18 Use your fingers to pry the flush mount cover off the ceiling. Insert a pointed object through the reset hole or position the lens. Attach the flush mount cover, please refer to Attach the Flush Mount Cover on page 16 for detailed instructions. www.acti.com...
-
Page 19: Adjusting The Viewing Angle
Adjustment Procedures 1. Loosen the tilt adjustment screws, adjust the tilt, and then tighten back the screws to fix the tilt position. 2. Move the rotation adjustment to rotate the viewing orientation. 3. Move the pan direction left or right. www.acti.com... - Page 20 If you need to tighten or loosen the pan adjustment knob and adjustment by hand is not enough, insert the bundled pan bracket wrench into the hole on the knob and then push it to the left or to the right. www.acti.com...
-
Page 21: Accessing The Camera
IP Dome Cam into the network and your IP device will acquire network address by itself. Find and access the device with our IP Utility program. You may download it at: http://www.acti.com/product/detail/Software/ACTi_Utility_Suite If you do NOT have DHCP server / router in your network: 1. - Page 22 6. After logging in, you will see the video from camera. To go to the main menu, click the ”Setup” button on the top left. If you are using a single camera, this is enough to access the device. www.acti.com...
- Page 23 12. Wait for 30 seconds, and open IE again to connect to the IP. (In this example, 192.168.0.101). For the second device or more you add into the network, please type the correct IP. 13. Adjust the default Video setting by going to Video & Audio ->Video www.acti.com...
Need help?
Do you have a question about the KCM-3311 and is the answer not in the manual?
Questions and answers