H3C WA2612-AGN Installation Manual
Wlan access point
Hide thumbs
Also See for WA2612-AGN:
- Web-based configuration manual (447 pages) ,
- Fundamentals configuration manual (137 pages) ,
- Command reference manual (131 pages)
Table of Contents
Advertisement
Quick Links
Advertisement
Table of Contents

Related Manuals for H3C WA2612-AGN


Summary of Contents for H3C WA2612-AGN
- Page 1 H3C WA2612-AGN WLAN Access Point Installation Manual...
-
Page 2: Table Of Contents
Table of Contents 1 Product Overview ...................... 1 Introduction ......................1 Hardware Specifications ..................1 LEDs ......................1 Interfaces ...................... 2 2 Preparing for Installation ..................2 Unpacking and Inspection ..................2 Temperature and Humidity Requirements ............2 Power Supply ......................2 3 Installing the AP ...................... -
Page 3: Product Overview
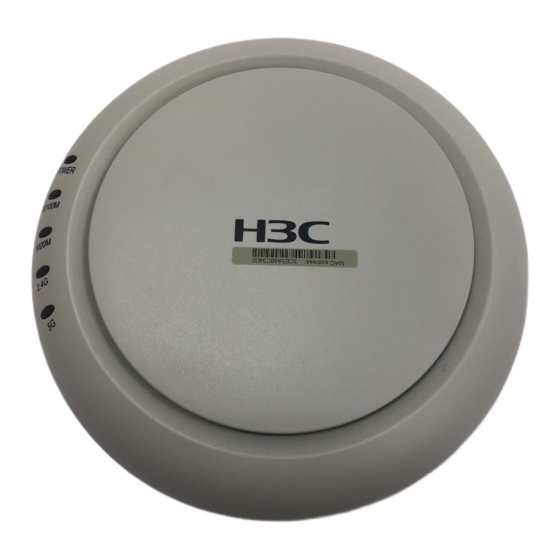
Introduction The H3C WA2612-AGN is an 802.11n access point (AP) product developed by H3C. The WA2612-AGN ships as a FIT AP (managed) and operate with wireless local area network (WLAN) switches or access controllers to provide wireless access for WLAN users. -
Page 4: Interfaces
Data is being transmitted or received. rapidly Interfaces The WA2612-AGN provides a console interface and an Ethernet interface. Note: The WA2612-AGN provides a reset button and a security slot. Descriptions of the interfaces on the WA2612-AGN: Interface Standards and Description... -
Page 5: Installing The Ap
2) Before installing the WA2612-AGN to the wall-mounting bracket, connect the network cable. The network cable can only be UTP cat-5. 3) Before connecting the console cable to the WA2612-AGN for debugging or pressing the reset button, you need to remove the device from the wall-mounting bracket. - Page 6 There are five mounting holes in total in the wall-mounting bracket of the WA2612-AGN. Select the three round holes (with a diameter of 5 mm, or 0.20 in) for the installation. Figure1 Mounting hole pattern of, the WA2612-AGN wall-mounting bracket:...
- Page 7 Locking the AP onto the wall-mounting bracket (optional) The WA2612-AGN has a security slot on the upper left side, which can be used to lock the AP to a fixed object to prevent theft. Follow these steps to lock the AP to a fixed object: Step1 Fix the security cable to a nearby fixed object.
-
Page 8: Mounting The Ap On A Ceiling
Note: The lock is user supplied. Mounting the AP on a ceiling Note: 1) To use this installation method, make sure that the thickness of the ceiling is less than 18 mm (0.71 in), and the ceiling can bear the weight of at least 5 kg (11.02 lb.). -
Page 9: Mounting The Ap To A T-Rail
(4) Wall-mounting bracket (5) Bolt cap (6) Key-hole clip Step3 Mount the WA2612-AGN to the wall-mounting bracket. For details, refer to Installing the AP on the wall-mounting bracket. Mounting the AP to a T-Rail Note: The width of the T-rail must be in the range of 14 mm (0.55 in) to 24 mm (0.94). - Page 10 0.20 in) on the wall-mounting bracket according to the dashed line shown in Figure8 and fix the screws to the T-rail holder. Step7 Check that the wall-mounting bracket is fixed to the T-rail. Step8 Install the WA2612-AGN to the wall-mounting bracket. For details, refer to Installing the AP on the wall-mounting bracket.
-
Page 11: Power Supply By Poe
Power Supply by PoE Power is supplied to the WA2612-AGN through a PoE module or PoE switch. Connect one end of an Ethernet cable to the Ethernet interface of the WA2612-AGN and the other end to an Ethernet interface of the PoE device. -
Page 12: Approved Channels
Approved Channels Use of this product is only authorized for the channels approved by each country. For proper installation, select your country from the country-selection list. To conform to FCC and other country restrictions, your product may be limited in the channels that are available. - Page 13 Este produto está homologado pela ANATEL, de acordo com os procedimentos regulamentados pela Resolução 242/2000 e atende aos requisitos técnicos aplicados. Este equipamento opera em caráter secundário, isto é, não tem direito a proteção contra interferência prejudicial, mesmo de estações do mesmo tipo, e não pode causar interferência a sistemas operando em caráter primário.
Need help?
Do you have a question about the WA2612-AGN and is the answer not in the manual?
Questions and answers