Table of Contents
Advertisement
Quick Links
Advertisement
Table of Contents

Related Manuals for Prestigio P3192W


Summary of Contents for Prestigio P3192W
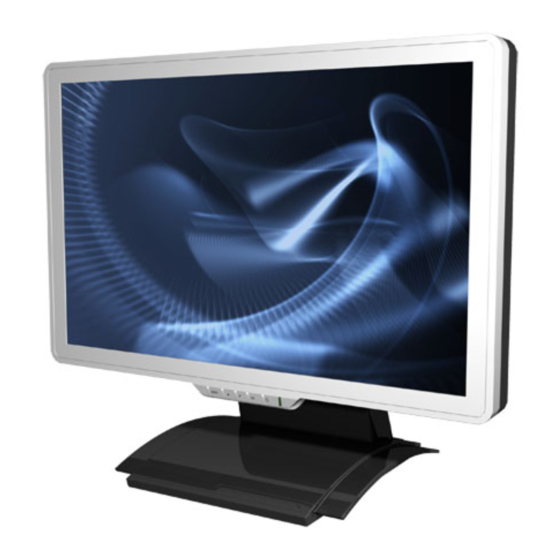
- Page 1 Prestigio P3192W LCD Monitor User Manual...
-
Page 2: Table Of Contents
WARNING ..................2 FOR YOUR SAFETY ..............2 INTRODUCTION ................3 FEATURES ..................3 SPECIAL NOTES ON LCD MONITORS ..........3 UNPACKING AND CHECKING OF THE PACKAGE CONTENTS ..4 CLEANING ..................5 HOW TO OPERATE THE MONITOR ........... 6 SUPPORTED TIMING ..............7 HOW TO USE THE OSD(ON SCREEN DISPLAY) .......8 OSD OPERATING TABLE ............. -
Page 3: Warning
WARNING: Do not operate the LCD monitor with unspecified power supply. Usage of incorrect voltage will cause malfunction and may cause fire or electric shock. For Your Safety SAFE storage temperature of the LCD Monitor is in a range of 0ºC to +40ºC. DO NOT install the monitor where sudden temperature changes may occur, or in humid, dusty, or smoky areas as it may cause fire, electric shock or damage. -
Page 4: Introduction
Introduction Bright and sharp images of text and graphics are what you will find with your LCD color monitor. They provide a maximum resolution of 1440x900pixels with a flicker-free display at up to 60 Hz refresh rate and offer bright, sharp and vibrant color display without the radiation emission and hazards of CRT monitors. -
Page 5: Unpacking And Checking Of The Package Contents
Unpacking and Checking of the Package Contents 1. Before unpacking your LCD Monitor, prepare a stable, level and clean surface near a wall outlet for your LCD Monitor. 2. Set the LCD Monitor box in an upright position and open from the top of the box before removing the right/left cushions. -
Page 6: Cleaning
Connectivity Chart ( Audio Model only) Audio in Connect with Audio cable. VGA connector Connect with VGA cable. Power Plug into the AC wall socket. (Dual Model only) DVI connector Connect with detachable DVI cable Cleaning Caution For safety reasons, turn-off the power switch and unplug the monitor before cleaning. -
Page 7: How To Operate The Monitor
How to Operate the Monitor Users can adjust the picture to the desired brightness and sharpness by following the instructions. 1 2 3 4 5 Buttons Functions To access the main menu MENU Enters the option or sub-menu Counter-clockwise movement in the OSD menu Decreases function setting level Clockwise movement in the OSD menu Increases function setting level... -
Page 8: Supported Timing
Supported Timing Vertical Horizontal Standard Resolution Frequency Frequency 31.5 KHz 60 Hz 640 x 480 37.5 KHz 75 Hz 37.9KHz 72Hz 720 x 400 31.5 KHz 70.1 Hz 35.2 KHz 56.3 Hz 37.9 KHz 60.3 Hz SVGA 800 x 600 46.9 KHz 75.0 Hz 48.1 KHz... -
Page 9: How To Use The Osd(On Screen Display)
How to Use the OSD (On Screen Display) Structure of OSD OSD function allows user to easily adjust the display to the desired quality. The OSD menu includes one main menu, one sub-menu of Advanced Setup and another sub-menu of Color Temperature. Main Menu Press the MENU key to bring up the OSD Main-Menu which allow user to adjust all the value settings of “BRIGHTNESS”, “CONTRAST”, “H-POSITION”,... -
Page 10: Color Temperature
COLOR TEMPERATURE After the Main Menu popped up Press the ▼ ▲ key to have the Color Temperature option selected and highlighted. Then, click on the MENU key to have the sub-menu popped up to proceed adjustment on each item (See the OSD Operating Table) Adjusted Press the OK to exit the sub-menu Press the ▼... - Page 11 Input Signal Swapping between Analog and Digital( Dual Model only) While the Analog signal is “on” Press both ▼ and ▲ keys at the same time, and hold the keys for one second for activating the input sourcing of Digital, and the DVI indicator will appear in upper right corner, then the Analog Signal will be disabled right then.
-
Page 12: Osd Operating Table
OSD Operating Table Main Menu Main Function Name Situation/Option Menu Adjust Brightness level BRIGHTNESS Adjust Contrast level CONTRAST Automatically adjusts clock phase and image AUTO ADJUST positions to optimal state (Disabled in DVI Mode) Adjust screen horizontal position (Disabled in H- POSITION DVI Mode) Adjust screen vertical position(Disabled in DVI... - Page 13 SUB-MENU Main Function Situation/Option Menu Name Menu Adjust the value of red color as desired Adjust the value of green color as desired GREEN Adjust the value of blue color as desired BLUE Determine the time that the OSD menu displays on the TIME OUT screen Select the desired language...
-
Page 14: To Adjust The Viewing Angle
To Adjust the Viewing Angle The viewing angle can be adjusted from downward 5 to upward 15 for optimal view angle setting. ( ±2° ) Downward Upward 5∘ 15∘ Power Management The LCD Monitor complies with the VESA DPMS (version 1.0p) power management proposal. -
Page 15: Troubleshooting Procedures
Troubleshooting Procedures If the LCD monitor fails to function correctly, please follow the following steps for a possible solution. 1. Perform the adjustments according to How to Operating the Monitor . 2. Refer to the following items if you cannot find a proper item listed in the How to or if the problem remains. -
Page 16: Safety Rules Compliance Statement
Safety Rules Compliance Statement CE compliance statement This LCD complies with the relevant CE standards, including: EN 55022、EN55024、2004/108/EC and 2006/95/EC...
Need help?
Do you have a question about the P3192W and is the answer not in the manual?
Questions and answers