Advertisement
Quick Links
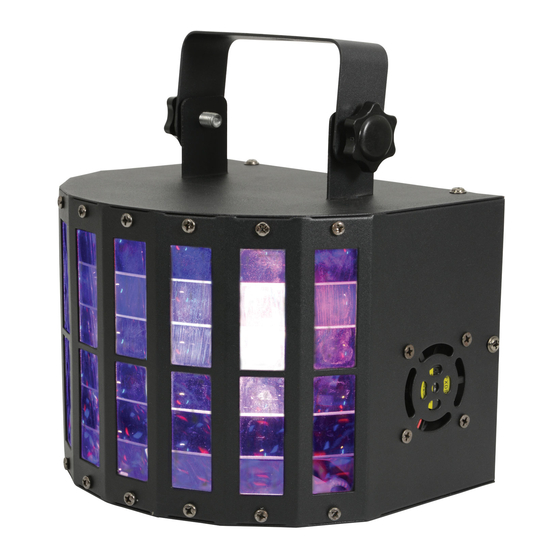
Derby9
9 colour derby beam effects
Due to continuous product development, please ensure that you have downloaded
the latest instruction manual for this product from the AVSL website at www.avsl.com
For the latest instruction manual updates and information on the entire range visit:
www.avsl.com
Advertisement

Related Manuals for Qtx Derby9


Summary of Contents for Qtx Derby9
- Page 1 Derby9 9 colour derby beam effects Due to continuous product development, please ensure that you have downloaded the latest instruction manual for this product from the AVSL website at www.avsl.com For the latest instruction manual updates and information on the entire range visit:...
- Page 2 Thank you for purchasing this product, we are sure that it will serve you for many years to come. To optimise it’s performance, please read these instructions carefully to familiarise yourself with the basic operations of the unit. Please retain them for future reference. This unit has been tested at the factory before being shipped to you. To prevent or reduce the risk of electrical shock or fire, do not expose the unit to rain or moisture.
- Page 3 Overhead rigging Important - the installation must be carried out by qualified service personal only. Improper installation can result in serious injuries and /or damage to property. Overhead rigging required extensive experience. Working load limits should be respected, certified installation materials should be used, the installed unit should be inspected regularly for safety. Make sure the area below the installation place is free from unwanted persons during rigging, de-rigging and servicing.
- Page 4 Rear panel features Key to rear panel diagram DMX Input - 3 pin male XLR interface for DMX connections DMX Output - 3 pin female XLR interface for DMX connections Mains power input IEC socket / AC 220-240V 50/60Hz LED function setting display - shows the various menus and the selected functions MENU button - used to select the different menu items UP button - used to move ‘up’...
-
Page 5: Control Effects
Main Menu To select any of the menu options, press the MENU button on the rear of the unit to select the mode required. Once you have made a selection then press ENTER to confirm. Use the UP and DOWN buttons to choose the desired menu option. Mode Selection Press the MENU button, the following functions can be selected and then confirmed using the ENTER button: Mode... -
Page 6: Troubleshooting
DMX address setting When controlling the unit (or units) with a DMX controller, each one must be set with a specific DMX address. You can choose to set all units with the same DMX address or you can set every unit with its own DMX address. If all units are set with the same DMX address all units will be synchronised and operate in the same way, you cannot control each unit separately.
Need help?
Do you have a question about the Derby9 and is the answer not in the manual?
Questions and answers