Table of Contents
Advertisement
Quick Links
Advertisement
Table of Contents

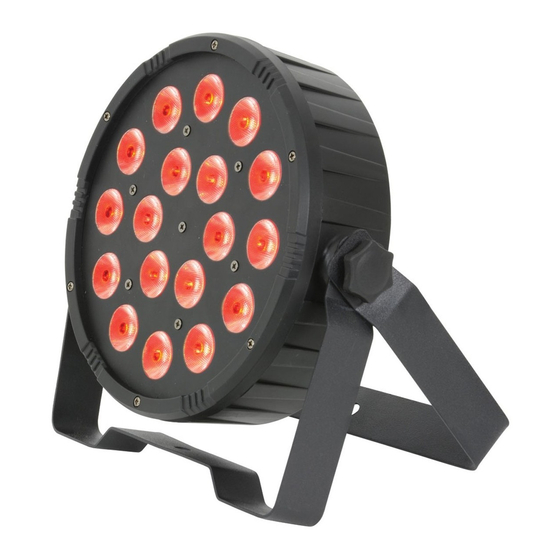
Summary of Contents for Qtx PAR100
- Page 2 Important - Initial set up Before commencing any programming check that the unit is in master mode. Programmes will not be stored if in slave mode. To check, proceed as follows: Press the MENU button repeatedly until the display shows [SLnd] followed by ENTER.
- Page 3 Single colour The unit can be set to produce one of 7 preset static colours with or without a strobe effect. It is recommended that the strobe effect be disabled during colour selection as follows. Press MENU repeatedly until the display shows [Shnd] (refer to appendix 1) followed by •...
- Page 4 DMX mode To control PAR cans via DMX, connect a DMX controller to the DMX IN socket of the unit via a balanced XLR lead. Extra fixtures can be controlled by the same DMX controller by connecting the DMX OUT of the first to the DMX IN of the second via another XLR lead and so on. The unit can be used as a 3-channel fixture to give basic RGB (red, green, blue) control or as 7-channel which will give the controller access to built-in functions such as auto programs and sound activation.
- Page 5 Other main menu items L L L L e e e e d d d d The 7-segment LED display can be programmed to turn off while the fixture is in use. [ Led] Press MENU repeatedly until the display shows (refer to appendix 1) followed by •...
- Page 6 Appendix 1 Menu Sub Description Menu Set DMX start address from1 to 512 Addr Set DMX control mode as 3 channels 3 ch Chnd Set DMX control mode as 7 channels 7 ch Master and slave setting, set unit as master MASt Master and slave setting, set unit as slave mode 1 SL 1...


Need help?
Do you have a question about the PAR100 and is the answer not in the manual?
Questions and answers