Advertisement
Quick Links
Advertisement

Related Manuals for Qtx PAR100


Summary of Contents for Qtx PAR100
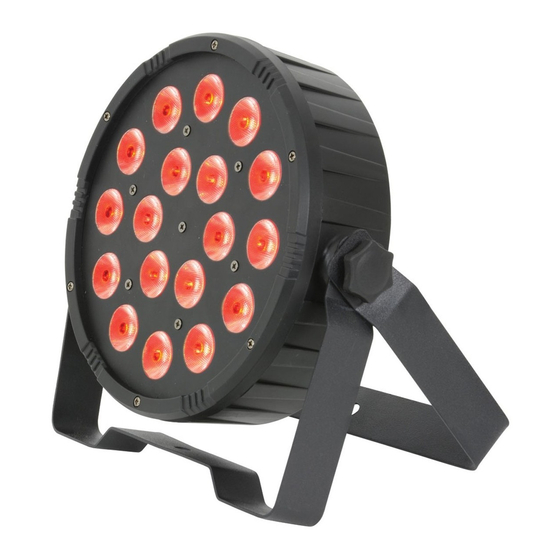
- Page 1 Item ref: 154.030UK PAR100 User Manual High Power 3-in-1 LED Plastic Par Can...
- Page 2 Important - Initial set up Before commencing any programming check that the unit is in master mode. Programmes will not be stored if in slave mode. To check, proceed as follows: • Press the MENU button repeatedly until the display shows followed by ENTER.
- Page 3 Built-in shows Pre-programmed auto-colour jump show • Press MENU repeatedly until the display shows (refer to appendix 1) followed by ENTER. • Using the UP and DOWN buttons select from the sub menu followed by ENTER. • The display will show . Press ENTER to confirm the setting and press and hold MENU for 5 seconds to save the program.
- Page 4 Single colour The unit can be set to produce one of 7 preset static colours with or without a strobe effect. It is recommended that the strobe effect be disabled during colour selection as follows. • Press MENU repeatedly until the display shows (refer to appendix 1) followed ...
- Page 5 Master/slave mode Multiple units can be linked together via the DMX connections to provide synchronised shows. Control is provided by the first unit which must be set to master mode. To set a unit as master, please refer to ‘Initial Set up’ at the beginning of this section. For the remaining cans there are four slave modes available, , , , and .
- Page 6 DMX addressing To enable a DMX controller to communicate correctly, the cans must be set to the required start addresses. • Press MENU repeatedly until the display shows (refer to appendix 1) followed by ENTER. • The display will show a number from to .
- Page 7 The display can be inverted for ease of programming if the fixture is mounted upside down. • Press MENU repeatedly until the display shows (refer to appendix 1) followed by ENTER. • The display will flash . Use the UP or DOWN button to invert the display followed by ENTER.
-
Page 8: Remote Control
Remote control BLACK OUT Mode Press the standby button once to enter standby mode, while closing the infrared remote control. Press the standby mode again and turn on the infrared remote control. AUTO Mode Press the auto button once to switch from any mode to automatic mode, this will change the colours automatically in a sequence. - Page 9 Appendix 1 Menu Sub Menu Description Set DMX start address from1 to 512 Set DMX control mode as 3 channels Set DMX control mode as 7 channels Master and slave setting, set unit as master ...
Need help?
Do you have a question about the PAR100 and is the answer not in the manual?
Questions and answers