Table of Contents
Advertisement
Quick Links
Advertisement
Table of Contents

Subscribe to Our Youtube Channel
Related Manuals for Dahua HDC-HFW3200C


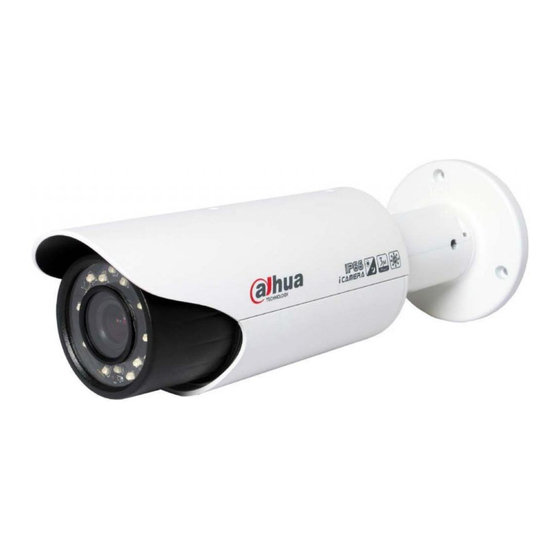
Summary of Contents for Dahua HDC-HFW3200C
- Page 1 HDC-HFW3200C Quick Start Guide Version 1.0.1...
- Page 2 Welcome Thank you for purchasing our digital camera! This quick start guide is designed to be a reference tool for your system. Please keep this start guide well for future reference. Please open the accessory bag to check the items one by one in accordance with the list below. Contact your local retailer ASAP if something is missing or damaged in the bag.
- Page 3 Thunder-proof device is recommended to be adopted to better prevent thunder. The grounding studs of the product are recommended to be grounded to further enhance the reliability of the camera. 6. Daily Maintenance Please shut down the device and then unplug the power cable before you begin daily maintenance work.
-
Page 4: Table Of Contents
Table of Contents Framework ........................... 1 Multiple-function Combination Cable ................ 1 Framework and Dimension ..................1 Installation............................ 3 Device Installation ......................3 Lens Adjustment ......................3 Bracket Adjustment ...................... 4 OSD Button ........................5 HDC Configuration Tool ......................7 Overview ........................7 Operation ........................ -
Page 5: Framework
1 Framework 1.1 Multiple-function Combination Cable You can refer to the following figure for multiple-function combination cable information. See Figure 1-1 Figure 1-1 Multiple-function combination cable Please refer to the following sheet for detailed information. Port Name Function Note DC 12V/ AC Power input Power port. - Page 6 Figure 1-2 Dimension illustration 1 Figure 1-3 Dimension illustration 2...
-
Page 7: Installation
2 Installation 2.1 Device Installation Please follow the steps listed below to install the device. Please refer to Figure 2-1 for reference. Please draw the installation holes in the installation surface and then mark three expansion bolts holes in the surface. Insert three bolts in the hole and secure firmly. ... -
Page 8: Bracket Adjustment
Figure 2-2 Lens adjustment 2.3 Bracket Adjustment You can use a M4 inner hex screw to control the bracket. Please use the inner hex wrench from the installation accessories bag to unfasten the screw. See Figure 2-3.The horizontal angle of the rear cover can rotate 360°, the tilt angle can rotate 90°... -
Page 9: Osd Button
Figure 2-3 Bracket adjustment 2.4 OSD Button The OSD button is shown as in Figure 2-4 and Figure 2-5. In Figure 2-5, press the button in the middle for a long time, you can go to the menu interface, Press the middle button for a short time, you can confirm current operation. Use the up/down button to select the menu item and then use the left/right button to set the parameter value. - Page 10 Figure 2-4 OSD button 1 Figure 2-5 OSD button 2...
-
Page 11: Hdc Configuration Tool
3 HDC Configuration Tool 3.1 Overview You can use HDC configuration tool to set the device parameter and upgrade the system. 3.2 Operation Double click the “485Configs.exe” icon; you can see an interface is shown as in Figure 3-1. In the device interface, you can view COM setup, parameter setup, OSD, upgrade information and etc. - Page 12 The upgrade interface is shown as in Figure 3-3. Figure 3-3 Upgrading interface You can refer to the following sheet for detailed information. Item Note Select the corresponding COM number. COM Setup Baud rate Default value is 9600. (Read-only) Parity None Data bit Default value is 8.
- Page 13 Exposure Shutter It is to set the shutter time. It includes the following modes. Auto: System auto adjusts the shutter time according to the current environments, Manual: 1/3, 1/6 … … 1/50s, 1/120s, … ; shutter time is 1/3, 1/6…1/50, 1/120…. ...
- Page 14 Figure 3-4 OSD setup...
-
Page 15: Appendix Toxic Or Hazardous Materials Or Elements
Appendix Toxic or Hazardous Materials or Elements Toxic or Hazardous Materials or Elements Component Name Cr VI PBDE Circuit Board Component ○ ○ ○ ○ ○ ○ ○ ○ ○ ○ ○ ○ Case ○ ○ ○ ○ ○ ○ Wire and Cable ○...
Need help?
Do you have a question about the HDC-HFW3200C and is the answer not in the manual?
Questions and answers