Table of Contents
Advertisement
Quick Links
® *
Technaxx
User Manual
Wireless Door Viewer TX-75
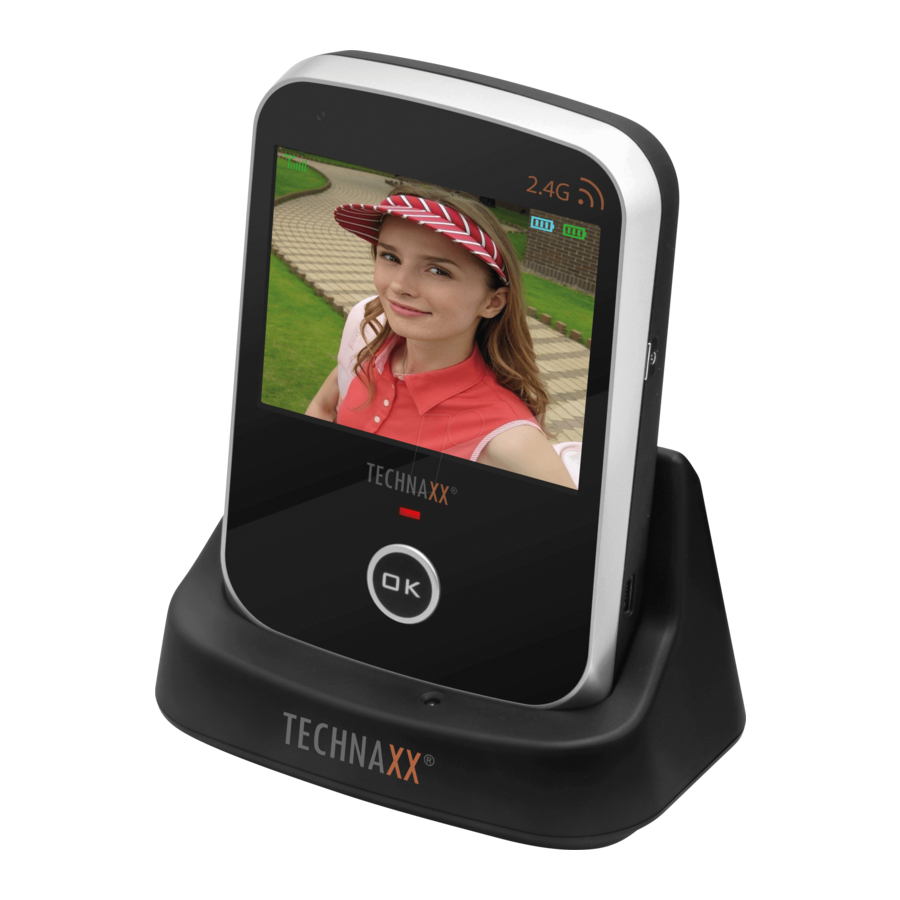
Digital door viewer with built-in camera
and 3.5" desk monitor
This device complies with the requirements of the standards referred to the Directive
R&TTE 1999/5/EC. The Declaration of Conformity you find here: www.technaxx.de/
(in bar at the bottom "Konformitätserklärung"). Before using the device the first time,
read the user manual carefully.
This device has a rechargeable battery. It must be fully charged before first
use. NOTE: Charge the battery of the device every 2–3 month if it is not used!
Service phone No. for technical support: 01805 012643 (14 cent/minute from
German fixed-line and 42 cent/minute from mobile networks).
Free Email: support@technaxx.de
Features
Doorbell function
Photo taking & Photo preview
Data backup up to 100
photos (built-in storage)
Portable desk monitor with 3.5" screen
Camera with
300000 pixel & 170° wide angle view
2.4GHz wireless transmission ~200m open
areas
Power saving function
USB charging function
IP32 camera protection
class (dripping water & <2.5mm impurity)
"Do-it-yourself" installation, camera
placement in peephole
Battery and Charge
● Be sure of the activity of the battery, please fully charge the new battery. ● When
the outdoor unit is at low power, the lamp of emitter would flash. It remains you to
charge. ● The battery of outdoor emitter can be changed or charged by USB. The
green light keeps bright. ● When the handset is at low power (≤ one bar), the red
indicator lamp will flash every second, please charge immediately. ● The handset
can be charged by the USB line, green light keeps bright. ● Charge-and-work
supported. When the battery is charged fully, it auto stops charging. ● Always use the
speccified battery type if needs replacement.
Note: Under low power, display, photo-taking functions cannot work properly.
Advertisement
Table of Contents

Summary of Contents for Technaxx TX-75
- Page 1 3.5" desk monitor This device complies with the requirements of the standards referred to the Directive R&TTE 1999/5/EC. The Declaration of Conformity you find here: www.technaxx.de/ (in bar at the bottom “Konformitätserklärung”). Before using the device the first time, read the user manual carefully.
-
Page 2: Technical Specifications
Technical specifications Outdoor Camera & Emitter Camera / Lens 300000 pixels & 170° wide-angle Power supply Replaceable rechargeable lithium battery 7800mAh (type 18650) Charging time ~12 hours Working time ~39 hours continuously ~52 days (monitoring mode) Standby time ~1 year (power saving mode) charge the battery min. -
Page 3: Product Overview
Product Overview Outdoor Camera (installation in peephole) 1 Camera 3 Back side adhesive tape 2 Doorbell button 4 Connection Cable doorbell button of the outdoor camera: Press this button to call. (BLUE LED: shall be on when ring the bell) Emitter 1 USB charging Port 4 Connector... - Page 4 Start up key: Insert battery, press this button to confirm mode. 3. Match code key “Reset”: To match code with the indoor handset, incorrect using this button may make device work improperly. Indoor Monitor (Indoor Handset) 1 Switch on/off, match code 5 Photo shooting/Delete 2 USB port 6 Working indicator...
-
Page 5: Before Installation
Before installation Insert into both devices the right rechargeable battery (Handset: BP-6M; Emitter: battery pack type 18650), charge both devices (see chapter Battery and Charge) and test the device. For charging the monitor with the table charger, pop up the stand of the handset and insert it into the table charger. - Page 6 Please use the round steel Wire goes through Adjust and fix camera. board if door peephole is peephole bigger than camera. Hang steel board Tighten screw to fix steel Tighten screw to fix steel screw. board. board. Connect cable socket to Cover back.
-
Page 7: Battery Installation
Door Screw Outdoor camera Emitter Connection wire Battery Installation In the picture you see on the left side the Emitter and on the right side the monitor (indoor handset). 1 = Connector for the battery, 2 = Battery Handset switch on/off Put battery into the handset, press and hold "switch”... - Page 8 Switch on/off USB port Signal Emitter battery indicator Handset battery indicator Modes setting 1. and 2. with ARROW UP: Non-power saving setting: Switch to “ON” to select non- power saving mode, and press “Start” to confirm. In this mode, you can monitor outside by pressing “OK”...
- Page 9 Doorbell: Press doorbell, indoor monitor shows live video from outside and rings for 30s. Press “OK” to stop ringing; Press “OK” again to turn off screen. Photo taking: Start taking photos: Monitor is ON and live video is shown Press to take one photo one press one photo.
-
Page 10: Hazard, Safety And Warning Notices
Left side: Monitor (indoor handset) Right side: Emitter Power Switch Reset Start Hazard, safety and warning notices ► Incorrect use of the device and accessories can be dangerous for you and others and can damage or destroy your device. We therefore ask you to read and strictly observe the following Hazard, safety and warning notices. - Page 11 (use a clean drapery). Avoid using rough, coarse-grained materials or solvents/aggressive cleaner. Wipe the cleaned device accurately. Important Notice: Should battery fluid leak from a battery, wipe the battery case with a soft cloth dry. Distributor: Technaxx Deutschland GmbH & Co.KG, Kruppstr. 105, 60388 Frankfurt a.M., Germany...


Need help?
Do you have a question about the TX-75 and is the answer not in the manual?
Questions and answers