
Related Manuals for Walker Edison WQ44CFD


Summary of Contents for Walker Edison WQ44CFD
- Page 1 Item #: WQ44CFD Assembly Instructions For our most current instructions, to request missing, lost or broken parts, or for any other Customer Service issues, please visit our website at www.walkeredison.com or call us at 877-207-5906. Revised 02/2011...
-
Page 2: General Assembly Guidelines
General Assembly Guidelines Ensure that all parts and hardware are available before beginning assembly. Follow each step carefully to ensure the proper assembly of this product. III. Two people are recommended for ease in the assembly of this product. The main types of hardware used to assemble this product are: wood dowels, cam bolts and locks, bolts and screws. -
Page 3: Parts List
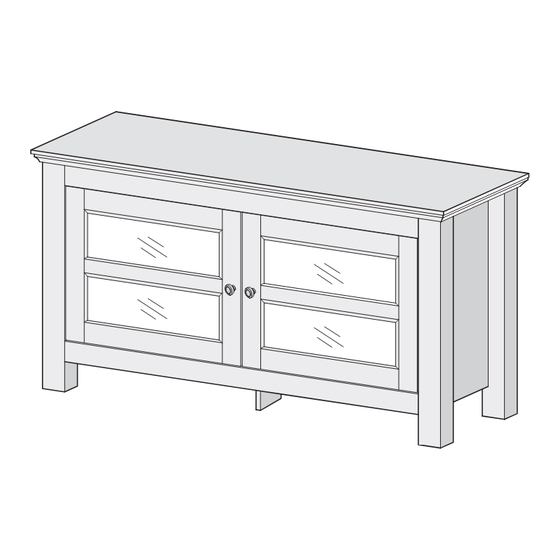
Parts List... -
Page 4: Hardware List
Hardware List Long bolt Door stopper plate Door hinge Door hinge Short bolts... - Page 5 Screw cam bolts (B) into stand top (1). Screw cam bolts (B) into panel (2). Insert dowels (A) into slat (17).
- Page 6 Attach slat (17) to panel (2) using cam bolts and dowels as guides. Insert cam locks (C) into slat (17) and tighten with a screwdriver. Insert dowels (A) into panels (2,3,4,15) and shelf (9). Screw cam bolts (B) into panels (2,3,4) and shelf (9).
- Page 7 Insert dowels (A) into slat (10). Attach block (13) to slat (10) using screws (F). Attach door stopper (D) to block (13) using screws (E). Screw cam bolts (B) into legs (5,6,7,8). Insert dowels (A) into legs (5,6,7,8).
- Page 8 Attach support leg (16) to panel (2) using long bolts (G). Tighten long bolts (G) with wrench (S). Attach panel (15) to panel (2) using cam bolts and dowels as guides. Insert cam locks (C) into panel (15). Attach shelf (9) to panel (15) using cam bolts and dowels as guides. Tighten cam locks (C) with a screwdriver.
- Page 9 Attach legs (5,6) to panel (3) using cam bolts and dowels as guides. Insert cam locks (C) into panel (3) and tighten with a screwdriver. Attach legs (7,8) to panel (4) using cam bolts and dowels as guides. Insert cam locks (C) into panel (4) and tighten with a screwdriver.
- Page 10 Attach the panel (2,9) assembly to the panel (3) assembly using cam bolts and dowels as guides. Insert cam locks (C) into panel (2) and shelf (9) and tighten with a screwdriver. Two cam locks (C) will be inserted into panel (2) and into shelf (9).
- Page 11 Attach the panel (4) assembly to panel (2), shelf (9) and slat (10) using cam bolts and dowels as guides. Insert cam locks (C) into panel (2), shelf (9) and slat (10) and tighten with a screwdriver. Insert cam locks (C) into the frame assembly. Attach stand top (1) to the frame assembly using cam bolts and dowels as guides.
- Page 12 Cover all visible cam locks with stickers (U) as desired. Attach handles (M) to doors (11,12) using short bolts (N). Attach door stopper plates (H) to doors (11,12) using screws (J). Attach door hinge (L) to door (11) using screws (J). Attach door hinge (K) to door (12) using screws (J).
- Page 13 Insert plastic pivots (P) into panel (2) and slat (10). Insert door hinge (K) into left bottom plastic pivot (P). Slide door (11) into place. Attach door hinge (K) to door (11) using screws (J). Insert door hinge (L) into right bottom plastic pivot (P). Slide door (12) into place. Attach door hinge (L) to door (12) using screws (J).
- Page 14 Secure back panel (14) using plastic wedges (Q) and screws (R).
Need help?
Do you have a question about the WQ44CFD and is the answer not in the manual?
Questions and answers