Advertisement
Quick Links
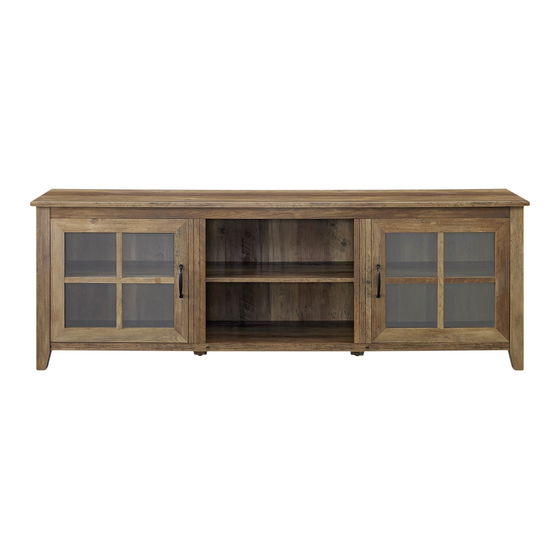
Item # : W70CSGD
Assembly Instructions
马专
a
Please visit our website for the most current instructions, assembly t,加
report damage,
requ est parts. www.walkeredison.com
Walker Edison.
Revised 27/08/2018
口,r
Copyright © 2018 by Walker Edison Furnitu
e Co., LLC.剑l rights reserved.
P.1
『
Advertisement

Related Manuals for Walker Edison W70CSGD


Summary of Contents for Walker Edison W70CSGD
- Page 1 Item # : W70CSGD Assembly Instructions 马专 Please visit our website for the most current instructions, assembly t,加 report damage, requ est parts. www.walkeredison.com Walker Edison. Revised 27/08/2018 口,r Copyright © 2018 by Walker Edison Furnitu e Co., LLC.剑l rights reserved. 『...
- Page 5 Insert wooden dowel (A) and secure cam bolt (B) with screwdriver into part (1,2,3,4,8)
- Page 6 Insert wooden dowel (A) into part (10,9,5,16).
- Page 7 Insert wooden dowel(A) into part (7,17)
- Page 8 Secure cam bolt (B) with screwdriver into part (6)
- Page 9 Attach part (1,5,2) by using cam bolts (C)
- Page 10 Attach part (3,16,4) by using cam bolts (C)
- Page 11 Attach part (8,9,10) by using cam bolts (C)
- Page 12 Attach part (17) to part (18) using bolt (E) with hex key (K).
- Page 13 Attach part (9,10) to part (17) using bolt (E) with hex key (K).
- Page 14 Attach Part (7) to Part (9,10) with fixed wooden dowel...
- Page 15 Attach part (1,2,7,17) by using cam bolts (C)
- Page 16 凹 自|百 Step 12 乒 � · · · · 吧 。 • . [ 市 ’ . Attach part (7,17,3,4) by using cam lock (C) Copyright © 2018 by Walker Edison Furnitu e Co., LLC.剑l rights reserved. P.16 『...
- Page 17 Slide back panel (11,12) into grooves to attach part (2,9,10,4)
- Page 18 Attach part (6) to part (5,9,10,16) using cap Lock (C)
- Page 19 Secure the back panel (11,12) by using the plastic wedge (F) and screw (G).
- Page 20 Place sticker (D) Over holes as per diagram.
- Page 21 Insert shelf support pin (Q) into part (1,2,9,10,4)
- Page 22 Put Shelf (13,14) into the console .
- Page 23 Insert door hinge (N) into part (15) with screw (P), Secure Handle (H) with Bolt (J) into the Door frame Inse...
- Page 24 Inset screw (P) to secure part (15) to part(5)
- Page 25 Insert screw (P) to secure part (15) to part (16)
- Page 26 Adjust part (18) to adjust stability...
Need help?
Do you have a question about the W70CSGD and is the answer not in the manual?
Questions and answers