Table of Contents
Advertisement
Quick Links
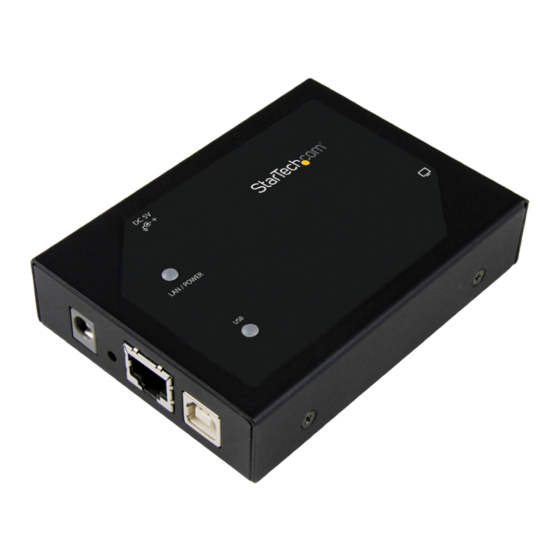
VGA over IP Extender - 1920 x 1200
IPUSB2VGA2
*actual product may vary from photos
DE: Bedienungsanleitung - de.startech.com
FR: Guide de l'utilisateur - fr.startech.com
ES: Guía del usuario - es.startech.com
IT: Guida per l'uso - it.startech.com
NL: Gebruiksaanwijzing - nl.startech.com
PT: Guia do usuário - pt.startech.com
For the most up-to-date information, please visit: www.startech.com
Manual Revision: 10/27/2016
Advertisement
Table of Contents

Related Manuals for StarTech.com IPUSB2VGA2


Summary of Contents for StarTech.com IPUSB2VGA2
- Page 1 DE: Bedienungsanleitung - de.startech.com FR: Guide de l'utilisateur - fr.startech.com ES: Guía del usuario - es.startech.com IT: Guida per l'uso - it.startech.com NL: Gebruiksaanwijzing - nl.startech.com PT: Guia do usuário - pt.startech.com For the most up-to-date information, please visit: www.startech.com Manual Revision: 10/27/2016...
- Page 2 StarTech.com. Where they occur these references are for illustrative purposes only and do not represent an endorsement of a product or service by StarTech.com, or an endorsement of the product(s) to which this manual applies by the third-party company in question. Regardless of any direct acknowledgement elsewhere in the body of this document, StarTech.com hereby...
-
Page 3: Table Of Contents
Table of Contents Overview ....................... 1 About this product ............................1 Packaging contents ............................1 System requirements.............................1 Front view ................................2 Rear view ................................2 Software installation ................... 3 Software installation for Windows computers ..................3 Software installation for Mac computers (USB mode only).............4 Hardware installation .................. 4 Hardware installation for USB mode ......................4 Hardware installation for Ethernet mode ....................4 Basic configuration .................. -
Page 4: Overview
Microsoft® Windows® (32 or 64 bit) 10 , 8 or 8.1 , 7, Vista (USB mode only) Apple OSX El Capitan (10.11), Yosemite (10.10), Mavericks (10.9) Mountain Lion (10.8), Lion (10.7), Snow Leopard (10.6) System requirements are subject to change. For the latest requirements, please visit www.startech.com/IPUSB2VGA2 Quick start guide... -
Page 5: Front View
Front view 1. VGA output port 2. USB 2.0 peripheral ports 3. Audio line in 4. Audio line out Rear view 1. Power adapter port 2. LAN port 3. USB host port 4. Factory reset button Quick start guide... -
Page 6: Software Installation
Note: you will need to restart your computer during the software installation process. Please be sure to save any unsaved material before you install the software. 1. Download the latest software from the StarTech.com website: http://www.startech.com/IPUSB2VGA2 2. The software will be compressed in a .zip folder. Extract the contents of the folder to a location on your computer that’s easy to access, such as your Desktop or Downloads... -
Page 7: Software Installation For Mac Computers (Usb Mode Only)
Note: you may need to restart your computer during the software installation process. Please be sure to save any unsaved material before you install the software. 1. Download the latest software from the StarTech.com website: http://www.startech.com/IPUSB2VGA2 2. The software will be compressed in a .zip folder. Extract the contents of the folder to a location on your computer that’s easily to access, such as your Desktop. -
Page 8: Basic Configuration
2. Connect the included power adapter to an AC power outlet and to the video adapter’s power adapter port. 2. Connect the CAT5 cable (included) to the video adapter’s LAN port and to an Ethernet port on your network, such as a router or NIC on your computer. 3. -
Page 9: Basic Configuration For Mac Computers
2. The USB Server software will now display a list of connected devices. If your network supports DHCP (assigns IP addresses automatically) the video adapter will be listed below the Devices column along with your display below it and the status of your display will be listed as Free and you can continue to step 3. - Page 10 Change the VGA adapter’s IP address If your computer’s IP address can not be changed, if for example your entire network is on a non-DHCP network with different subnet than the VGA adapter’s default IP address, you can follow the steps below to configure the VGA adapter to match your network’s subnet. a) With the USB server application open, right-click on the main VGA video adapter device and select Server Configuration.
- Page 11 Display configuration for Mac computers USB mode only 1. After you’ve completed the Hardware Installation for USB mode steps, click the System Preferences menu, and then click Display Preferences. 2. Use the Display Preferences screen to configure the monitor to your desired settings, including resolution and orientation.
- Page 12 Automatic Device Connection Certain devices can be set to automatically connect (if available) to the host computer, when the software is running. This will allow the video and/or the audio to automatically connect, whenever the USB Server software is launched, or if unavailable originally, to automatically connect whenever the device does become available.
-
Page 13: Technical Support
Limitation of Liability In no event shall the liability of StarTech.com Ltd. and StarTech.com USA LLP (or their officers, directors, employees or agents) for any damages (whether direct or indirect, special, punitive, incidental, consequential, or otherwise), loss of profits, loss of business, or any pecuniary loss, arising out of or related to the use of the product exceed the actual price paid for the product. - Page 14 Hard-to-find made easy. At StarTech.com, that isn’t a slogan. It’s a promise. StarTech.com is your one-stop source for every connectivity part you need. From the latest technology to legacy products — and all the parts that bridge the old and new — we can help you find the parts that connect your solutions.
Need help?
Do you have a question about the IPUSB2VGA2 and is the answer not in the manual?
Questions and answers