Table of Contents
Advertisement
Quick Links
Instruction Manual
Wireless Infrared IR Remote Extender - Up to 115 ft
IREXT
DE: Bedienungsanleitung - de.startech.com
FR: Guide de l'utilisateur - fr.startech.com
ES: Guía del usuario - es.startech.com
IT: Guida per l'uso - it.startech.com
NL: Gebruiksaanwijzing - nl.startech.com
PT: Guia do usuário - pt.startech.com
Packaging Contents
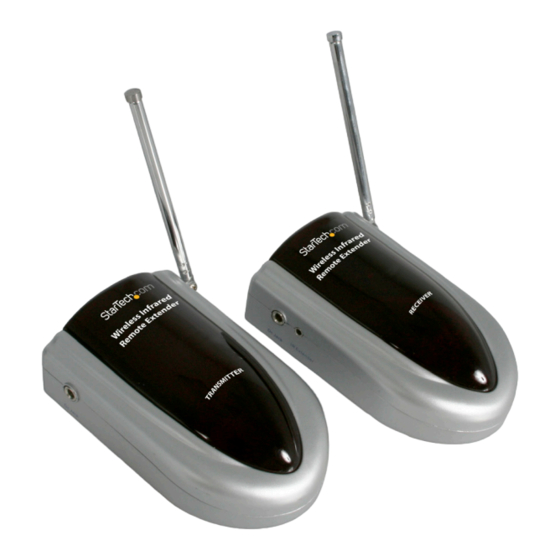
• 1 x IREXT receiver
• 1 x IREXT transmitter
• 2 x Power Adapters
• 1 x User Guide
System Requirements
• Available power outlets near transmitter and receiver
locations
• IR controlled device with remote
Installation
Basic Setup
1. Situate the Receiver unit, near the device you wish to control
remotely (e.g. Television, Home Theatre Receiver etc.).
2. Connect one of the AC power adapters provided, to an available
power outlet.
3. Insert the remaining connector from the AC power adapter used
in Step 2, into the port marked DC Jack located on the left side of
the Receiver unit.
4. Situate the IR Extender Probe near the remote sensor of the
device you wish to control. Insert the metal connector provided
by the probe, into the IR Extender port located on the left side of
the Receiver unit.
5. Situate the Transmitter unit, near the location from which you
wish to initiate control, ensuring that an available power outlet is
easily accessible.
6. Connect the remaining power adapter to an available power
outlet.
7. Connect the power adapter to the DC Jack, located on the
Transmitter unit.
The Wireless Infrared Remote Extender is now ready for use.
8.
For the most up-to-date information, please visit: www.startech.com
The red coloured area is the IR
sensor zone. Please make sure
to always point your IR remote
in this area.
*actual product may vary from photos
Manual Revision: 01/13/2012
Advertisement
Table of Contents

Subscribe to Our Youtube Channel
Summary of Contents for StarTech.com IREXT
-
Page 1: Instruction Manual
1. Situate the Receiver unit, near the device you wish to control remotely (e.g. Television, Home Theatre Receiver etc.). 2. Connect one of the AC power adapters provided, to an available power outlet. 3. Insert the remaining connector from the AC power adapter used in Step 2, into the port marked DC Jack located on the left side of the Receiver unit. 4. Situate the IR Extender Probe near the remote sensor of the device you wish to control. Insert the metal connector provided by the probe, into the IR Extender port located on the left side of the Receiver unit. 5. Situate the Transmitter unit, near the location from which you wish to initiate control, ensuring that an available power outlet is easily accessible. 6. Connect the remaining power adapter to an available power outlet. The red coloured area is the IR 7. Connect the power adapter to the DC Jack, located on the sensor zone. Please make sure Transmitter unit. to always point your IR remote The Wireless Infrared Remote Extender is now ready for use. in this area. For the most up-to-date information, please visit: www.startech.com Manual Revision: 01/13/2012... -
Page 2: Specifications
• Consult the dealer or an experienced radio/TV technician for help. Use of Trademarks, Registered Trademarks, and other Protected Names and Symbols This manual may make reference to trademarks, registered trademarks, and other protected names and/or symbols of third-party companies not related in any way to StarTech.com. Where they occur these references are for illustrative purposes only and do not represent an endorsement of a product or service by StarTech.com, or an endorsement of the product(s) to which this manual applies by the third-party company in question. Regardless of any direct acknowledgement elsewhere in the body of this document, StarTech.com hereby acknowledges that all trademarks, registered trademarks, service marks, and other protected names and/or symbols contained in this manual and related documents are the property of their respective holders.


Need help?
Do you have a question about the IREXT and is the answer not in the manual?
Questions and answers