Table of Contents
Advertisement
Quick Links
Advertisement
Table of Contents

Related Manuals for Launch CRP229


Summary of Contents for Launch CRP229
- Page 1 Version: V1.00.000 Revised date: 04-10-2014...
- Page 2 LAUNCH trademarks, service marks, domain names, logos and company may erase the data stored on CRP229. names are not registered, LAUNCH claims other rights associated with • Store CRP229 out of reach of children and do not allow children to use it...
-
Page 3: Table Of Contents
1 Introduction ................... 1 happen. 1.1 Product Profile ..................1 • Do not disconnect power abruptly when CRP229 is being formatted or in process of uploading or downloading. Or else it may result in program 1.2 Features ....................1 error. - Page 4 LAUNCH CRP229 User's Manual 5.5 Start Diagnosing ................14 3.9.1 Move items on the desktop ............6 5.5.1 Read trouble code ..............15 3.9.2 Delete items from the desktop ........... 6 5.5.2 Clear trouble code ..............16 3.9.3 Change your wallpaper .............. 6 5.5.3 Read data stream ..............
- Page 5 LAUNCH CRP229 User's Manual 6.2 Browser ..................... 19 6.10 Clear Cache..................23 6.2.1 Open browser ................19 7 FAQ ...................... 23 6.2.2 Download files ................20 6.2.3 Manage bookmarks ..............20 6.2.4 Set homepage ................20 6.2.5 Clear history ................20 6.3 Camera ....................
-
Page 6: Introduction
Wi-Fi connection is supported; Web browser: Users can make online search and visit any website. CRP229 is a new Android-based vehicle trouble diagnostic device Other Android-based applications can be customized to install or developed for internet applications. It inherits from LAUNCH’s advanced uninstall. -
Page 7: Knowledge Of Crp229
2.1 CRP229 Display Tablet 2 Knowledge of CRP229 There are two main components to the CRP229 system: • CRP229 Display Tablet -- the central processor and monitor for the system (For details, please refer to Chapter 2.1.) Fig. 2-1 •... -
Page 8: Crp229 Accessory Checklist
LAUNCH CRP229 User's Manual 2.2 CRP229 Accessory Checklist Table 2-1 formulates interfaces and indicators of CRP229 display Common accessories for each CRP229 are same, but for different tablet: destinations, the accessories of CRP229 (such as diagnostic software, Name & Descriptions testing connectors) may vary. -
Page 9: Preparations
Press the POWER key to turn on CRP229. Many screen lock modes are available on CRP229. Take the preset screen-lock mode as example for demonstration. Note: If it is the first time you use CRP229 or CRP229 keeps idle for a... -
Page 10: Lock The Screen
3.5.1 Lock the screen to configure the CRP229 system settings and to view the • When CRP229 is ON, press POWER key once to lock the screen; general information about the Display Tablet. • The system will lock the screen automatically after CRP229 remains to display a list of applications that are currently running. -
Page 11: Notification Bar
LAUNCH CRP229 User's Manual 3.9.2 Delete items from the desktop Connected to a PC USB bound is activated Hold and press the item to be moved until it is shaken. Drag it on the trash icon, then release it. Available Wi-Fi is... -
Page 12: Set Screen Lock
Note: Alternatively, you can also press the volume keys to control the volume of the current application. 3.10 Input Method 3.10.1 Activate / hide on-screen keyboard By default, Android keybaord is available on CRP229. • To input text, tap the input box and the on-screen keyboard will be Fig. 3-6 activated automatically. -
Page 13: Wi-Fi Setting
Once it is connected successfully, tap the Wi-Fi from the list to view its name, link speed, security type, IP address etc. When CRP229 is in range of the WLAN, it will connect to the previously linked network automatically. -
Page 14: How To Diagnose
Select testing connectors Near the center of dashboard If CRP229 is testing vehicles equipped with universal OBD II 16 PIN diagnostic socket, please use the included diagnostic connector. (For vehicles with non-OBD II 16 PIN diagnostic socket, a non-16 PIN Fig. -
Page 15: Diagnosis Flowchart
Connect the other end of the diagnostic main cable to DB15 connector of CRP229 and then tighten the captive screws. 5.2 Diagnosis Flowchart For new users, please follow the operation chart shown in Fig. 5-2 to get familiar with and start using CRP229. -
Page 16: Product Registration
LAUNCH CRP229 User's Manual 5.3 Product Registration 5.3.1 Product registration Make sure the diagnostic main cable is properly connected to CRP229 before registering CRP229. Tap the icon on the desktop to launch the application, a disclaimer page will pop up on the window. -
Page 17: Diagnostic Software Layout
Refer to “Chapter 5.3.3 in the future. Function menu” for details. to configure the CRP229 system settings and to view the general information about the Display Tablet. to display a list of applications that are currently running. -
Page 18: Function Menu
Quick Check (Coming soon) Login button: Tap it to log in or register CRP229. Once users have logged in successfully, it will change to your username. Maintenance (Coming soon) Vehicle diagnosis software display area: To start diagnosing a Data To view and play back all diagnostic records. -
Page 19: Start Diagnosing
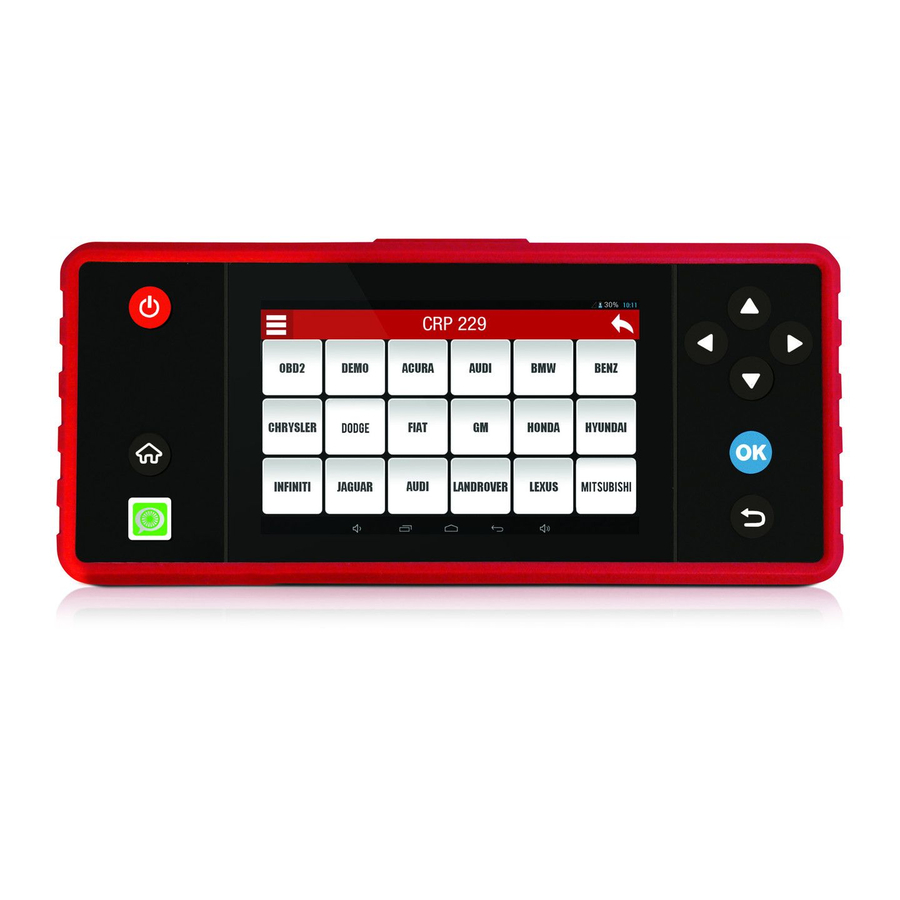
LAUNCH CRP229 User's Manual to return to the main menu screen. 5.5 Start Diagnosing Tap “Diagnose” on the main function menu to enter the vehicle selection page. Fig. 5-9 By default, all diagnostic software are selected. To select certain software, , and then uncheck the box next to Version. -
Page 20: Read Trouble Code
LAUNCH CRP229 User's Manual Fig. 5-12 Fig. 5-14 2. Tap the desired version to start initializing. After initializing is complete, 4. Tap “Engine”, the system will jump to the function menu. See Fig. 5-15. the screen will display as below: Fig. -
Page 21: Clear Trouble Code
LAUNCH CRP229 User's Manual : To save the current data in text format. be activated and will change into : To save the current data in screenshot form. To select all items of the current screen, tap , and then tap “OK” to enter data stream reading interface. -
Page 22: Quick Check (Coming Soon)
LAUNCH CRP229 User's Manual 5.9 golo (Coming soon) please configure the accurate system time). The file is stored in “Data”. For details on playback operations, please refer to Chapter 5.8 “Data”. 5.10 Update to return to the function selection screen. -
Page 23: Forgot Password
LAUNCH CRP229 User's Manual 5.11.3 Forgot Password 6 Others This option lets you to retrieve your password via email. 6.1 Email 5.11.4 Log Out The function allows you to send and receive email. You can add POP3 or This option allows you to log out the system. -
Page 24: View An Email
6.1.6 Delete an email account Enter main menu screen, and click Email to enter account screen. Once Email account is removed, CRP229 stops receiving the emails from Tap the desired email account. this account, but all messages in it still keeps as it is. -
Page 25: Download Files
Input a web address. This option enables you to set commonly visited website as the homepage. Add the current page as bookmark. The homepage will be opened by default every time you launch your Open search bar. browser. Open bookmark list. -
Page 26: How To Record A Video
To zoom in manually, place two fingers on the screen and then spread them apart. To zoom out, either double-tap again or place two fingers apart on the screen and then pinch them together. Featuring gravity sensor, CRP229 will adjust the orientation of the pictures... -
Page 27: Alarms
LAUNCH CRP229 User's Manual 6.8 Applications 6.6 Alarms 6.8.1 Install applications 6.6.1 Add an alarm To install an application, you need to download it firstly. All items Enter main menu screen, tap downloaded in default browser are saved in Downloads. -
Page 28: Clear Cache
CRP229 User's Manual 6.9 Set Date & Time 7 FAQ CRP229 is preset to use the network-provided date, time zone and time. 1. How to save power? Note: If Automatic date & time is set as Use network-provided time, •... - Page 29 6. The data and time of CRP229 can not be set. It is because Automatic date & time is set on your CRP229. Tap Settings > Date & time, deselect “Automatic date & time” and then set the date and time manually.
- Page 30 FCC Caution. § 15.19 Labelling requirements. This device complies with part 15 of the FCC Rules. Operation is subject to the following two conditions: (1) This device may not cause harmful interference, and (2) this device must accept any interference received, including interference that may cause undesired operation.
- Page 31 -Increase the separation between the equipment and receiver. -Connect the equipment into an outlet on a circuit different from that to which the receiver is connected. -Consult the dealer or an experienced radio/TV technician for help. Specific Absorption Rate (SAR) information: ? This s Automotive Diagnosis Computer meets the government's requirements for exposure to radio waves.
Need help?
Do you have a question about the CRP229 and is the answer not in the manual?
Questions and answers