Unitech HT630 Quick Start Manual
Hide thumbs
Also See for HT630:
- User manual (36 pages) ,
- Reference manual (32 pages) ,
- Product reference manual (19 pages)
Advertisement
Quick Links
QUESTIONS?
Ask the experts at POSMicro.com.
1.800.241.6264
Live Chat Now
support@POSMicro.com
Monday - Friday 6 AM to 5 PM Pacific Time
1.800.241.6264
Unitech HT630 Quick
Start
More information available at
BULk DISCOUNTS
FREE SHIPPING*
*Free ground shipping to the continental USa on orders over $100.
For Help Call
POSMicro.com
SE HaBLa
ESpañOL
Advertisement

Related Manuals for Unitech HT630


Summary of Contents for Unitech HT630
- Page 1 For Help Call 1.800.241.6264 Unitech HT630 Quick Start More information available at POSMicro.com QUESTIONS? BULk DISCOUNTS SE HaBLa Ask the experts at POSMicro.com. ESpañOL FREE SHIPPING* 1.800.241.6264 Live Chat Now support@POSMicro.com Monday - Friday 6 AM to 5 PM Pacific Time...
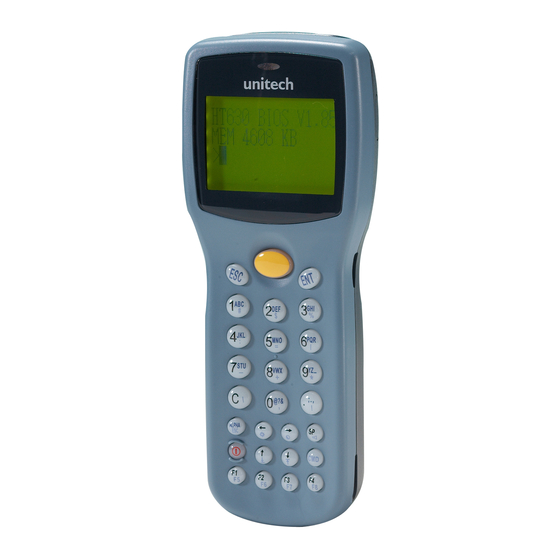
- Page 2 PT630 Beginner’s Guide: The PT630 is a programmable portable terminal capable of scanning a multitude of barcode symbologies. The most common use for this device is Inventory. Users would like to scan barcodes in their warehouse, enter quantities, and transfer the data to their PC’s for interpretation.
- Page 3 Transfer Scanned Items to PC: Data may be transferred to and from the PT630 with UTE’s PTComm Manager which can be found on the CD that accompanies the device or at the following website: http://www.ute.com/downloads.php?product_id=52 PTComm Manager must be installed on the PC in order to communicate with the PT630. Once PTComm Manager is installed follow these steps to transfer the data file to the PC: NOTE: The PT630 can be ON or OFF and these steps should successfully connect the PT630 to the PC...
- Page 4 Verify the Most importantly, to ensure a MODEL, ADDRESS, COM. PORT. successful connection, select BOTH “Auto Detect Baud Rate” and “Auto Detect or Confirm Portable Model” and press OK 5. The PT630 should BEEP even if it is OFF, PTComm Manager will automatically turn on the device and connect to it.
- Page 5 Edit Form Caching: Form Caching can be edited to the user’s preference. Many things can be changed in the process. The following steps will display how to remove the “QTY:” prompt from the application so that the user will only be prompted for an ITEM. 1.
- Page 6 DATA LENGTH DATA TYPE DEVICE TYPE MIN ( 1 – MAX ) 1. NUMERIC 1. KEY ONLY 2. SCAN ONLY ALPHANUM BOTH **11. PRESS ESC!!!*** DEFINE FIELD 2 BETWEEN FIELD FIELD DELIMITER PROMPT (16 MAX) 1. APPEND SCREEN 1. , 2.
Need help?
Do you have a question about the HT630 and is the answer not in the manual?
Questions and answers