
Related Manuals for Koldfront AP14003W


Summary of Contents for Koldfront AP14003W
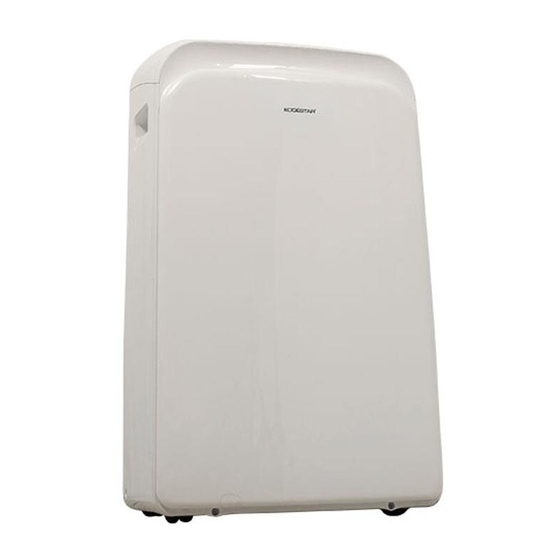
- Page 1 Portable Air Conditioner AP14003W Owner’s Manual For more information on other great EdgeStar products on the web, go to http://www.edgestar.com To use the EdgeStar self-diagnostic tool, go to https://support.edgestar.com V2.3-06142017...
-
Page 2: Important Safety Information
Important Safety Information Improper handling can cause serious damage to the appliance and/or to the user. Please read the following safety information Electrical Safety This unit is designed for indoor use only. Do not use the unit in extremely humid or wet environments. ... -
Page 3: Operation Of Safety Plug
Operation of Safety Plug Note: Electrical products should not be disposed of with household waste. Please contact your local recycling center for more information on how to recycle electronic waste. Your portable air conditioner is supplied with a Leakage-Current Detection and Interruption (LCDI) safety plug. -
Page 4: Table Of Contents
Table of Contents IMPORTANT SAFETY INFORMATION .......................... I OPERATION OF SAFETY PLUG………………… ......................II TABLE OF CONTENTS………………………........................ III INTRODUCTION……………………………........................1 PARTS IDENTIFICATION…………………........................2 ………………………………………....................... 2 RONT ………………………………………......................... 2 WINDOW KIT AND EXHAUST HOSE INSTALLATION INSTRUCTIONS ..............3 ...................... -
Page 5: Introduction
Introduction Thank you for purchasing this Koldfront by EdgeStar portable air conditioner. We hope that this purchase will be the beginning of a lasting and rewarding relationship between you and EdgeStar. We will provide the customer support and exemplary products necessary to nurture that relationship. -
Page 6: Parts Identification
Parts Identification Front View Back View... -
Page 7: Window Kit And Exhaust Hose Installation Instructions
Window Kit and Exhaust Hose Installation Instructions Preparations for Installing the Window Kit You must vent your portable air conditioner when running it in cooling mode. Your unit includes a window exhaust kit that can be used to vent the unit out of a window. Before you begin, make sure that you have all the parts necessary for installation and that a location is picked. -
Page 8: Installation Preparation
Installation Preparation Before you begin, make sure that you have all the parts necessary for installation and that you have selected a suitable location. Location When choosing a location, please keep in mind: The air conditioner should be placed on a firm, level location in order to minimize noise and vibration. -
Page 9: Installation In A Double Hung Sash Window
Installation in a Double Hung Sash Window Step 1: Cut the foam seal to the proper length and attach it to the window sill, and window frame as shown in the image to the left. Your window kit includes four (4) adhesive backed foam strips for this step, two that are short and two that are longer. -
Page 10: Installation In A Sliding Sash Window
Step 4: If desired, secure the security bracket to the window frame. When installed properly, the bracket will prevent the window sash from being opened. Installation in a Sliding Sash Window Step 1: Cut the foam seal to the proper length and attach it to the window sill, and window frame as shown in the image to the left. -
Page 11: Connecting The Exhaust Hose
Step 3: Cut the foam seal to an appropriate length and seal the open gap between the top window sash and outer window sash. Step 4: If desired, secure the security bracket to the window frame. When installed properly, the bracket will prevent the window sash from being opened. - Page 12 Step 2: Place unit in location Roll the unit towards the location where the window kit has been installed. Please ensure that the unit is at least 20 inches from the wall to ensure proper ventilation. Step 3: Connect Exhaust Hose to unit Align the hooks on the Hose Adapter (c) to the Exhaust Air Outlet on the back of the unit.
-
Page 13: Notes About The Exhaust Hose
Notes About the Exhaust Hose Your portable air conditioner is designed to exhaust condensate water that is collected from the air. This water, in either gaseous or droplet form, will be expelled out of the exhaust port of the unit. Please take this into account when deciding how to vent it. 1. -
Page 14: Draining The Unit
Draining the Unit When the portable air conditioner is in cooling mode, or dehumidify mode, it will remove moisture from the air. The condensed water from the air will be collected in an internal reservoir and will be evaporated and exhausted out of the exhaust hose. However, in very humid conditions, the internal reservoir may fill completely. -
Page 15: Control Panel Overview
Control Panel Overview Used to stop or start louver movement and set the desired Swing left/right air flow direction. If held down for more than 2 seconds, the louver auto swing feature is activated. Used to initiate the AUTO ON start time and AUTO OFF stop Timer time program, in conjunction with the UP and DOWN buttons. -
Page 16: Power Button
Cooling Operation: Press the MODE button until the COOL indicator light comes on. Press the < and > arrows to select your desired room temperature. Press the FAN button to choose the fan speed. Dry Operation (Dehumidify): Press the MODE button until the DRY indicator light comes on. Under this mode you cannot select a fan speed or adjust the temperature. -
Page 17: Increase/Decrease
Increase/Decrease Used to adjust (increasing/decreasing) temperature settings (1 ºC / 2 ºF increments) in a range of 17 ºC (62 ºF) to 30 ºC (88 ºF) or the TIMER setting in a range of 1-24 hrs. The control panel is capable of displaying temperature in Fahrenheit or Celsius. To convert from one to the other, press and hold the UP and DOWN buttons at the same time for 3 seconds. - Page 18 On/Off Press the ON/OFF button to start or stop the unit after the desired settings have been selected. MODE Press the MODE button until you reach your desired operation mode. The remote cycles through the following modes: Auto, Cool, Dry, Heat*, Fan. *Some editions of the remote may include a heat mode option even though the air conditioner itself does not have a heat function.
-
Page 19: Remote Control Batteries
Remote Control Batteries Your air conditioning unit comes with two AAA batteries. Install the batteries in the remote control before use. To install or replace: 1. Slide the back cover from the remote control downward, exposing the battery compartment. 2. Insert the batteries and be sure to match up the (+) and (-) ends of the batteries with the symbols inside the battery compartment. -
Page 20: Energy Saving Guide
Energy Saving Guide Read and follow the guide below to get the best performance and efficiency from your portable air conditioner: Do not cover the air outlet (exhaust) while in use. Do not place the unit in front of curtains or drapes- to ensure they do not obstruct the air intake. ... -
Page 21: Preparation For Storage
Preparation for Storage If you are not going to be using the unit for an extended period of time, follow the instructions below before storing your unit: 1. Drain all the water from the unit’s reservoir. Operate the unit in fan mode for a few hours to thoroughly dry any moisture left on the coils inside the unit. -
Page 22: Troubleshooting
Troubleshooting Follow the troubleshooting guide below to resolve common issues. Issue Possible Cause Solution My air conditioner is not The unit is not receiving Make sure the unit is plugged functioning at all. power. in to a grounded outlet. The LCDI power cord is Press the Reset button on the tripped. - Page 23 Issue Possible Cause Solution My air conditioner is not cooling The unit is not operating in Set the unit to operate in at all. cooling mode. cooling mode, and lower the set temperature. The compressor is not on. The compressor may take up to 3 minutes to turn on, or longer if it is too warm.
-
Page 24: Specifications
Specifications Description of product Portable Air Conditioner Model AP14003W Voltage/Frequency AC 115 V ~ 60 Hz Input Power 1580 W Current 11.9 A Color White Coolant R-410A Timer 24 Hour Dimensions 18.38” x 30.13” x 15.63” W x D x H Weight 72.8 lbs. -
Page 25: Edgestar Limited Warranty
EdgeStar Limited Warranty One (1) Year Parts & Ninety (90) Days Labor This product is warranted by EdgeStar to be free from defective workmanship and materials, subject to any conditions set forth as follows: WHAT IS COVERED: LABOR: For a period of NINETY (90) DAYS from the date of original purchase, labor will be performed free of charge at an authorized EdgeStar repair facility.
Need help?
Do you have a question about the AP14003W and is the answer not in the manual?
Questions and answers