Table of Contents
Advertisement
Quick Links
Advertisement
Table of Contents

Subscribe to Our Youtube Channel
Related Manuals for Avonic CM55-VCUC


Summary of Contents for Avonic CM55-VCUC
- Page 1 CM55-VCUC USB 2.0 Compressed HD PTZ Camera User Manual v2.1 www.avonic.eu...
-
Page 2: Safety Notes
Please use soft cloth to clean the device, do not use strong or abrasive detergent to clean that will damage the device’s housing / lens. www.avonic.eu... -
Page 3: Table Of Contents
Pan/Tilt/Zoom ............................. 10 System ............................... 10 Status ..............................11 Restore Defaults ..........................11 Special Preset Commands ........................11 Annex 1 Technical Specifications ......... 12 Annex 2 Size and Dimension ..........13 Annex 3 SW1 Definition ............14 Troubleshooting ..............16 www.avonic.eu... -
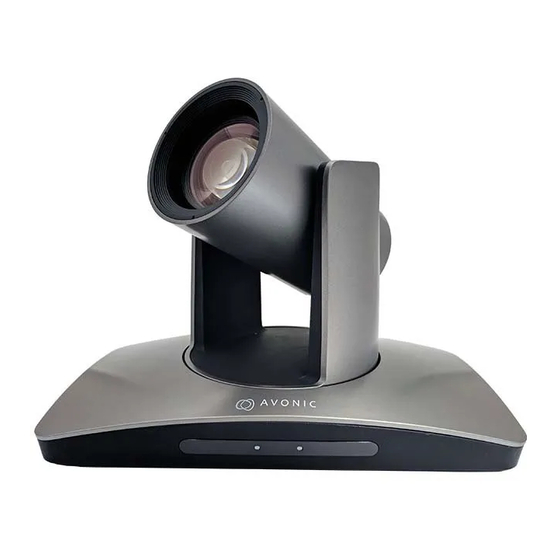
Page 4: Product Overview
If any items is missing, Main Parts and Control please contact your supplier. Interfaces PTZ Camera x 1 PTZ Camera Front Part Power Adapter x 1 1 Camera Module 2 Remote Control Sensor 3 Power Indicator 4 Communication Indicator Rear Part www.avonic.eu... -
Page 5: Dip Switch Setting
The SW1 and SW2 switches look the same, their settings are different. SW1 is used to set camera’s address and mounting types, while SW2 is used to set camera’s control protocol and baud rate. Default Settings Camera Address Baud Rate 9600bps Protocol VISCA Mounting Type Stand www.avonic.eu... - Page 6 12 BLC Used to open / close back light compensation. 13 Zoom Used to adjust zooming times. “ ”button to zoom in “ ”button to zoom out. 14 Back Press“ ”button to go back to previous menu. 15 OK www.avonic.eu...
-
Page 7: Installation
1. Put the camera on a flat surface. In case the camera has to be placed on an inclined surface, make sure the cline angle is less than 15 degrees to ensure proper 1. Before fixing the camera, set the DIP switches of the camera correctly. www.avonic.eu... -
Page 8: Ceiling Mount Installation
3. Before fixing the camera, set the DIP switches of the camera correctly. 4. Use inch screws to fix the bottom plate on the ceiling, fix the limit screw 5. Slide the PTZ camera via the slot of the plate and fix the camera to the plate. www.avonic.eu... -
Page 9: Menu Settings
Exposure LEVEL ANTI FLICKER OFF EXPOSURE menu is used to adjust exposure value. ❶❷ Refer to Main Menu explanations. <EXPOSURE> MODE MANUAL ❸ Manual Exposure GAIN Press or button to change value SPEED IRIS EXP-COMP LEVEL ANTI FLICKER OFF www.avonic.eu... -
Page 10: White Balance
1280x720P/60/50/30/25/20/15/10/5 “ONE PUSH”: When in “ONE PUSH TRIGGER” mode, aim the camera at a pure 1024x768P/60/50/30/25/20/15/10/5 white object (say a white paper), then press 800x600P/60/50/30/25/20/15/10/5 OK button. “MANUAL”: R.GAIN and B. GAIN value can be 640x480P/60/50/30/25/20/15/10/5. chosen from 0~255 www.avonic.eu... -
Page 11: Status
Reboot the camera 100 1920X1080P50 <STATUS> ADDRESS 101 1920X1080P25 PROTOCOL VISCA 103 1280X720P50 BAUD RATE 9600 104 1280X720P25 FORMAT 640 x 480P30 MOUNT STAND 105 1920X1080P60 IMAGE VER V1606 106 1920X1080P30 USB VER V1.0.0 108 1280X720P60 FIRMWARE V1.0.0 109 1280X720P30 www.avonic.eu... -
Page 12: Annex 1 Technical Specifications
USB2.0, RS-232IN, RS-232OUT, RS-485 IR Throughout Output 1 channel IR throughout output Communication Protocol VISCA (supports daisy chain) /PELCO-P/PELCO-D 0~63 Address DC12V Power Power <20W Consumption Operating Temperature 0°C~+40°C Storage Temperature -20°C~+60°C 243mm×163mm×145mm Dimensions (W×H×D) 1.2KG Weight Grey Body Color www.avonic.eu... -
Page 13: Annex 2 Size And Dimension
Annex 2 Size and Dimension Front Rear Side Bottom www.avonic.eu... -
Page 14: Annex 3 Sw1 Definition
Annex 3 SW1 Definition SW1 DIP Address www.avonic.eu... - Page 15 DIP No. Reserved Reserved Reserved DIP No. Ceiling Mounting Type Stand www.avonic.eu...
-
Page 16: Troubleshooting
Consult video capture device the video image quality maybe worse supplier for more information captured after after it has been converted connected from analog to digital directly analog video interface of the capture device www.avonic.eu... - Page 17 CM55-VCUC-USB2.0-MAN2.1 Avonic © 2017 www.avonic.eu...
Need help?
Do you have a question about the CM55-VCUC and is the answer not in the manual?
Questions and answers