
Subscribe to Our Youtube Channel
Related Manuals for EUFY RoboVac 11


Summary of Contents for EUFY RoboVac 11
- Page 1 Cleaning For FAQs and more information, please visit: www.eufylife.com Owner’s Manual RoboVac 11 SM-A438-V03...
-
Page 2: Table Of Contents
Table of Contents Important Safety Instructions 04 About Your RoboVac What's In the Box RoboVac Anatomy Using Your RoboVac Important tips before use Before You Start Install the Charging Base Charge Your RoboVac Start/Stop Cleaning Cleaning Modes Time Setting Scheduled Cleaning Cleaning and Maintenance Clean the Dust Collector and Filters Clean the Rolling Brush... -
Page 3: Important Safety Instructions
Important Safety Instructions To reduce the risk of injury or damage, read these safety • This device is for indoor use only. instructions carefully and keep them at hand when setting up, • This device is not a toy. Do not sit or stand on this device. Small using and maintaining this device. -
Page 4: About Your Robovac
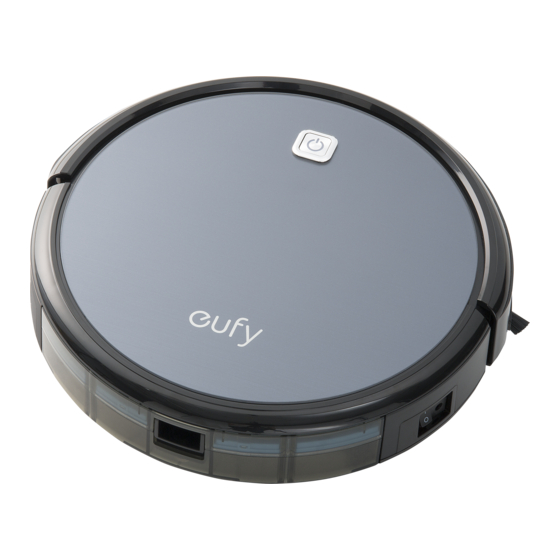
About Your RoboVac RoboVac Anatomy What's In the Box Top & Side Auto cleaning on/o button Bumper O F F RoboVac 11 Charging Base Remote Control Power switch (On / O ) Charging socket Dust collector Dust collector release button... -
Page 5: Using Your Robovac
Using Your RoboVac Dust Collector Filter door Important tips before use Filter cover Foam filter HEPA-style filter Filter door release button Charging Base Status light Charging contact pins Power socket Remote Control Return RoboVac to the Charging Base Remove power cords and small objects from the floor that may entangle RoboVac. Start Auto cleaning Remove rugs that are thicker than 0.4 in/10 mm as they may cause RoboVac to malfunction. -
Page 6: Before You Start
Before You Start 2. Remove objects within 3 ft/1 m of the left and right side and within 6 ft/2 m of the front of the charging base. 1. Remove the protective film covering RoboVac and the Charging Base. 3. Connect the round connector of the adapter into the power socket on the Charging Base and the other end into a wall outlet. -
Page 7: Start/Stop Cleaning
Start/Stop Cleaning Method 2: Press on the remote control to return RoboVac to the Charging Base. 1. Turn the main power supply on Press the power switch on the side of RoboVac to turn on the main power supply. Method 3: Charge RoboVac directly by plugging the round connector of the adapter into 2. - Page 8 5. Single Room cleaning - RoboVac will return to the Charging Base automatically when the power level RoboVac intensively cleans one single room and stops when cleaning is complete. Select becomes low. this mode only when one specific room needs to be cleaned. Make sure to confine RoboVac - Whenever you turn RoboVac on, it will start Auto cleaning.
-
Page 9: Time Setting
Time Setting - To ensure the schedule is set successfully, point the the remote control directly at RoboVac and make sure RoboVac is on. You will hear a beep when the schedule has been set. Make sure you point the remote control directly at RoboVac and RoboVac is on. - When using the Power Adaptor to charge RoboVac, you cannot set a scheduled clean, and the previously scheduled cleaning will not start. -
Page 10: Clean The Rolling Brush
Clean the Sensors and Charging Pins Put the filters and filter cover back together in the dust collector and close it. To maintain best performance, clean the drop sensors and charging pins regularly. • Dust off the drop sensors and charging contact pins using a cloth or cleaning brush. Push the dust collector back into the main unit. -
Page 11: Replace The Side Brushes
Replace the Side Brushes • Check whether the Charging Base is plugged into the outlet. RoboVac cannot be • Remove objects within 3 ft/1 m to the left and rignt side and charged. within 6 ft/2 m of the front of the Charging Base. The side brushes may become bent or damaged after using for a period of time. -
Page 12: Specifications
Specifications This equipment generates uses and can radiate radio frequency energy and, if not installed and used in accordance with the instructions, may cause harmful interference to radio communications. However, there is no guarantee that interference will not occur in a particular installation. If this equipment does cause harmful interference to radio Product Model T2102 or television reception, which can be determined by turning the equipment off and on,...
Need help?
Do you have a question about the RoboVac 11 and is the answer not in the manual?
Questions and answers