ACTi ACM-7511 series Quick Installation Manual
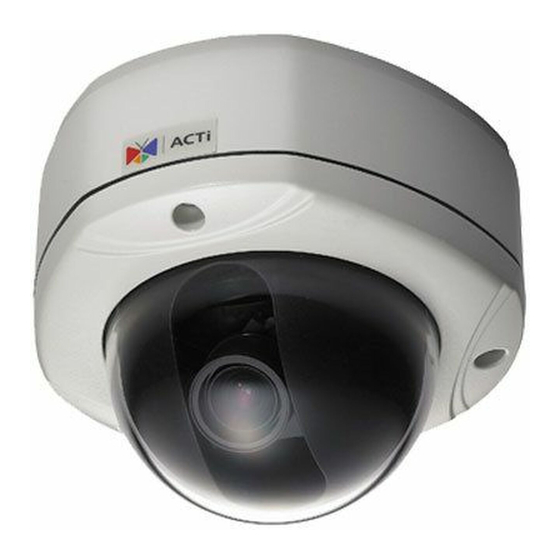
Ip d/n ccd poe outdoor rugged dome
Hide thumbs
Also See for ACM-7511 series:
- Hardware user manual (22 pages) ,
- Specifications (2 pages) ,
- Installation instructions (5 pages)

Related Manuals for ACTi ACM-7511 series


Summary of Contents for ACTi ACM-7511 series
-
Page 1: Quick Installation Guide
IP D/N CCD PoE Outdoor Rugged Dome ACM-7511 series Ver. 120312 Quick Installation Guide... -
Page 3: Getting Started
Getting Started PACKAGE CONTENTS ACM-7511 Product CD Terminal Blocks for Power, DI/O & Audio Warranty Card Drill Template Mount Screws BNC Cable... -
Page 4: Physical Description
PHYSICAL DESCRIPTION... - Page 5 Reset Button Step 1: Switch off IP device by disconnecting the power cable Step 2: Press and continue to hold the Reset Button with a pointed object. Reconnect the power cable while still holding the reset button. Step 3: Keep the reset button depressed for at least 16 seconds before releasing it.
- Page 6 Power Input Connect the power adaptor here if your power input is DC12V. Please follow the description on the connector to connect to power. NAME DESCRIPTION DC Power Input Ground Pin Conduit Hole These conduit holes provide alternative cable routing choices for different mounting scenarios.
-
Page 7: Basic Connections
BASIC CONNECTIONS Follow the procedures below to connect the IP device to the respective apparatuses. 1. Connect an analog monitor to IP device video out via special BNC Cable that came with the accessory pack. 2. Connect the power adaptor to IP device 3. -
Page 8: Quick Tour
Quick Tour This section guides you with a quick tour on this IP device. 2.1 Configure this IP Device 2.1.1 Make sure network environment Default IP of this IP device is 192.168.0.100. Please make sure this IP device and your PC are on the same network segment before running the installation. Please set the settings as below. - Page 9 2.1.2 Open Internal Explorer with IP address NOTE: Internet Explorer 6.0 or above is highly recommended. You may download it from http://www.microsoft.com/windows/ie/downloads/default.mspx The default IP address for this device is 192.168.0.100 2.1.3 Login with default administrator’s account & password NOTE: Default administrator account is set to Admin, password is set to 123456, and click button.
- Page 10 2.1.4 Preview the video 2.1.5 Set the new IP address...
- Page 11 IMPORTANT: Please record the new IP address immediately after you change it. If you forget the new IP address, you may need to download IPUtility from ACTi website, or resetting the camera to factory default to connect to it. 2.1.6...
- Page 12 NOTE: Please make sure the TV Input (NTSC / PAL) meets your requirement , and click button. 2.1.7 Click Save Reboot to save all settings and please wait about 30 seconds for system reboot.
Need help?
Do you have a question about the ACM-7511 series and is the answer not in the manual?
Questions and answers