Table of Contents
Advertisement
Quick Links
DistoX2 User Manual
Leica Disto X310 based DistoX
Firmware Version 2.4
2015/02/22
Introduction
DistoX is an electronic surveying device for cavers. It consists of a Leica Disto X310 or
E7400x (US version of the X310) distance meter with a built in replacement board. The board
extends the functionality of the Disto by a three axis electronic compass/clinometer and a
Bluetooth Connection to enable wireless readout of the results. The three axis compass allows
measurements of arbitrary directions with arbitrary orientations of the device without
degradation of the precision.
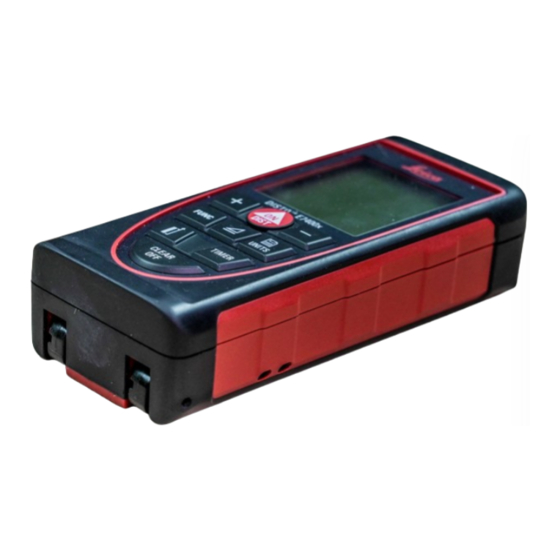
Disto Functions
The Disto behaves similarly to the original X310. The
display shows the Azimuth in the first, the inclination in
the second, and the distance in the bottom line. It stores up
to 1000 measurements to be inspected later or transferred
over the Bluetooth connection.
Main Functions:
DIST: power on / start Laser / measure distance
CLR: cancel current operation, switch Laser off
REF ( ): change distance reference
TIMER: start timer (automatic measurement)
MEM (
): show memory entries
SMART (
): show extended measurement information (see below)
FUNC: show device information (see below)
Restrictions
The following X310 functions are not available:
Min, Max, Add, Subtract, Area, Volume, Triangle, Stake out, Smart horizontal.
Caution:
There is no automatic recognition of the position of the endpiece. Press the REF and FUNC
keys to switch between rear case and endpiece reference.
Advertisement
Table of Contents

Related Manuals for Leica DistoX2


Summary of Contents for Leica DistoX2
- Page 1 2015/02/22 Introduction DistoX is an electronic surveying device for cavers. It consists of a Leica Disto X310 or E7400x (US version of the X310) distance meter with a built in replacement board. The board extends the functionality of the Disto by a three axis electronic compass/clinometer and a Bluetooth connection to enable wireless readout of the results.
- Page 2 Options and Configuration The following keys and key combinations can be used to change various options when pressed for 2 seconds. MEM: change distance unit REF: switch to permanent front reference CLR: power off MEM and SMART: angle unit: degrees/grad MEM and FUNC: silent mode on/off MEM and MINUS:...
- Page 3 Extended Measurement Information The SMART key can be used to show extended information about a measurement. Repeated key presses cycle through the following parts. After the last part, the display returns to the standard contents. Normal Measurements: 1) Azimuth, horizontal distance, vertical distance, total distance. 2) Roll angle and dip angle (inclination of the magnetic field).
- Page 4 Silent Mode In Silent mode the device does not transfer measured data even if a PDA is connected. The data is still saved to memory but immediately marked as sent. The display shows three dashes (---) in the top right corner when in Silent Mode. Press MEM and FUNC for 2 seconds to switch silent mode on and off.
- Page 5 Hints Hold the device with both hands and support them against the wall if possible. To complete a measurement, the DIST button may be held pressed until the measurement is done and the Laser switches off. This helps making measurements without shaking the device.
- Page 6 Technical Data Range Distance: 0.05 – >100m Azimuth: 0 - 360° Inclination: -90° - +90° (no steepness limit) Roll angle: -180° - +180° (fully tilt compensated) Precision Distance: 2mm (0.05 – 10m) Angles: 0.5° RMS (after proper calibration) Features Selectable Units: m / ft / inch, °...
Need help?
Do you have a question about the DistoX2 and is the answer not in the manual?
Questions and answers