Table of Contents
Advertisement
ALARM.COM DOORBELL CAMERA INSTALLATION GUIDE
INTRODUCTION
Your customers will always know who is at the front door with an
Alarm.com Doorbell Camera. Now with two options to choose
from – our original Wi-Fi Doorbell Camera and our new Slim Line –
it's easy to deliver front door awareness to even more customers!
Each Alarm.com Doorbell Camera features a doorbell with an
integrated camera, PIR motion sensor, digital microphone and
speaker, enabling homeowners to answer the door and speak to
visitors via two-way audio – all right from their app.
Customers can also record doorbell triggered clips, set motion
triggered automation rules and receive real-time alerts. Visit
alarm.com/doorbell for more information.
INCLUDED MATERIALS
• Wall mounting bracket
• Wall screws
• Masonry anchors
DEVICE COMPATIBILITY WITH ALARM.COM
Alarm.com Doorbell Cameras
The following Doorbell Cameras are fully compatible
with Alarm.com:
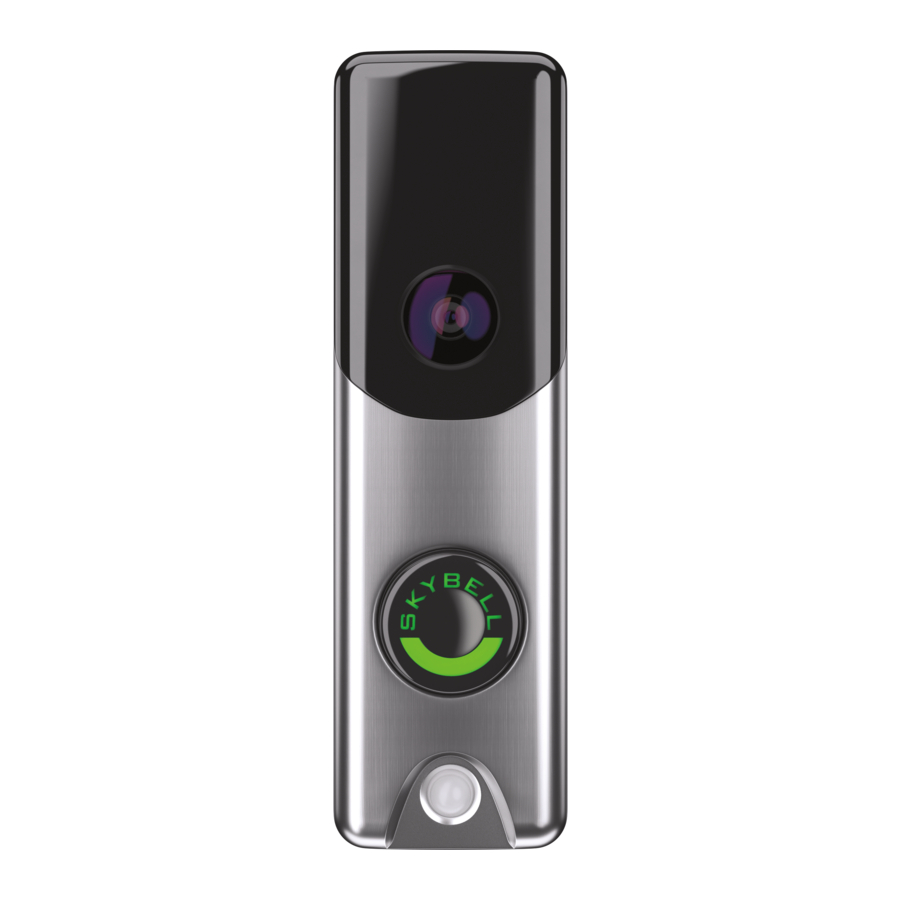
• Alarm.com Slim Line Doorbell Camera
• Alarm.com Wi-Fi Doorbell Camera, SkyBell-HD
Edition
Slim Line Incompatible with SkyBell and Other
Platforms
The Slim Line Doorbell Camera is not compatible with
REQUIREMENTS
Power and Chime Type
8-30VAC, 10VA or 12VDC, 0.5 to 1.0A wired to an in-
home mechanical or digital doorbell chime. Note: A
Digital Doorbell Adapter must be installed if a digital
doorbell chime is present. See below for more
information.
WARNING: An in-line resistor (10 Ohm, 10 Watt) is
required when installing the doorbell camera without a
other platforms and apps, such as the SkyBell
platform.
SkyBell HD Cameras
Certain SkyBell HD cameras, not purchased through
Alarm.com, may not be compatible with the
Alarm.com platform.
SkyBell V1 and V2 Not Compatible
SkyBell V1 and V2 cameras are not compatible with
Alarm.com.
wired, in-home doorbell chime. This is typically done
when testing the doorbell or performing a
demonstration. Failure to install a resistor when a
chime is not present may result in damage to the
doorbell camera.
Wi-Fi
Upload speed of 2 Mbps is required. Compatible with
Wi-Fi 802.11 b/g/n, 2.4 GHz up to 150 Mbps.
Advertisement
Table of Contents
Troubleshooting

Subscribe to Our Youtube Channel
Related Manuals for Alarm.Com DOORBELL CAMERA


Summary of Contents for Alarm.Com DOORBELL CAMERA
- Page 1 Your customers will always know who is at the front door with an Alarm.com Doorbell Camera. Now with two options to choose from – our original Wi-Fi Doorbell Camera and our new Slim Line – it’s easy to deliver front door awareness to even more customers! Each Alarm.com Doorbell Camera features a doorbell with an...
- Page 2 Wi-Fi Doorbell Camera - HD and Slim Line Editions Installation Guide Mounting Mobile App The mounting plate affixes to a flat surface (a power Download the latest Alarm.com Mobile App for iOS or drill may be required) and uses the existing doorbell Android (version 4.4.1 or higher for video streaming).
- Page 3 Attach the Doorbell Camera to the Mounting Bracket Alarm.com’s Doorbell Camera hardware must be used: Slide the top of the doorbell camera down on to the • Alarm.com Wi-Fi Doorbell Camera • Alarm.com Slim Line Doorbell Camera mounting bracket and push the front of the doorbell camera toward the wall.
- Page 4 IP addresses or the customer has icon on the existing Doorbell Camera’s screen. a hidden Wi-Fi network, use the Manual Configuration Note: If you do not see the Doorbell Camera tab, the tab. Doorbell Cameras service plan add-on needs to be added to the account.
-
Page 5: Battery Charging
You can factory reset the device when it is in AP Mode When the LED flashes Green, it means the Alarm.com (see instructions above). Press and HOLD the Main Wi-Fi Doorbell Camera is in the process of entering AP Button until the LED flashes Yellow. Mode. - Page 6 Wi-Fi Doorbell Camera - HD and Slim Line Editions Installation Guide POWER INFORMATION & TROUBLESHOOTING Wired Power Supply Power Supply Issues The Alarm.com Wi-Fi Doorbell Camera requires a wired The protection circuitry in doorbell transformers power supply. degrades over time and with use. This causes the power output of the doorbell transformer to drop.
- Page 7 Resistor Required* *WARNING: This setup is designed for testing and demonstration purposes only. Failure to install a resistor (10 Ohm, 10 Watt) when a chime is not present may result in damage to the doorbell camera. Mechanical Chime – Before Installation...
-
Page 8: Normal Operation
Rapid double flash Flashing Alternating flash Normal Operation Green | Solid Use the Alarm.com app or Customer Website to Ready and working normally choose a custom color in place of default green. White | Solid In Call mode A call has been initiated or is occurring. - Page 9 Flashing Alternating flash Pulsing Normal Operation Green | Solid Use the Alarm.com app or Customer Website to Ready and working normally choose a custom color in place of default green. White | Solid In Call mode A call has been initiated or is occurring.
Need help?
Do you have a question about the DOORBELL CAMERA and is the answer not in the manual?
Questions and answers