Table of Contents
Advertisement
Available languages
Available languages
Quick Links
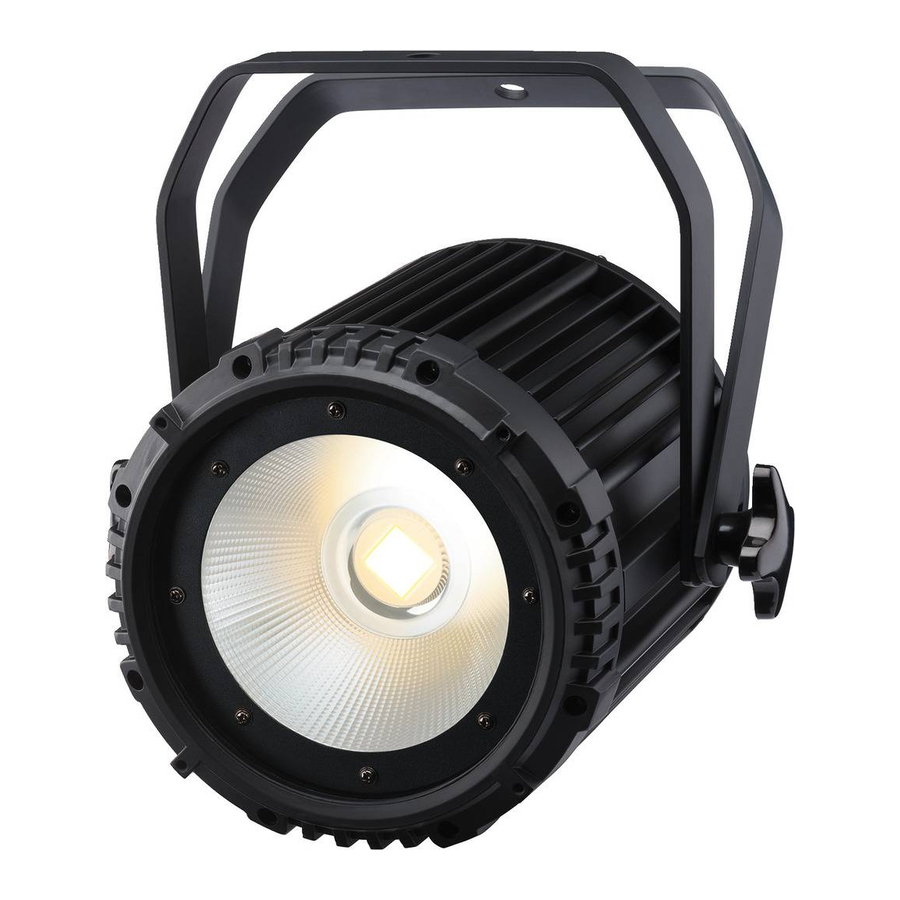
DMX-LED-Scheinwerfer
DMX LED Spotlight
ODC-100/CTW
PARC-100/CTW
BEDIENUNGSANLEITUNG
INSTRUCTION MANUAL
MODE D'EMPLOI
ISTRUZIONI PER L'USO
GEBRUIKSAANWIJZING
MANUAL DE INSTRUCCIONES
INSTRUKCJA OBSŁUGI
SIKKERHEDSOPLYSNINGER
SÄKERHETSFÖRESKRIFTER
TURVALLISUUDESTA
ELECTRONICS FOR SPECIALISTS ELECTRONICS FOR SPECIALISTS ELECTRONICS FOR SPECIALISTS ELECTRONICS FOR SPECIALISTS
Bestellnummer 38.7080
Bestellnummer 38.7110
Advertisement
Table of Contents

Related Manuals for IMG STAGE LINE ODC-100/CTW


Summary of Contents for IMG STAGE LINE ODC-100/CTW
- Page 1 DMX-LED-Scheinwerfer DMX LED Spotlight ODC-100/CTW Bestellnummer 38.7080 PARC-100/CTW Bestellnummer 38.7110 BEDIENUNGSANLEITUNG INSTRUCTION MANUAL MODE D’EMPLOI ISTRUZIONI PER L’USO GEBRUIKSAANWIJZING MANUAL DE INSTRUCCIONES INSTRUKCJA OBSŁUGI SIKKERHEDSOPLYSNINGER SÄKERHETSFÖRESKRIFTER TURVALLISUUDESTA ELECTRONICS FOR SPECIALISTS ELECTRONICS FOR SPECIALISTS ELECTRONICS FOR SPECIALISTS ELECTRONICS FOR SPECIALISTS...
- Page 2 Œ ODC-100 / CTW PARC-100 / CTW Master-Gerät • Master unit für den Master/Slave-Betrieb Appareil Master • Apparecchio master for master / slave mode pour le mode Master / Slave Slave-Gerät • Slave unit per il funzionamento master / slave Appareil Slave •...
- Page 3 Deutsch ....Seite English ....Page Français .
-
Page 4: Hinweise Für Den Sicheren Gebrauch
DMX-LED-Scheinwerfer 1. wenn sichtbare Schäden am Gerät oder am Netzkabel vorhanden sind, Die Bedienung des Geräts ist einfach und auf 2. wenn nach einem Sturz oder Ähnlichem Bediener mit Grundkenntnissen in der DMX- der Verdacht auf einen Defekt besteht, Steuerung ausgerichtet. Bitte lesen Sie trotz- 3. - Page 5 2. Alternativ lässt sich der Scheinwerfer auch Sollten die Netzverbindungskabel zwi- frei aufstellen: Die Montagebügel so unter schen den Geräten zu kurz sein, passende dem Scheinwerfer spreizen, dass sie als Verlängerungskabel verwenden, z. B.: Ständer dienen. Die Feststellschrauben da - ODP-34AC Länge 2 m oder nach festdrehen.
-
Page 6: Bedienung
Kabel verwendet werden (z. B. CDMXN-… 2) Die Taste ENTER drücken. Das Display zeigt von „img Stage Line“). Bei Leitungslängen ab jetzt , oder und eine Zahl. 150 m oder bei der Steuerung von mehr als 32 = Helligkeit kaltes Weiß... -
Page 7: Reinigung Des Geräts
3) Um Störungen bei der Signalübertragung aus- 4.3.3 DMX-Kanäle und -Funktionen zuschließen, sollte bei langen Leitungen oder DMX- DMX- Funktion bei einer Vielzahl von hintereinandergeschal- Kanal Wert teten Geräten der DMX-Ausgang des letzten Helligkeit 0 % © 100 % 000 – 255 DMX-Geräts der Kette mit einem 120-Ω- 000 –... -
Page 8: Safety Notes
(admissible ambient temperature range: 1. Install the spotlight via its mounting brackets, 0 – 40 °C). The spotlight ODC-100/CTW is suitable for e. g. with a stable mounting screw or a sup- outdoor applications (admissible ambient tem- port for lighting units (C hook) on a cross bar. -
Page 9: Power Supply
the spotlight and use them as a stand. Then If the mains connection cables between fasten the locking screws. the spotlights are too short, use suitable extension cables, e. g. ODP-34AC length: 2 m or 3.2 Barn doors ODP-34AC / 10 length: 10 m To reduce the light beam angle, optional barn doors are available: PARC-100B. - Page 10 4 Operation 4.3 Operation with a DMX controller For operation via a DMX light controller (e. g. The operating modes and the setting functions DMX-1440 or DMX-510USB from “img Stage are selected via a menu by means of the buttons Line”), the spotlight is equipped with four DMX MENU, ENTER, UP and DOWN.
-
Page 11: Specifications
The easiest way to terminate the DMX out- intervals depending on impurities. This is the put of the ODC-100/CTW is to separate an ex- only way to ensure that light will be emitted at tension cable ODP-34DMX and to connect the maximum brightness. -
Page 12: Possibilités Dʼutilisation
Projecteur DMX à LED 1. des dommages visibles apparaissent sur lʼappareil ou sur le cordon secteur, Lʼutilisation de lʼappareil est simple et est destinée 2. après une chute ou un cas similaire, vous aux utilisateurs ayant des connaissances de base avez un doute sur lʼétat de lʼappareil, en gestion DMX. - Page 13 port pour projecteur (crochet C) à une traverse. 1) Reliez le premier appareil via la fiche femelle Pour orienter le projecteur, desserrez les du cordon POWER OUT à la fiche mâle (A) deux vis sur les étriers de montage. Réglez du cordon POWER IN du deuxième appareil.
- Page 14 relier ensemble jusquʼà 19 appareils. La prise ter et tous les appareils auxiliaires sur le mode Slave : POWER OUT peut également être utilisée pour alimenter dʼautres appareils (jeux de lumière). a) Appuyez sur la touche MENU de manière répétée jusquʼà ce que lʼaffichage indique ATTENTION ! Le courant dans les câbles et la fiche secteur ne doit pas dépasser 10 A, sinon b) Appuyez sur la touche ENTER et avec la...
-
Page 15: Nettoyage De Lʼappareil
Si les câbles DMX entre les appareils , le point à lʼextrémité droite de lʼaffichage clignote lorsque des signaux DMX sont présents à sont trop courts pour brancher ensemble plu- lʼentrée DMX. sieurs ODC-100 / CTW, utilisez les cordons prolongateurs correspondants, par exemple : 4.3.3 Canaux DMX et fonctions DMX ODP-34DMX longueur 2 m ou... -
Page 16: Possibilità Dʼimpiego
Proiettore DMX con LED 3. lʼapparecchio non funziona correttamente. Per la riparazione rivolgersi sempre ad unʼof- Lʼuso dellʼapparecchio è semplice ed è previsto ficina competente. per utenti con conoscenze base dei comandi Staccare il cavo rete afferrando la spina, DMX. Vi preghiamo di leggere attentamente le senza tirare il cavo. - Page 17 staffe sotto il proiettore in modo che servano Se i cavi di collegamento rete fra gli appa- come supporto. Quindi stringere nuova- recchi dovessero essere troppo corti, usare mente le viti di bloccaggio. prolunghe adatte, p. es. ODP-34AC lunghezza 2 m oppure 3.2 Paraluce a alette ODP-34AC / 10 lunghezza 10 m.
-
Page 18: Funzionamento
(p. es. DMX-1440 o DMX-510USB boscopio e regolare la frequenza dei lampi. di “img Stage Line“), il proiettore dispone di 1) Premere il tasto MENU tante volte finché il quattro canali di comando DMX. DMX è lʼabbre-... -
Page 19: Pulizia Dellʼapparecchio
sero essere troppo corti, usare prolunghe 4.3.3 Canali e funzioni DMX adatte, p. es. Canale Valore Funzione ODP-34DMX lunghezza 2 m oppure ODP-34DMX/ 10 lunghezza 10 m. Luminosità 0 % © 100 % 000 – 255 3) Per escludere interferenze durante la tra- 000 –... - Page 20 DMX-ledschijnwerper 2. wanneer er een defect zou kunnen optreden nadat het apparaat bijvoorbeeld is gevallen, De bediening van het apparaat is eenvoudig en 3. wanneer het apparaat slecht functioneert. bedoeld voor de gebruiker met basiskennis van Het apparaat moet in elk geval worden her- de DMX-besturing.
- Page 21 Verbind de netaansluiting POWER IN via het POWER IN 230V~ bijgeleverde netsnoer met een stopcontact Netaansluiting ODC-100/CTW (230 V~/ 50 Hz). Draai de blauwe Powercon ® OPGELET! De kabel POWER OUT voert net - stekker van de kabel na inpluggen in de netaan- spanning.
- Page 22 (bv. CDMXN-... van helderheid koud wit (0 – 255) de serie “img Stage Line”). Bij kabellengten helderheid warm wit (0 – 255) vanaf 150 m of bij het sturen van meer dan 32 flitsfrequentie (0 –...
-
Page 23: Het Apparaat Reinigen
120 Ω (> 0,3 W): steek een geschikte afsluit stekker (bv. DLT-123 5 Het apparaat reinigen van “img Stage Line”) in de DMX-uitgangsbus. De schijf vóór de led moet na verontreiniging re- De eenvoudigste manier om de DMX-uit- gelmatig worden gereinigd. -
Page 24: Notas De Seguridad
Proyector LED DMX 2. El proyector ha sufrido daños después de una caída o accidente similar. El funcionamiento del proyector es sencillo para 3. No funciona correctamente. usuarios con conocimientos básicos en control Sólo el personal técnico puede reparar el pro- DMX. - Page 25 2. Como alternativa, puede ajustar el proyector Si los cables de conexión DMX entre los por su cuenta: Despliegue los soportes de proyectores son demasiado cortos, utilice montaje por debajo del proyector y utilícelos cables alargadores adecuados, p. ej. como pie. Luego apriete los tornillos de cierre. ODP-34AC Longitud: 2 m ODP-34AC/10...
- Page 26 (0 – 255) utilizarse cables especiales (p. ej. CDMXN-… Brillo del blanco cálido (0 – 255) de “img Stage Line”). Para cableados de más de Frecuencia de destello (0 – 20 Hz) del estroboscopio 150 m o para el control de más de 32 aparatos mediante una única salida DMX, se recomienda...
-
Page 27: Especificaciones
‘ Vista general DMX (> 0,3 W): Conecte un tapón (p. ej. el DLT- 123 de “img Stage Line”) a la salida DMX. El modo más sencillo para terminar la 5 Limpieza del Proyector salida DMX del ODC-100 / CTW es separar... -
Page 28: Środki Bezpieczeństwa
Reflektory diodowe DMX Nie należy włączać lub natychmiast odłączyć urządzenie od zasilania w przypadku Obsługa reflektora jest łatwa dla użytkowników po- 1. jeżeli stwierdzono widoczne uszkodzenie siadających co najmniej podstawową wiedzę na urządzenia lub kabla zasilającego, temat sterowania DMX. Przed rozpoczęciem pracy 2. - Page 29 Dla uzyskania żądanej pozycji, poluzo- 1) Podłączyć pierwszy reflektor, za pomocą wać regulatory przy uchwycie montażowym. kabla POWER OUT do wtyku (A) kabla Ustawić wybraną pozycję i dokręcić je. POWER IN kolejnego reflektora. Kolejne reflektory połączyć analogicznie. 2. Alternatywnie, reflektor może być ustawiany Jeżeli dołączone kable zasilające są...
- Page 30 DMX (np. DMX-1440 lub DMX-510USB marki 1) Wcisnąć przycisk MENU kilka razy, aż “img Stage Line”) i posiada 4 kanały DMX. Funk- wyświetlacz pokaże cje poszczególnych kanałów DMX opisano w 2) Wcisnąć przycisk ENTER. Wyświetlacz po - rozdz.
-
Page 31: Czyszczenie Urządzenia
Jeżeli dołączone kable DMX są za krótkie 4.3.3 Funkcje kanałów DMX do połączenia kilku reflektorów ODC-100 / Kanał Wartość Funkcja CTW, można zastosować kabel przedłuża- jący jasność 0 % © 100 % 000 – 255 ODP-34DMX długość: 2 m lub 000 –... -
Page 32: Vigtige Sikkerhedsoplysninger
Læs nedenstående sikkerhedsoplysninger grundigt igennem før ibrugtagning af enheden. Bortset fra sikkerhedsoplysningerne henvises til den engelske tekst. Vigtige sikkerhedsoplysninger Denne enhed overholder alle relevante EU- Til rengøring af huset må kun benyttes en tør, direktiver og er som følge deraf mærket blød klud;... - Page 33 Läs igenom säkerhetsföreskrifterna innan enhe- ten tas i bruk. Ytterligare information återfinns på övriga språk i manualen. Säkerhetsföreskrifter Rengör endast med en mjuk och torr trasa, Denna enhet uppfyller alla relevanta direktiv använd aldrig kemikalier eller vatten vid ren- inom EU och har därför fått märkning.
- Page 34 Ole hyvä ja tutustu seuraaviin ohjeisiin varmis- taaksesi tuotteen turvallisen käytön. Tarvites- sasi lisätietoja tuotteen käytöstä löydät ne muun kielisistä käyttöohjeista. Turvallisuudesta Käytä laitteen ulkopuoliseen puhdistamiseen Tämä laite täyttää kaikki siihen kohdistuvat EU- ainoastaan kuivaa, pehmeää kangasta. Älä direktiivit ja sille on myönnetty hyväksyntä.
- Page 36 ® MONACOR INTERNATIONAL GmbH & Co. KG • Zum Falsch 36 • 28307 Bremen • Germany Copyright © by MONACOR INTERNATIONAL. All rights reserved. A-1651.99.01.04.2015...
Need help?
Do you have a question about the ODC-100/CTW and is the answer not in the manual?
Questions and answers