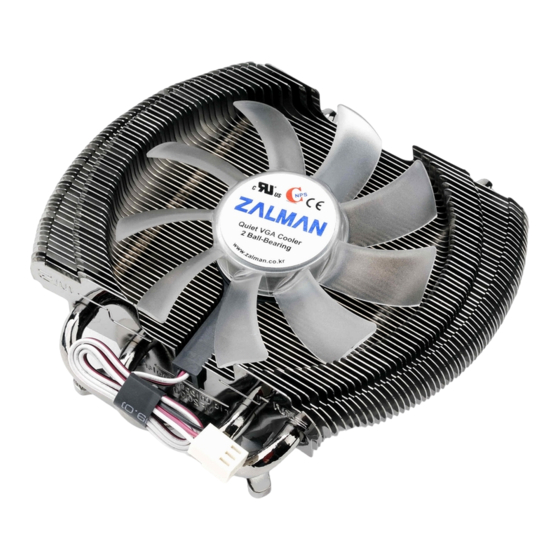
Summary of Contents for ZALMAN VF2000 LED
-
Page 2: Cautions On Use And Installation
If the VGA card and/or its components interfere with the installation of this product, then stop the installation, refer to the list of compatible VGA cards or motherboards at Zalman’s website, and install this product with one of the compatible VGA cards or motherboards. - Page 3 Explode View (Usage as VGA Cooler)
- Page 4 Explode View (Usage as CPU Cooler) Intel Socket 775 Intel Socket 775 AMD Socket AM2/AM2+...
- Page 5 Installation Procedure (Usage as VGA Cooler) ※ ※ The following installation sequence MUST be followed. (1. VGA RAM Heatsink Attachment 2. Thermal Grease Application 3. Nipple A Installation on Retention → → Guide 4. Spring Insertion on the Fixing Nut 5.
- Page 6 Turned fully clockwise, it operates in Performance Mode. You can select the desired fan RPM by turning the knob. (Note) FAN MATE 2 has been specifically designed for the fan of this product. Zalman Tech Co., Ltd. is not responsible for any damage to systems or VGA Chipsets caused by using it with other types of fans.
- Page 7 Installation Procedure (Usage as CPU Cooler) ※ ※ The following installation sequence MUST be followed. (1. Removal of Motherboard from Case → 2. Removal of pre-installed coolers and installation hardware → 3. Thermal Grease Application → 4. Installation of Intel/AMD Clip → 5. Installation of Nipple B onto Clip → 6. Spring Insertion on the Fixing Nut →...
- Page 8 5. Installation of Nipple B Install the short end of Nipple B onto the Clip that was previously Installed onto the VF2000. (Note) The Nipples MUST be tightened by hand. Using tools to tighten the Nipples may damage the tips of the Nipples .Please take extra precaution when fastening the Nipples.
- Page 9 8. Motherboard Installation Install the motherboard (with the VF2000 installed) into the case. After the motherboard is installed, please check for interferences with the components such as the PSU, ODD etc.. 9. Fan Power Cable Connection Please refer to “7. Fan Power Cable Connection” on page 5.


Need help?
Do you have a question about the VF2000 LED and is the answer not in the manual?
Questions and answers