Table of Contents
Advertisement
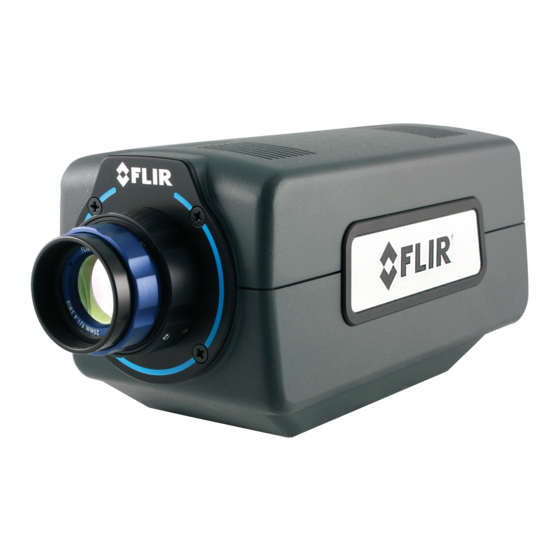
A6700sc/A6750sc
User's Manual
This document is controlled to FLIR Technology Level 2. The information contained in this document
pertains to a dual use product controlled for export by the Export Administration Regulations
(EAR). Diversion contrary to US law is prohibited. US Department of Commerce authorization is not
required prior to export or transfer to foreign persons or parties unless otherwise prohibited.
Document Number: 29249-000
Version: 5
Issue Date: February 2, 2015
Advertisement
Table of Contents


Need help?
Do you have a question about the A6700sc and is the answer not in the manual?
Questions and answers