Table of Contents
Advertisement
Quick Links
Download this manual
See also:
User Manual
Advertisement
Table of Contents

Related Manuals for Prestigio p179


Summary of Contents for Prestigio p179
- Page 1 Prestigio P179 User’s Manual PRESTIGIO P179...
-
Page 2: Safety Instructions
If the equipment has obvious sign of breakage. 9. DO NOT LEAVE THIS EQUIPMENT IN AN ENVIRONMENT UNCONDITIONED, STORAGE TEMPERATURE ABOVE 40?C, IT MAY DAMAGE THE EQUIPMENT. 10. Adaptor source : a. Channel Well Technology, MODEL PAA050F. b. Linearity Electronics co. LTD,MODEL LAD6019AB4 PRESTIGIO P179... -
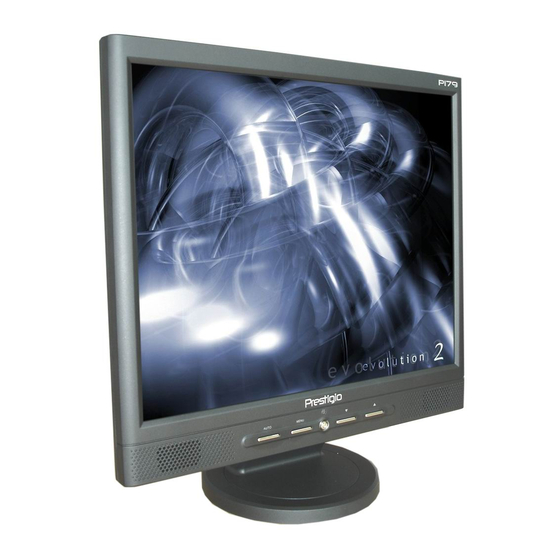
Page 3: View Of Monitor
View of Monitor Front View (1) Back View (2) Side View (3) PRESTIGIO P179... - Page 4 2. External Univ15 pin D-sub (RGB Analog) input signal cable *DVI. and Video are optional* 3. AD / DC Adpter External Universal (DC 12V, 50 / 60Hz) (AC 100-240V) 4. Power Cord 5. Audio Cable with Stereo Phone Jack 6. CD User’s Manual 7. Quick Start Guide PRESTIGIO P179...
-
Page 5: Cleaning Notes
6. Do not place anything on your monitor. Bad ventilation may elevate temperature in the monitor. 7. Don’t use your fingers to touch the LCD screen, directly. Fingerprint contains oil and may be difficult to clean. PRESTIGIO P179... -
Page 6: Power Saving
With DDC1/DDC2B compliance, the monitor is plug and play compatible to Windows 95/98/me/2000/XP. Space Saving: The monitor is designed with 280 mm indepth to provide you with more hand room for desk working space. Side-by-Side : The monitor comes with 17.7 mm trimmed down frame to offer side-by-side operation PRESTIGIO P179... -
Page 7: Hardware Installation
5. S-IN: This can be connected with the S-Video signal cable. * (option) 6. TV: This can be connected with the TV signal cable. *(option) 7. Audio Out: This is for connection of headphone or external speaker. *TV mode detail setting information Please refer TV user’ s manual PRESTIGIO P179... -
Page 8: Hardware Installation Step By Step
2. Plug in signal cable to VGA-IN of the monitor and the other side of the cable to the computer. 3. Connect the audio cable to AUDIO-IN on the monitor, and the other side to computer line out. PRESTIGIO P179... - Page 9 4. Plug power cord onto DC adapter. 5. Plug the DC cable from power adapter onto the DC-IN on monitor. 6. Congratulations! You have just completed the hardware installation. PRESTIGIO P179...
-
Page 10: Angle Of Inclination
Angle of Inclination In normal condition LCD lay back -5° ~ 15° (positive and negative 2°) PRESTIGIO P179... -
Page 11: Monitor Setup Button
4. “/\ Up”: Increase the value in the OSD option. Hot key for PC / Video / S-Video / TV mode. You can use the button to switch between PC, DVI,Video, S-Video, and TV mode screen. 5. “\/ Down”: Decrease the value in the OSD option . Hot key for volume adjustment. PRESTIGIO P179... -
Page 12: Troubleshooting
When shall your monitor be adjusted? Check: 1. After “ reset” 2. If the resolution of frequency is being changed. The text on the screen is unclear. Check 1. Make sure the resolution matches with the display mode. PRESTIGIO P179... -
Page 13: Option Select
3. Press Down and Up for choosing different OSD function. 4. Press MENU as enter to select the function you want. Main menu setting Contrast: Brightness: Adjust the Contrast of the display. Adjust the Brightness of the display. PRESTIGIO P179... -
Page 14: Color Temp
Adjust R.G. B color of the display. Adjust the Brightness of the display. Color temp Return Adjust the color temperature of the display. Return to Main menu Clock adjust Phase adjust Adjust the Clock (VGA ONLY ) Adjust the Phase(VGA ONLY ) PRESTIGIO P179... -
Page 15: Auto Adjust
Adjust the Auto adjust of the display (VGA ONLY ) Adjust the OSD H.Position of the display (VGA ONLY ) V.Position adjust Return Adjust the V.Position of the display (VGA ONLY ) Return to Main menu OSD H.Position OSD V.Position Adjust OSD H.Position Adjust OSD V.Position PRESTIGIO P179... - Page 16 OSD display time OSD display color Adjust OSD Display times Adjust OSD Display color OSD display ALPHA Return Adjust OSD Display ALPHA Return to Main menu Language : Reset: Language support Return to default value PRESTIGIO P179...
- Page 17 Volume : Mute : Adjust of speaker. Speaker soundless Return VGA/DVI Mode change Return to Main menu VGA/DVI Mode change adjust PRESTIGIO P179...
-
Page 18: Display Mode
4. The modes not listed on the table above may be supported. 5. You may use the power management on your computer. It’s good for extending the service life of the product. PRESTIGIO P179... -
Page 19: Specification
Audio In Stereo Phone Jack Audio Out DDC1/DDC2B Compliant Stereo Phone Jack Power Power Management 12V/DC Power Jack DVI-D VESA DPMS, EPA Energy Star DVI-D jack input * Regulation (Certifications) *Option Function CE, FCC, BSMI, CB, TUV, UL PRESTIGIO P179... - Page 20 Notes PRESTIGIO P179...
Need help?
Do you have a question about the p179 and is the answer not in the manual?
Questions and answers