STEINEL IS 2180-2 Operating Instructions Manual
Hide thumbs
Also See for IS 2180-2:
- Installation instructions (5 pages) ,
- Operating instructions manual (93 pages)
Table of Contents

Related Manuals for STEINEL IS 2180-2


Summary of Contents for STEINEL IS 2180-2
- Page 1 IS 2180-2 Bedienungsanleitung Operating instructions Mode d’emploi Gebruiksaanwijzing Istruzioni per l’uso Instrucciones de montaje Bruksanvisning Brugsanvisning Käyttöohje Bruksanvisning...
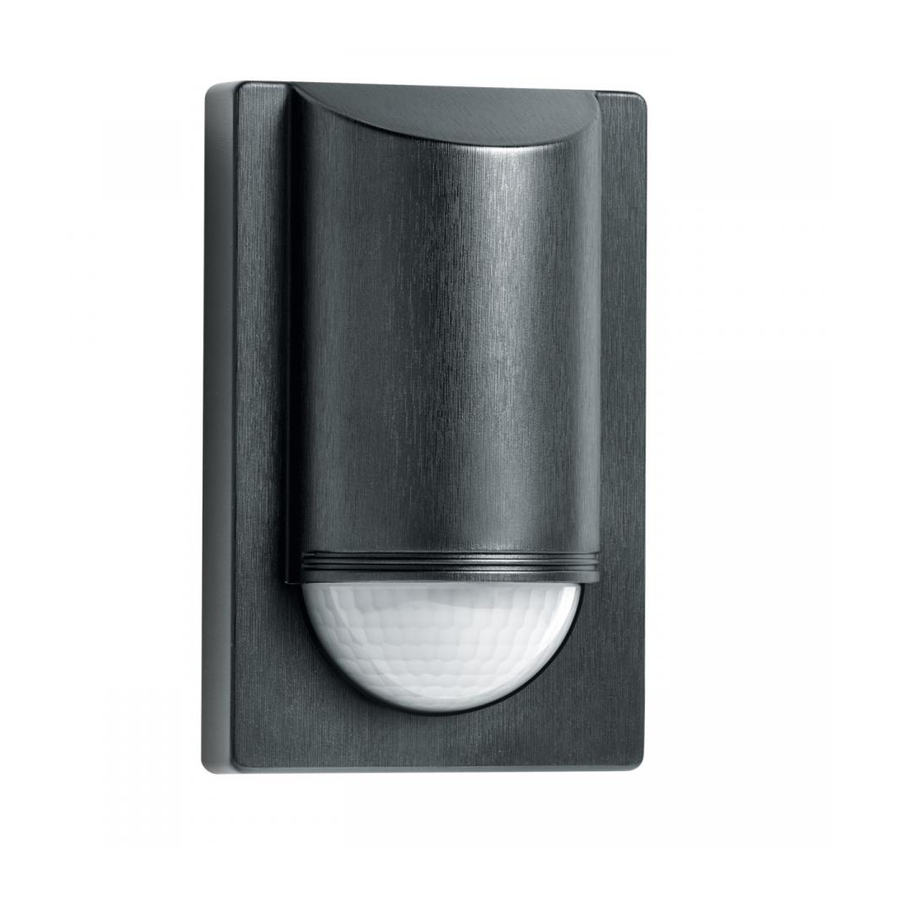
- Page 2 Das Prinzip Der IS 2180-2 ist mit zwei cher (z.B. eine Leuchte) winkel von 90° erreicht. Die 120°-Pyro-Sensoren aus- wird eingeschaltet. Durch Linse ist abnehmbar und gestattet, die die unsicht- Hindernisse wie z.B. Mau- drehbar. Dies ermöglicht bare Wärmestrahlung von...
-
Page 3: Technische Daten
Sie uns mit dem Fehlauslösungen des Sen- Bitte machen Sie sich vor Betrieb. Kauf dieses STEINEL- sors führen kann. Um die der Installation mit dieser Infrarot-Sensors entgegen- angegebenen Reichweiten Wir wünschen Ihnen viel Montageanleitung vertraut. - Page 4 Nullleiter der Netzzuleitung rungseinstellung vorneh- Die Verbraucherzuleitung angeklemmt. Der Schutz- men (s. Kapitel Funktionen). Die Linse des IS 2180-2 ist die gewählte max. Reich- zur Leuchte besteht eben- leiter wird am Erdungskon- 10. Designblende auf- in zwei Erfassungsbereiche weite von 12 m oder 5 m...
- Page 5 Stellung I und Stellung II. 1) z. B. 1–4 x 100 W Glühlampen 2) Verbraucher, Beleuchtung max. 1000 W (siehe Technische Daten) 3) Anschlussklemmen des IS 2180-2 4) Hausinterner Schalter 5) Hausinterner Serienschalter, Hand, Automatik 6) Hausinterner Wechselschalter, Automatik, Dauerlicht...
- Page 6 Leitung überprüfen mit Spannungsprüfer Kurzschluss Anschlüsse überprüfen Netzschalter AUS einschalten Funktionsgarantie IS 2180-2 schaltet bei Tagesbetrieb, neu einstellen Dieses STEINEL-Produkt Die Garantiefrist beträgt Weitergehende Folgeschä- nicht ein Dämmerungseinstellung 36 Monate und beginnt mit den an fremden Gegen- ist mit größter Sorgfalt her-...
-
Page 7: Installation Instructions
Congratulations on purchas- heat emitted by moving type will, therefore, not provided with the unit, the care. properly. ing this STEINEL Infrared objects (people, animals trigger the sensor. With a infrared sensor can easily Please familiarise yourself Sensor and thank you for etc.). -
Page 8: Installation/Wall Mounting
3. Mark drill holes, 4. Drill the holes, insert wall plugs vides a convenient means of in-stalling the IS 2180-2 (6 mm dia.), 5. Break open cable entry for surface or to internal and external Concealed wiring corners. - Page 9 Basic reach settings Precision adjustment using shrouds The lens of the IS 2180-2 Using a screwdriver, the Shrouds may be used to is divided into two detection lens can be unclipped from define the detection zone zones. One half covers...
-
Page 10: Wiring Examples
Short circuit Check connections Mains switch OFF Switch on IS 2180-2 will not switch Twilight control set to Adjust setting nighttime mode during daytime operation 1. Light without neutral conductor 2. Light with neutral conductor... -
Page 11: Instructions De Montage
Nous souhaitons que votre nouveau détecteur infrarouge confiance que vous avez té- tions de montage. En effet, moignée à STEINEL en ache- seules une installation et une vous apporte entière satisfac- tion. tant ce détecteur infrarouge. -
Page 12: Consignes De Sécurité
Le principe Installation / fixation au mur Il faut monter l’appareil à L’IS 2180-2 est muni de deux (p. ex. une lampe). Les obsta- te permet de régler la portée détecteurs pyroélectriques de cles comme les murs ou les vi-... - Page 13 à l’aide de la vis de blo- Le branchement de la lampe ). 7. Visser et refermer le cage La lentille de l’IS 2180-2 est lée (12 m ou 5 m) est indiquée s’effectue également avec un boîtier. 8. Mettre en place la Important : une inversion des divisée en deux zones de...
-
Page 14: Exemples De Branchement
(position I ou II) est possible. 1) Par exemple, 1–4 lampes à incandescence de 100 W 2) Consommateur, éclairage max. 1000 W (cf. caractéristiques techniques) 3) Bornes de l’IS 2180-2 4) Interrupteur de l’habitation 5) Interrupteur en série de l’habitation, mode manuel, mode automatique 6) Interrupteur va-et-vient de l’habitation, mode manuel, éclairage permanent... -
Page 15: Déclaration De Conformité Ce
Court-circuit Interrupteur en position Mettre en circuit Service après-vente et garantie ARRÊT Ce produit STEINEL a été fa- La durée de garantie est de La garantie ne s’applique que L’IS 2180-2 ne s’allume pas Pendant la journée, le Régler à nouveau 36 mois et débute au jour de la...
Need help?
Do you have a question about the IS 2180-2 and is the answer not in the manual?
Questions and answers