Sign In
Upload
Download
Table of Contents
Contents
Add to my manuals
Delete from my manuals
Share
URL of this page:
HTML Link:
Bookmark this page
Add
Manual will be automatically added to "My Manuals"
Print this page
×
Bookmark added
×
Added to my manuals
Manuals
Brands
HIOS Manuals
Power Tool
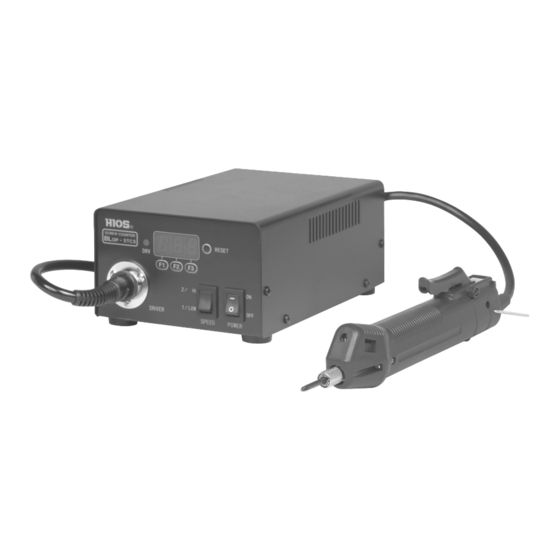
BLOP-STC 3
Operation manual
HIOS BLOP-STC 3 Operation Manual
Screw counter
Hide thumbs
1
Table Of Contents
2
3
4
5
6
7
8
9
10
11
12
13
14
15
16
17
18
19
20
21
22
23
24
25
26
27
28
page
of
28
Go
/
28
Contents
Table of Contents
Troubleshooting
Bookmarks
Table of Contents
Table of Contents
Introduction
Summary
Counting Function
Other Functions
Precautions Concerning Installation Location
Precautions During Use
Specification
Compatible Screwdriver
Primary Functions and Description of Terms
Description of Name and Function for each Section
Front Panel
Rear Panel
Function Setting Table
Initial Settings
Quick Installation
Normal Power Mode
Continuous Counter Mode
Counter Mode
Multiple Counter Mode
Timing Chart
Troubleshooting
Advertisement
Quick Links
1
Counting Function
2
Specification
3
Front Panel
4
Function Setting Table
5
Initial Settings
6
Quick Installation
7
Counter Mode
8
Timing Chart
Download this manual
Screw counter series
BLOP-STC 3
CLT-70STC 3
Operation Manuals
(March, 2017)
BLOP-STC 3
CLT-70STC 3
HIOS Inc.
1-16-5 Akiyama, Matsudo City,
Chiba Pref., Japan
TEL: 81 (Japan) 47-392-2001
17A
Operation manual No. ET-A012
FAX: 81 (Japan) 47-392-7773
Utilizing 100% post-consumer
recycled paper pulp
Table of
Contents
Previous
Page
Next
Page
1
2
3
4
5
Advertisement
Table of Contents
Need help?
Do you have a question about the BLOP-STC 3 and is the answer not in the manual?
Ask a question
Questions and answers
Related Manuals for HIOS BLOP-STC 3
Power Tool HIOS VZOP-STC Instruction Manual
Power supply with screw counter (11 pages)
Power Tool HIOS BLG-4000 Operation Manual
(11 pages)
Power Tool HIOS VZ SERIES Operation Manual
(14 pages)
Power Tool HIOS VZ-1510 Operation Manual
(20 pages)
Power Tool HIOS PG Series User Manual
Electric screwdriver + free power supply. (25 pages)
Power Tool HIOS BL Series Operation Manual
Brushless driver (12 pages)
Power Tool HIOS Neji Taro V HSV-10 Instruction Manual
Automatic screw feeder hsv series (36 pages)
Power Tool HIOS Neji Taro II HS-35 Operation Manual
Automatic screw feeder hs series (20 pages)
This manual is also suitable for:
Clt-70stc 3
Table of Contents
Print
Rename the bookmark
Delete bookmark?
Delete from my manuals?
Login
Sign In
OR
Sign in with Facebook
Sign in with Google
Upload manual
Upload from disk
Upload from URL


Need help?
Do you have a question about the BLOP-STC 3 and is the answer not in the manual?
Questions and answers