Table of Contents
Advertisement
Quick Links
Advertisement
Table of Contents

Related Manuals for Overland Storage snap server 410


Summary of Contents for Overland Storage snap server 410
-
Page 1: Quick Start Guide
Quick Start Guide and User CD Kurzanleitung und Benutzer-CD Guía de iniciación rápida y CD del usuario Guide de mise en route rapide et CD de l’utilisateur Guida rapida all’uso e CD utente Руководство по быстрой установке и компакт-диск User CD... -
Page 2: About This Guide
About This Guide This guide shows you how to install your Snap Server 410 in a rack and connect the server to your network. The instructions consist of 5 steps: • Step 1: Verify the contents of your shipping package. -
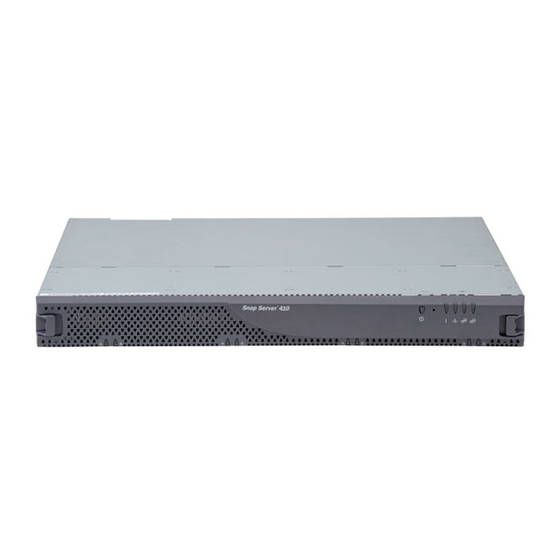
Page 3: Hardware Features
Hardware Features 1 Power button 9 Secondary Ethernet port 2 Reset button 10 USB ports (4) 3 System status lights 11 Service connector 4 Disk drive status lights 12 Ethernet cables (2) 5 Bezel release mechanisms 13 Power cables (1 US, 1 UK, 1 EU) 6 Hot-swappable disk drives (4) 14 Rackmount brackets (2) 7 Power supply module... - Page 4 Caution The following procedure applies to standard EIA racks; other racks may not be able to support the server using only the front posts. If you are using a non-EIA rack, Overland Storage recommends that you secure the server using slide rails, available from Overland Storage or a Snap Server reseller.
-
Page 5: Cabling The Server To The Network
(LAN 1 and LAN 2) are green. Connecting the Power Cord As a data integrity measure, Overland Storage strongly recommends you connect the server to a UPS. Use the provided power cord to plug the module into the UPS or properly grounded electrical outlet. - Page 6 Step 5: Connect to the Snap Server for the First Time Snap Servers are preset to acquire an IP address from a DHCP server. If no DHCP server is found on the network, the Snap Server defaults to an IP address of 10.10.10.10, and you may not be able to see the server on your network.
- Page 7 Alle anderen Produktnamen und Firmennamen sind Eigentum der jeweiligen Unternehmen. Copyright © 2009 Overland Storage, Inc. Tutti i diritti riservati in tutti i Copyright © 2009 Overland Storage, Inc. Reservados todos los derechos paesi del mondo. Tutti i nomi di prodotti e società sono di proprietà dei en el ámbito internacional.
Need help?
Do you have a question about the snap server 410 and is the answer not in the manual?
Questions and answers