Advertisement
Table of Contents
- 1 This Appliance Must be Earthed
- 2 Product Description
- 3 Drainage Options
- 4 Dryer Installation
- 5 Filter Installation
- 6 Load Preparation
- 7 Cleaning the Filter
- 8 Cleaning the Heat Exchanger
- 9 Programme Table
- 10 Operation
- 11 Problem Solving
- 12 Technical Data
- Download this manual
See also:
Service Manual
IMPORTANT: PLEASE READ THESE
INSTRUCTIONS THOROUGHLY BEFORE USING
THIS APPLIANCE. KEEP THEM IN A SAFE PLACE
FOR FUTURE REFERENCE.
IMPORTANT USER INFORMATION
This appliance is intended for NORMAL DOMESTIC
USE ONLY.
Please note it is not recommended that the dryer is
placed directly next to ovens, cookers or other heating
appliances as the performance of the dryer may be
affected.
Any electrical work required to install the appliance
should be carried out by a qualified person.
The tumble dryer is not to be used if industrial chemicals
have been used for cleaning.
It is important to clean the lint filter after each drying
cycle and the heat exchanger every month or the
restrictions to airflow will extend drying times and could
cause the safety cut-out to trip.
DO NOT allow lint to accumulate around the tumble
dryer - risk of fire
INSTRUCTIONS FOR USE
8kg CONDENSER TUMBLE DRYER
B96G8W
Advertisement
Table of Contents

Related Manuals for White Knight B96G8W


Summary of Contents for White Knight B96G8W
- Page 1 INSTRUCTIONS FOR USE 8kg CONDENSER TUMBLE DRYER B96G8W IMPORTANT: PLEASE READ THESE INSTRUCTIONS THOROUGHLY BEFORE USING THIS APPLIANCE. KEEP THEM IN A SAFE PLACE FOR FUTURE REFERENCE. IMPORTANT USER INFORMATION This appliance is intended for NORMAL DOMESTIC USE ONLY. Please note it is not recommended that the dryer is...
- Page 2 Adequate ventilation has to be provided to avoid the back flow of gases into the room from appliances burning other fuels, including open fires. DO NOT dry unwashed items in the tumble dryer. Items that have been soiled with substances such as cooking oil, acetone, alcohol, petrol, kerosene, spot removers, turpentine, waxes and wax removers should be washed in hot water with an extra amount of...
- Page 3 The appliance must not be installed behind a lockable door, a sliding door or a door with a hinge on the opposite side to that of the tumble dryer, in such a way that a full opening of the tumble dryer door is restricted. Do not stack the tumble dryer on top of other appliances.
- Page 4 The special mains cable and plug assembly must only be replaced with a genuine part from the manufacturer or our appointed service agent. It is important to clean fluff from the window of the dryer and around the door seal after each drying cycle. Failure to do so could result in water leaking.
-
Page 5: This Appliance Must Be Earthed
DO NOT overload the dryer or dry large bulky items such as duvets or sleeping bags as it is important that the airflow through the dryer is not obstructed. To avoid uneven drying, it is recommended to remove large items (e.g. duvet covers) part way through the drying cycle and redistribute the load. -
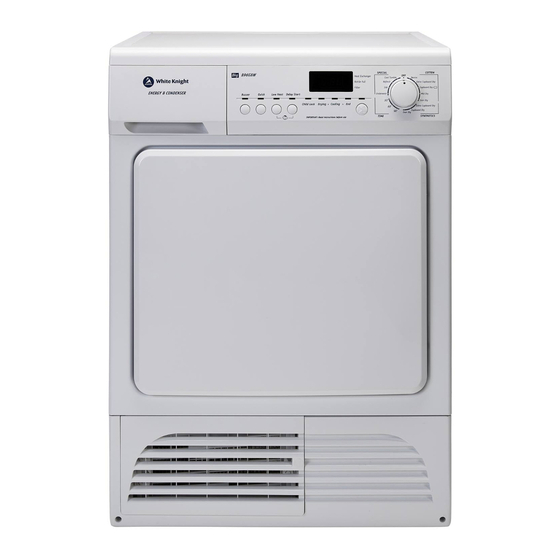
Page 6: Product Description
PRODUCT DESCRIPTION 1. Control Panel 5. Heat Exchanger Cover 2. Water Bottle 6. Heat Exchanger 3. Filter 7. Adjustable Feet 4. Door PACKAGING Caution! Before using the appliance ensure that all items have been removed from inside the drum. Polystyrene packing piece During transit the drum is secured with adhesive tape and 2 polystyrene packing pieces. -
Page 7: Drainage Options
DRAINAGE OPTIONS Your new appliance as delivered is setup such that the condensed water generated during drying is pumped into the water bottle. The bottle will then require emptying at the end of every drying cycle. Alternatively, the appliance can be converted to allow the condensed water to be pumped to your household waste pipe. -
Page 8: Dryer Installation
DRYER INSTALLATION Position the tumble dryer so that the plug remains accessible after installation. Do not block the vents at the front, rear or base of the dryer, as this will impair the working of the machine. This appliance must not be installed behind a lockable door, a sliding door or a door with hinges on the opposite side to that of the tumble dryer. -
Page 9: Cleaning The Filter
CLEANING THE FILTER ALWAYS CLEAN THE FILTERS AFTER EACH USE. Failure to do so could cause the safety cut-out to operate. To clean the filter located in the door, slide the filter upwards and away from the appliance. Remove any threads or fluff from the filter by hand or with a soft brush. -
Page 10: Cleaning The Heat Exchanger
CLEANING THE HEAT EXCHANGER The Heat Exchanger and ducting should be cleaned monthly or more frequently if the dryer is in constant use. CAUTION: For maximum efficiency, the plates are made from very thin aluminium and are easily damaged. At all times, handle the Heat Exchanger carefully and avoid crushing the plates. - Page 11 APPLIANCE FEATURES AND PROGRAMME OPTIONS Programme selection - Rotate the Programme Selector Knob from the Off position to the required programme. Additional features of Buzzer, Quick (only available on the Denim, Extra Cupboard Dry & Cupboard Dry programmes), Low Heat (available on all Cotton, Synthetics and Time programmes) and Delay Start can also be selected.
-
Page 12: Programme Table
Once you have selected the delay time that you require, press the Start/Pause button and : will flash on the display. The remaining delay time is shown in hours. When the delay period is complete, the drying cycle selected will automatically start. To cancel delay, turn the Programme Selector to the Off position. - Page 13 CONTROLS Buzzer Button - Press to select the buzzer function. Quick Button Press to select the quick dry option. Low Heat Button Press to select low heat. This is suitable for drying delicate items. Delay Start Button This is used to select a delay time as detailed above for between 1 and 24 hours.
-
Page 14: Operation
OPERATION A full load will typically take 150 minutes and will use approximately 4.76kWh of electricity. A half load will typically take 90 minutes and will use approximately 2.55kWh of electricity. The power consumption of the off-mode is 0.0W and the left-on mode is 0.36W. 1. -
Page 15: Technical Data
If problems continue after checking the above points you should contact our Service Agent. Please ensure that you have the model number (B96G8W) and your serial number to hand when you make the call. To locate the serial number on your dryer, open the door and look for a white label inside the door opening with a 10 digit number on it. - Page 16 Energy Labelling Directive: 2010/30/EU Product Fiche 1(a) Supplier s name or trade mark: White Knight 1(b) Model identifier: B96G8W 1(c) Rated capacity at full load: 1(d) Appliance type: Condenser 1(e) Energy efficiency class: 1(f) The energy consumption of the appliance is 561kWh per year The figures above are based on 160 drying cycles of the standard cotton programme at full and partial load, and the consumption of the low-power modes.
Need help?
Do you have a question about the B96G8W and is the answer not in the manual?
Questions and answers