Table of Contents
Advertisement
Quick Links
________________________________________________________________________________
Quick Start Guide – How to install the C3X LUMIS 3D system
Getting started
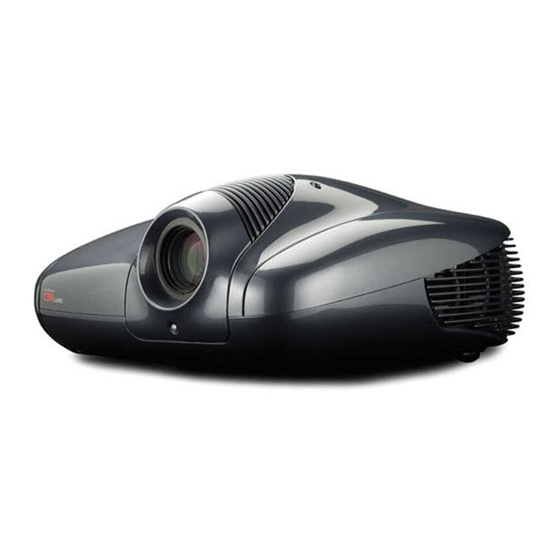
The C3X LUMIS 3D system consists on a pair of special C3X LUMIS projectors equipped
with Infitec filter for 3D vision and a custom made double-decker bracket to install the
system on a table.
Maximum two projector may be installed on the bracket.
The Quick Start Guide you are currently reading describes the installation procedure.
Necessary material:
N.2 C3X LUMIS HC special projectors composing the C3X LUMIS 3D system
N.1 table stacking system
N.6 M6 screws (2 cm length minimum)
Warnings
Due to the weight of the bracket and the projectors (around 45 Kgs/ 99lbs) the whole
system may represent danger if not handled with care. Many injuries especially among
children can be avoided by taking simple precautions:
Only use the projector model suggested by the supplier
Only use furniture which will surely carry the equipment
Place the table staking system on a plane surface and make sure that its rubber
feet don't slide. If possible choose a rough surface
Make sure the equipment does not hang outside the surface
Do not place the equipment on high furniture like cupboards or bookshelves
without securing both the furniture and the equipment securely
Do not place the equipment on a tablecloth or other materials between the stacking
system feet and the surface
Placing the lower projector
Be sure the stacking system lower plate is horizontal: use a bubble level to be sure.
Unscrew the standard projector's feet after having turned the projector upside down on a
soft surface to. The projector must be inserted form the front side of the stacking system
(see left picture). The projector is more than 11Kgs (24lbs) weight so we recommend to
hold it by two hands. Placing the projector avoid shakings and impacts to the staking
system mechanical structure: those may damage the cabinet or the inner projector's parts.
Once inside, check that the three feet sockets are coincident to the metallic plate holes.
Screw the provided screws (see right picture) on the projector feet from the lower part of
the plate until the projector is fixed safely.
Advertisement
Table of Contents

Related Manuals for Sim2 C3X LUMIS


Summary of Contents for Sim2 C3X LUMIS
- Page 1 Quick Start Guide – How to install the C3X LUMIS 3D system Getting started The C3X LUMIS 3D system consists on a pair of special C3X LUMIS projectors equipped with Infitec filter for 3D vision and a custom made double-decker bracket to install the system on a table.
- Page 2 Fine aligning the images The C3X LUMIS model composing the system has 50% UP lens shift. An optimal installation is obtained without using electronic keystone, so when the image is projected perpendicular to the screen.
- Page 3 ________________________________________________________________________________ 5. The images could be horizontally tilted one respect to each other, the image centers are horizontally shifted and the image dimensions slightly different. Let’s analyze the three cases: a) the images are horizontally tilted one respect to each other: act on the right adjustment wheel (see below images) to tilt the upper projector respect the below one that will be used as reference.
- Page 4 b) the image centers are horizontally shifted: act on the left adjustment wheel (see below images) to shift horizontally the upper projector respect the below one that will be used as reference. c) Following the instructions at points a) and b) you should have found the common image center.
Need help?
Do you have a question about the C3X LUMIS and is the answer not in the manual?
Questions and answers