Advertisement
Quick Links
Advertisement

Subscribe to Our Youtube Channel
Related Manuals for B2 Audio Zero 1


Summary of Contents for B2 Audio Zero 1
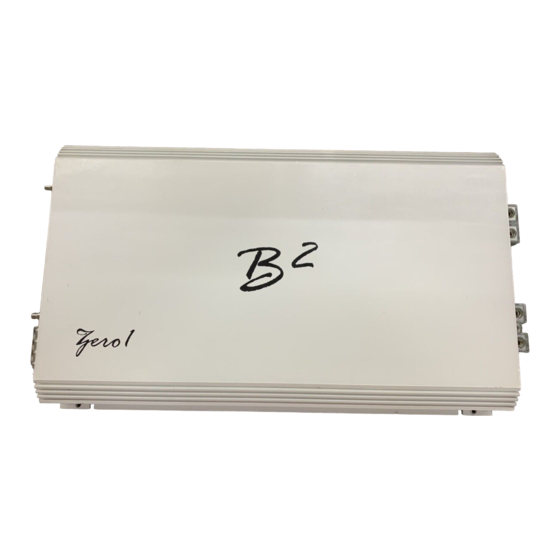
- Page 1 MODEL: zero1 Product id:zero116d Zero1 OWNER’S MANUAL...
-
Page 2: Table Of Contents
Introduction We thank you for purchasing our amplifiers. Your decision to be part of something different is what we strive for. Our products reflects who we are, going to the extent to deliver you our finest comes natural. to upgrade the stock electrical system. Ensure the system is in accordance with the full performance of the amplifier. Better Bass Better Bass is our philosophy of adding something extra. -
Page 3: Design Features
Design features Zero1 Circuit Configuration: HI-EF Class D Frequency Response: 15 Hz ~ 250 Hz Signal to Noise Ratio: > 100 dB Input Sensitivity: 6 V ~ 0.2 V Crossover Circuit: 24 dB / Octave Low Pass Crossover: 35 Hz ~ 250 Hz Subsonic Crossover: 10 ~50 Hz Damping Factor:... - Page 4 Design features Zero1 Circuit Configuration: HI-EF Class D Frequency Response: 15 Hz ~ 250 Hz Signal to Noise Ratio: > 100 dB Input Sensitivity: 6 V ~ 0.2 V Crossover Circuit: 24 dB / Octave Low Pass Crossover: 35 Hz ~ 250 Hz Subsonic Crossover: 10 ~50 Hz Damping Factor:...
-
Page 5: Panel Layout
Panel layout Head unit Zero1 GROUND* GROUND* * Keep ground as short as possible and of equal length, no longer than 20” (50 cm). This drawing is for illustration purpose only! 300A (External fuse) GND (GROUND CONNECTION) + 12V (POWER CONNECTION) Connects to the vehicle’s chassis. -
Page 6: Installation
Installation Installation considerations If you choose to install the ampli er by yourself, please read the entire owner’s manual carefully. Before you start your installation, please take all steps into consideration. If in doubt, please go to www.b2audio.com for authorized distributors / dealers that will be able to con gure your set up &... -
Page 7: Wiring Layout
wiring layout Head unit Zero1 GROUND* GROUND* * Keep ground as short as possible and of equal length, no longer than 20” (50 cm). This drawing is for illustration purpose only! 300A (External fuse) We recommend to use minumum12 Ga speaker cables to acquire the intended performance. Run the speaker cables from your speakers to the ampli er’s mounting location. -
Page 8: Master / Slave
Speaker Wiring Diagram - single amplifier zero1 BASS BASS BOOST FREQ 0dB 9dB 30Hz 80Hz MASTER SLAVE1 SLAVE2 SWEET LIKE DANISH Speaker impedance 1 Ohm ~ 8 Ohm Loads under what is speci ed will cause excessive heat & the ampli er will reach thermal at a faster rate &... - Page 9 strapped Speaker Wiring master / Slave zero1 Head unit MASTER AMPLIFIER BASS BASS BOOST FREQ 0dB 9dB 30Hz 80Hz MASTER SLAVE1 SLAVE2 SWEET LIKE DANISH Linking or strapping makes 2 ampli ers work as a single ampli er. This con guration will near double the rated output power.
- Page 10 Strapped Control panel setting Master / slave 1 Head unit MASTER AMPLIFIER BASS BASS BOOST FREQ 0dB 9dB 30Hz 80Hz MASTER SLAVE1 SLAVE2 SWEET LIKE DANISH Linking or strapping makes 2 ampli ers work as a single ampli er. This con guration will near double the rated output power.
- Page 11 Control panel setting Master / slave 2 / SLave 2 Head unit master slave 2 slave 2 To link the master and slave 2 ampli ers in daisy chain mode follow the steps below. Each slave 2 will be controlled by the master’s control panel, but the speakers must be connected individually to each amp.
-
Page 12: Troubleshooting
Troubleshooting The protection circuits of the ampli er prevents severe damages from faulty conditions & improper use. The protection indicatior will switch on due to short circuit connection & speaker overload, thus the ampli er will be turned o . Prior to inspecting the occurred problem, turn all levels down &...
Need help?
Do you have a question about the Zero 1 and is the answer not in the manual?
Questions and answers