Advertisement
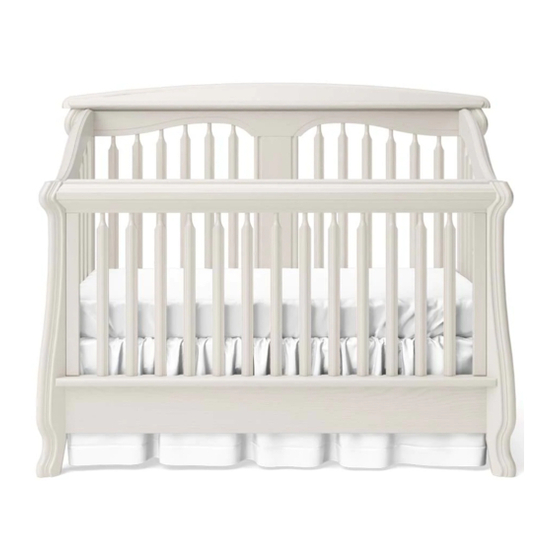
NOTE: THE STYLE OF YOUR BED MAY VARY FROM
WHAT IS PICTURED IN THE INSTRUCTION SHEET
ASSEMBLY INSTRUCTIONS
FOR
THE FULL SIZE BED OPTION
OF YOUR 01 NERVA CRIB
PLEASE, READ ALL INSTRUCTIONS
BEFORE ASSEMBLING!
PLEASE, SAVE INSTRUCTIONS FOR
20 Corporation Row, Edison, NJ 08837
Phone (718) 478 5100, Fax (718) 478 5117
www.rominakidsfurniture.com
3
IMPORTANT:
FUTURE USE
Europe's Kids Furniture
Advertisement
Table of Contents

Related Manuals for Romina 301


Summary of Contents for Romina 301
- Page 1 ASSEMBLY INSTRUCTIONS THE FULL SIZE BED OPTION OF YOUR 01 NERVA CRIB IMPORTANT: PLEASE, READ ALL INSTRUCTIONS BEFORE ASSEMBLING! PLEASE, SAVE INSTRUCTIONS FOR FUTURE USE Europe's Kids Furniture 20 Corporation Row, Edison, NJ 08837 NOTE: THE STYLE OF YOUR BED MAY VARY FROM WHAT IS PICTURED IN THE INSTRUCTION SHEET Phone (718) 478 5100, Fax (718) 478 5117 www.rominakidsfurniture.com...
- Page 2 Please locate and confirm that you have the following parts: BR. bed rails = 2 S. group of support slats assembled with textile ribbons = 2 Note: The letter that identify one bag of hardware with the following: a part is the first letter of the respective part name (such 1.
- Page 3 STEP 1 sing the Allen wrench (4) supplied, remove all the 14 Allen bolts shown in Figure 1. Start with the 4 inner bolts which sustain the mattress support, then continue with the 5 bolts from the left side and the 5 bolts from the right side of the crib.
- Page 4 STEP 2 Attach one of the bed rails (BR) to the back panel (B) of the crib using 2 Allen bolts (2) and 2 barrel nuts (3). Make sure the wood brackets attached to the bed rail face towards the inside of the bed. Align the straight slot in the head of the barrel nut horizontally, so the threads in the bolt will insert in the barrel nut.
Need help?
Do you have a question about the 301 and is the answer not in the manual?
Questions and answers