
Related Manuals for Gamma Progression ES II


Summary of Contents for Gamma Progression ES II
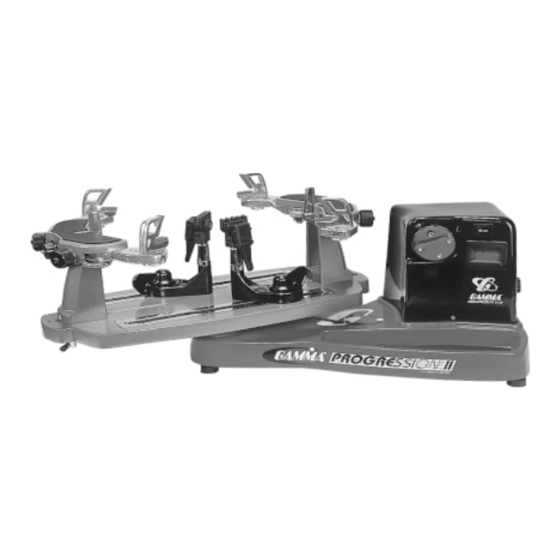
- Page 1 STRINGING MA STRINGING MA CHINE CHINE STRINGING MA CHINE CHINE STRINGING MA STRINGING MA CHINE OWNER'S MANUAL Issue 1 - January 2000 Copyright 2000 GAMMA Sports - All Rights Reserved...
-
Page 2: Table Of Contents
(5) years from the date of original purchase for mechanical parts (excluding electrical parts and string clamps), and for a period of one (1) year from the date of purchase for all electrical parts and string clamps. Should any defects develop under normal use within the specified time periods, GAMMA will at its option, repair or replace the defective EQUIPMENT provided it is returned to GAMMA prepaid at the purchaser's expense. -
Page 3: Features
MACHINE FEATURES Electric Constant Pull Tensioner w/ 11lb. to 89lb. Tension Range Digital Tension Setting Display Professional Six Point “Quick Mount” Racquet Mounting System - Accomodates All Racquets Without Adapters Parallel Jaw Rotating Gripper w/ Diamond Dust Coated Gripping Surfaces Professional “Quick Action”... -
Page 4: Assembly Instructions
ASSEMBLY INSTRUCTIONS Turntable Installation Insert the turntable center post into the bushing of the stringing machine base. Frame Support Post Installation The ESII support post assemblies are precision aligned at the factory and are marked for proper installation on the turntable. Install the support post with the dot on its base to an identical dot on the turntable. -
Page 5: Mounting The Frame
MOUNTING THE FRAME Adjusting the Frame Support Posts Place the racquet frame over the center posts and onto the frame support. Loosen the lever lock bolt on one support post. Slide the post outward until the center support of the racquet support slide is positioned near the inside surface of the racquet frame. - Page 6 MOUNTING THE FRAME Securing the Frame Shoulder Clamps Lock the shoulder supports in position by turning the knob at the base clockwise. Repeat the adjustment procedure for the remaining support post. Re-tighten all of the frame supports in the same order as before. Do not overtighten any of the supports as racquet damage may occur.
-
Page 7: Tensioner Controls
Aramid fiber and Metallic strings will generally string up tighter on the Progression ES II machine compared to synthetic or natural gut strings. There-... -
Page 8: Stringing The Frame
STRINGING THE FRAME Clamp Head Operation “Quick Action” Clamps are of a dual action design where as the clamp head and clamp base operate independently of one another. To clamp a string, lift the clamp head and place the string between the jaws and depress the clamp head lever to secure the string. - Page 9 STRINGING THE FRAME Clamping the First Main String To begin stringing the main strings, thread the two ends of the string through the two center holes at the appropriate end of the frame and continue through the opposite center holes. Thread one end of the string through the adjacent grommet hole and pull excess by hand.
- Page 10 STRINGING THE FRAME Clamping the First Main String Secure the tensioned main string using the remaining fixed clamp. Repeat the procedure for all of the remaining main strings and tie off following the racquet manufacturers recommenda- tions. Follow the manufacturer's recommended stringing pattern for one or two piece stringing.
-
Page 11: Pathfinder Awl
PATHFINDER AWL The Progression ESII includes the new Pathfinder stringing awl which creates a pathway between or around strings to make inserting a string through tight grommets easier and quicker. Insert the awl through the grommet hole in the same manner as for traditional awls. -
Page 12: Maintenance And Adjustments
MAINTENANCE and ADJUSTMENTS Adjusting the Clamp Jaws “Quick Action” Clamps will need minor adjustments according to what string type, construction, and gauge you are using. To adjust the gap (clamping pressure) between the clamp jaws, insert the string through the racquet as if you were beginning the main strings. - Page 13 MAINTENANCE and ADJUSTMENTS Tension Calibration Procedure If you suspect that your Progression ESII is not pulling the correct tension, you should check the tension with a Tension Calibrator which provides a measurement of the actual pulling tension being applied by 6 .
-
Page 14: Troubleshooting Tips
TROUBLESHOOTING TIPS PROBLEM SOLUTION String slips in clamps. - Adjust gap between jaws. - Clean clamp jaws. String slips in gripper. - Clean gripper jaws. - Make sure string is wrapped over top jaw of gripper prior to inserting between gripper jaws. String clamp base slips on turntable. - Page 15 PARTS LIST PART # DESCRIPTION PART # DESCRIPTION TURNTABLE BUSHING ARM RETURN SPRING RUBBER FEET 146A ARM ADJUSTMENT KNOB CAP SCREW ARM ADJUSTMENT SCREW FOOT NUT SHOULDER V-CLAMP BUSHING SET SCREW 2020-25 TURNTABLE WASHER - M8 QA CLAMP w/GLIDE BAR POST LOCK LEVER COMP.
- Page 16 EXPLODED PARTS VIEW...
Need help?
Do you have a question about the Progression ES II and is the answer not in the manual?
Questions and answers