Advertisement
Quick Links
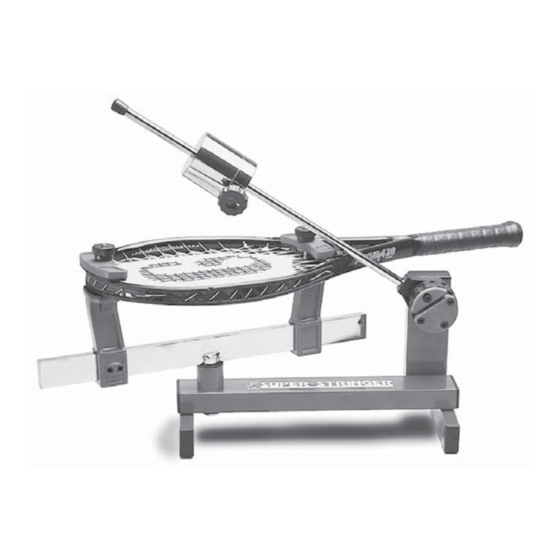
PRO 100
STRINGING MACHINE
O O O O O WNER'S MANU
WNER'S MANU
WNER'S MANU
WNER'S MANU AL
WNER'S MANU
Issue 3 - September 22, 1998
Issue 3 - September 22, 1998
Issue 3 - September 22, 1998
Issue 3 - September 22, 1998
Issue 3 - September 22, 1998
Copyright 1998 GAMMA Sports - All Rights Reserved
AL
AL
AL
AL
Advertisement

Related Manuals for Gamma PRO 100


Summary of Contents for Gamma PRO 100
- Page 1 WNER'S MANU Issue 3 - September 22, 1998 Issue 3 - September 22, 1998 Issue 3 - September 22, 1998 Issue 3 - September 22, 1998 Issue 3 - September 22, 1998 Copyright 1998 GAMMA Sports - All Rights Reserved...
- Page 2 Should any defects develop under normal use within the specified time periods, GAMMA will at its option, repair or replace the defective EQUIPMENT provided it is returned to GAMMA prepaid at the purchaser's expense.
- Page 3 ASSEMBLY INSTRUCTIONS Installing the Base Legs The PRO 100 is shipped with the legs sepa- rate from the base and requires assembly before use. Hole (A) in the machine base is the attaching point for the base leg. Place one screw onto the end of the 4mm hex wrench.
- Page 4 ASSEMBLY INSTRUCTIONS Installing the Base Legs ( cont. ) Using the included 10mm box wrench, se- curely tighten the locking nut. The completed leg / base assembly. Replace the base endcap making sure the notched side of the endcap is aligned with the leg attachment screw.
- Page 5 ASSEMBLY INSTRUCTIONS Installing the Turntable Insert the turntable center post into the bush- ing assembly of the machine base. Installing the Support posts Slide each support post onto the end of the turntable bar. The posts should be oriented so as to angle away from the turntable center post.
- Page 6 MOUNTING THE RACQUET Installing the Racquet Support Adapters The PRO 100 is supplied with two styles of Racquet Support Adapters. A thick profile adapter for widebody racquets and a thin profile adapter for conventional racquet frames. The Adapters are also tapered, use the highest side of the adapter that does not interfere with the string grommet holes.
- Page 7 STRINGING THE FRAME Starting the Main Strings To begin stringing the main strings, count the number of holes at the throat of the frame, which will determine the starting point. For racquets with 4 or 8 holes at the throat, the main strings will begin at the head.
- Page 8 STRINGING THE FRAME Pulling Tension While holding the string gripper drum with your hand, lift the tension bar to approx. 45 degree angle and let fall. If the tension bar drops below horizontal, repeat the above action until the bar comes to rest parallel to the racquet.
- Page 9 STRINGING THE FRAME Finishing the String Job Weave and tension the remaining cross strings and tie off at the specified grommet hole. Remove the strung racquet from the Super Stringer in the reverse order of mounting.
- Page 10 PARTS LIST PART # DESCRIPTION PART # DESCRIPTION TURTABLE BUSHING CLAMP PLATE KNOB CLAMP PLATE PAD SET SCREW FRM SUPP ADPTR - SHORT TENSION BAR CAP FRM SUPP ADPTR - TALL DROP WEIGHT KNOB BASE FRONT WEIGHT BACK WEIGHT LEG CAP SET SCREW WINDER STAND ENDCAP STRING GRIPPER DRUM...
- Page 11 EXPLODED PARTS VIEW...
Need help?
Do you have a question about the PRO 100 and is the answer not in the manual?
Questions and answers