Table of Contents
Advertisement
When work is being carried out on the engine such as adjusting drive belts, changing oil or
adjusting the clutch, it is important not to start the engine. The engine may be damaged and
!
For this reason, always secure the starting device or disconnect a battery cable before working on
This is especially important if the engine has a remote starter or automatic starting.
This warning symbol and text is reproduced beside those maintenance points where the risk of
When the commissioning report has been filled in and sent to Scania, you have a 1-year warranty from the date
of commissioning.
Also fill in the particulars below as this can make things easier if you need to contact for example a service
workshop.
Engine number
Date of commissioning
User's name and address
Signature
Engine type
Variant
Engine type and variant are indicated on the engine type plate
IMPORTANT INFORMATION
A SERIOUS RISK OF INJURY
injury is particularly great.
Operator's Manual
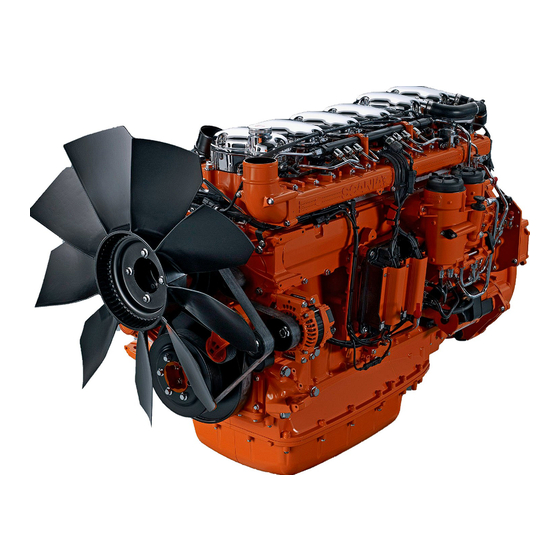
DI12, DC12
EMS with S6/PDE
Industrial engine
opm_d12ind_en-GB01
COMMISSIONING REPORT - WARRANTY
there is
the engine.
1 920 785
Advertisement
Table of Contents
Troubleshooting


Need help?
Do you have a question about the DC12 and is the answer not in the manual?
Questions and answers