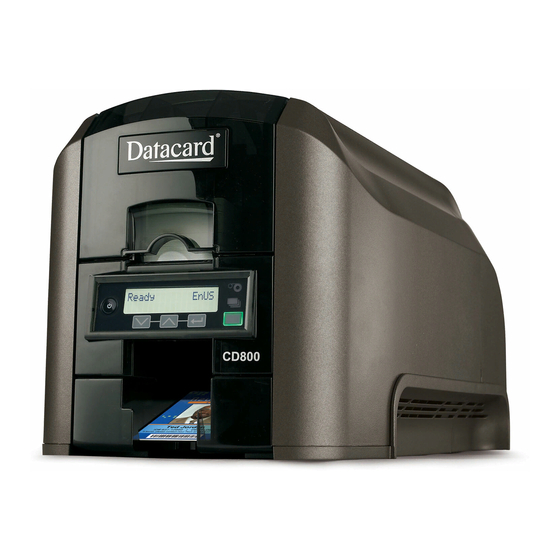
DataCard CD800 Quick Install Manual
Hide thumbs
Also See for CD800:
- User manual (114 pages) ,
- Product manual (19 pages) ,
- Quick install manual (12 pages)
Table of Contents
Advertisement
Advertisement
Table of Contents

Related Manuals for DataCard CD800


Summary of Contents for DataCard CD800
- Page 1 CD800™ Card Printer CLM Laminator Quick Install and Upgrade Guide...
-
Page 2: Before You Begin
• CD800 systems with serial number 20,000 and above. You may need to perform the firmware update twice. The first update allows the printer to communicate with the laminator. The second update upgrades the laminator firmware. - Page 3 CLM Laminator Quick Install and Upgrade Guide 2. Unpack and Secure the Laminator a. Remove the laminator from the shipping carton. The CLM Laminator Quick Install and Upgrade Guide (this guide) is included in the shipping carton. Save the shipping carton and packing materials. They are required if you need to store, move, or return the system for service.
- Page 4 CLM Laminator Quick Install and Upgrade Guide b. Secure the laminator to the mounting surface (optional). Refer to the printer’s Installation and Administrator’s Guide for detailed measurements and instructions. Carefully tip the laminator onto its left side (the side without the access door). Insert the M6 well nuts into the bolt-down openings in the bottom of the laminator.
-
Page 5: Prepare The Printer
The reject card tray must be removed, replaced, or modified to allow the card to enter the CLM laminator. CD800 Printers Without Locks: a. Remove the reject card tray from the printer. Keep the tray in a safe place in case you need to return it to the printer in the future. - Page 6 CLM Laminator Quick Install and Upgrade Guide CD800 Printers with Locks: Do one of the following: a. Remove the reject card tray from the printer. b. If you received a replacement reject card tray without a tray floor, insert the new tray into your printer.
- Page 7 CLM Laminator Quick Install and Upgrade Guide Remove the Interconnect Port Tab Do this only if necessary. The port tab may not be present in some printer models. a. Locate the port tab on the left side of the printer. b.
- Page 8 CLM Laminator Quick Install and Upgrade Guide Remove the Mounting Lock Cover Tab Do this only if necessary. The lock cover tab may not be present in some printer models. To easily determine if the mounting lock cover tab is present, tip the printer onto its side and look the shape of the lock cover opening on the underside of the printer.
- Page 9 CLM Laminator Quick Install and Upgrade Guide Replace the Output Hopper (Optional) Cards printed on a laminating system travel through the laminator and are ejected in the laminator output hopper. You can replace the printer output hopper with a blank insert to give the printer a more finished appearance.
-
Page 10: Install Vent Covers
CLM Laminator Quick Install and Upgrade Guide Install Vent Covers The vent covers are supplied with the laminator to give the printer a finished appearance when it is mounted on the laminator. Install the vent covers on the left and right sides of the printer. -
Page 11: Assemble The Printer And Laminator
CLM Laminator Quick Install and Upgrade Guide 4. Assemble the Printer and Laminator a. Locate the interconnect cable in the cable routing area at the top of the laminator and make sure that it remains accessible. Laminator Front Laminator Interconnect Back Cable b. - Page 12 CLM Laminator Quick Install and Upgrade Guide d. Lift the printer over the laminator and align the pins on the laminator with the holes on the underside of the printer. e. Press down on the printer carefully, but firmly, to position it.
-
Page 13: Connect The Power Cords
CLM Laminator Quick Install and Upgrade Guide 5. Connect the Power Cords a. Connect the printer power cord to the printer and to the power supply. Plug the power supply cord into the power outlet. Front Back b. Connect the laminator power cord to the laminator and to the power supply. - Page 14 CLM Laminator Quick Install and Upgrade Guide 6. Load Laminator Supplies Supplies are ordered separately. Refer to your printer’s Quick Install Guide to load printer supplies. The L1 (green) and L2 (orange) cartridges fit only in their assigned locations inside the laminator. They are not interchangeable.
- Page 15 CLM Laminator Quick Install and Upgrade Guide c. Load the overlay onto the cartridge. Make sure that the overlay spool color matches the cartridge spindle. CLM Laminator...
- Page 16 CLM Laminator Quick Install and Upgrade Guide d. Replace the cartridge in the laminator. e. Remove the L2 (orange) cartridge, if installed, from the laminator. Repeat steps 5c and 5d to load the overlay onto the L2 cartridge. g. Close and lock the laminator access door when finished. CLM Laminator...
-
Page 17: Power On The System
Printer Driver and connect the system to a single PC or to a network. If you are adding the CLM laminator to an existing CD800 printer, the XPS Card Printer Driver must be at version 5.0 or higher to use the laminator features. Download the current driver version at www.datacard.com. -
Page 18: Print A Test Card
CLM Laminator Quick Install and Upgrade Guide 9. Print a Test Card Use the printer’s LCD panel to print a test card. The card tests the L1 and L2 laminators (if L2 is installed), debows the card, and impresses the card if an impresser is installed. -
Page 19: Verify The Test Card
Administrator’s Guide. Warning: This product contains chemicals, including lead, known to the State of California to cause cancer, and birth defects or other reproductive harm. Wash hands after handling. For more information on this warning, refer to www.datacard.com/ califpropwarning. CLM Laminator... - Page 20 1187 Park Place Shakopee, Minnesota 55379 952.933.1223 • 952.933.7971 Fax www.datacard.com/id © 2014, 2015 Entrust Datacard Corporation. March 2015 All rights reserved. 527441-001 Rev C...
Need help?
Do you have a question about the CD800 and is the answer not in the manual?
Questions and answers