Table of Contents
Advertisement
Quick Links
PREFACE
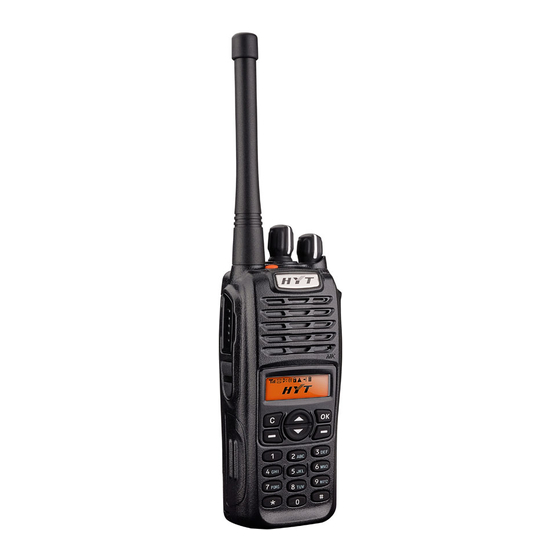
Thank you for purchasing Hytera TC-780 Professional Portable Radio.
This easy-to-use radio will deliver you secure, instant and reliable com-
munications at peak efficiency. Please read this manual carefully before
use. The information presented herein will help you to derive maximum
performance from your radio.
MODELS COVERED IN THIS MANUAL
TC-780 VHF Two-way Radio
TC-780 UHF Two-way Radio
Note: This manual is intended for 5-Tone models only.
Advertisement
Table of Contents


Need help?
Do you have a question about the TC-780 VHF and is the answer not in the manual?
Questions and answers