Sign In
Upload
Download
Table of Contents
Contents
Add to my manuals
Delete from my manuals
Share
URL of this page:
HTML Link:
Bookmark this page
Add
Manual will be automatically added to "My Manuals"
Print this page
×
Bookmark added
×
Added to my manuals
Manuals
Brands
Hytera Manuals
Two-Way Radio
AP51 Series
User manual
Hytera AP51 Series User Manual
Hide thumbs
1
2
Table Of Contents
3
4
5
6
7
8
9
10
11
12
13
14
15
16
17
18
19
20
21
22
23
page
of
23
Go
/
23
Contents
Table of Contents
Troubleshooting
Bookmarks
Table of Contents
Table of Contents
Documentation Information
Packing List
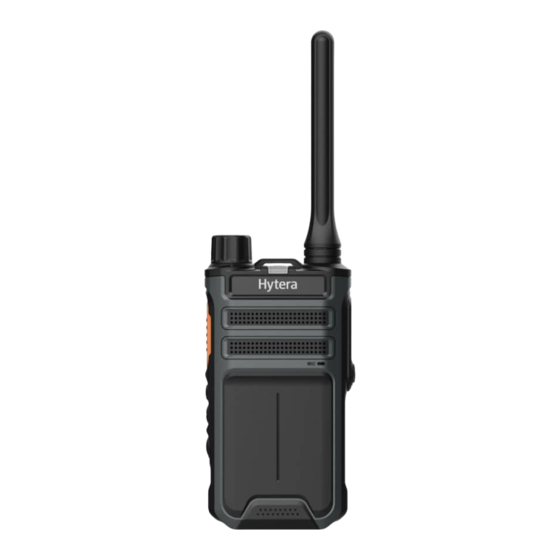
Product Overview
Product Layout
Programmable Keys
Before Use
Charging the Battery
Attaching the Belt Clip
Attaching the Battery
Attaching the Antenna
Attaching the Audio Accessory
Checking the Battery Power
Basic Operations
Turning on or off the Radio
Adjusting the Volume
Selecting a Zone
Selecting a Channel
Call on Analog Channel (Without Signaling)
LED Indicator
Supplementary Features
Vox
Power Level
Scan
Squelch Level
Scrambler
Monitor
Squelch off
Troubleshooting
Care and Cleaning
Product Care
Product Cleaning
Optional Accessories
Abbreviations
Advertisement
Quick Links
1
Table of Contents
2
Programmable Keys
3
Product Overview
4
Selecting a Zone
5
Basic Operations
Download this manual
AP51X Two-way Radio
User Manual
Hytera Communications Corporation Limited
Table of
Contents
Previous
Page
Next
Page
1
2
3
4
5
Advertisement
Table of Contents
Need help?
Do you have a question about the AP51 Series and is the answer not in the manual?
Ask a question
Questions and answers
Related Manuals for Hytera AP51 Series
Two-Way Radio Hytera AP58X User Manual
(25 pages)
Two-Way Radio Hytera AP51X User Manual
Two-way radio (23 pages)
Two-Way Radio Hytera AP58 Series User Manual
(25 pages)
Two-Way Radio Hytera AP585 User Manual
(25 pages)
Two-Way Radio Hytera AP588 User Manual
(25 pages)
Two-Way Radio Hytera AP515 User Manual
(23 pages)
Two-Way Radio Hytera AP516 User Manual
(23 pages)
Two-Way Radio Hytera AP518 User Manual
(23 pages)
Two-Way Radio Hytera AP515LF User Manual
(23 pages)
Two-Way Radio Hytera AP32 Series User Manual
(21 pages)
Two-Way Radio Hytera AP325 User Manual
(21 pages)
Two-Way Radio Hytera AP589EG Service Manual
(60 pages)
Two-Way Radio Hytera AP519EG Service Manual
(58 pages)
Two-Way Radio Hytera X1e User Manual
Hytera x1e two-way radio user manual (28 pages)
Two-Way Radio Hytera DMR Owner's Manual
Portable radio (59 pages)
Two-Way Radio Hytera TC-320 User Manual
(446mhz) two-way radio (24 pages)
This manual is also suitable for:
Ap512
Ap515
Ap516
Ap518
Ap515lf
Table of Contents
Print
Rename the bookmark
Delete bookmark?
Delete from my manuals?
Login
Sign In
OR
Sign in with Facebook
Sign in with Google
Upload manual
Upload from disk
Upload from URL


Need help?
Do you have a question about the AP51 Series and is the answer not in the manual?
Questions and answers