
Subscribe to Our Youtube Channel
Related Manuals for Equinox Systems Fusion 50


Summary of Contents for Equinox Systems Fusion 50
-
Page 1: Table Of Contents
Equinox Fusion 50 Contents Safety Instructions Features & Specifications How To Set The Unit How To Control The Unit Troubleshooting Fixture Cleaning User Manual... -
Page 2: Safety Instructions
1. Safety Instruction Warning Ÿ To prevent or reduce the risk of electrical shock or fire, do not expose the unit to rain or moisture. Please read the instructions carefully as they include important Do not open the unit within five minutes after switching off. information about installation, usage and maintenance. -
Page 3: How To Set The Unit
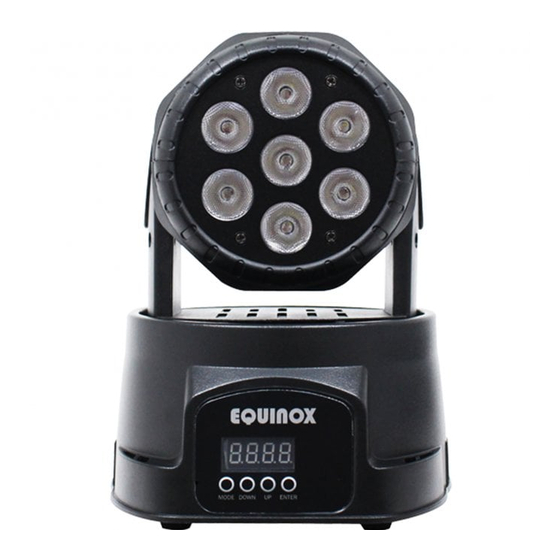
3. How To Set The Unit The main functions are as below: 3.1 Control panel ADDR 001-512 SLND MAST SHND Display SOUN Shows the various menus and selected functions Button SENS 000-255 MENU Selects the programming functions BLND DOWN To go backward in the selected functions Menu To go forward in the selected functions ENTER... - Page 4 from 1-255. Once the address has been selected, press the ENTER button Sound Sensitivity to confirm. To go back to the functions without any changes press the MENU button again. Press and hold the MENU button for one second or Press the MENU and use UP and DOWN button to select and select wait for one minute to go back to the main menu.
-
Page 5: How To Control The Unit
button to confirm. To go back to the functions without any changes press menu. the MENU button again. Press and hold the MENU button for one second or wait for one minute to go back to the main menu. Auto-Test Press the MENU button to select . - Page 6 2-light show 248-255 Open In slave mode, Slave 1 means the unit works normally and Slave 2 240-247 Random Strobe means 2-light show. In order to create a great light show, you can set 232-239 Open Slave 2 on the second unit to get contrast movement to each other, even Slow close 190-231 if you have two units only.
-
Page 7: Troubleshooting
1. In the last unit, the DMX has to be terminated with a termination plug. Solder a 120 ohm 1/4W resistor between pin 2(DMX-) and pin 6. Fixture Cleaning 3(DMX+) into a 3-pin XLR-plug and plug it in the DMX-output of the The cleaning of external optical lenses must be carried out periodically to last unit.
Need help?
Do you have a question about the Fusion 50 and is the answer not in the manual?
Questions and answers