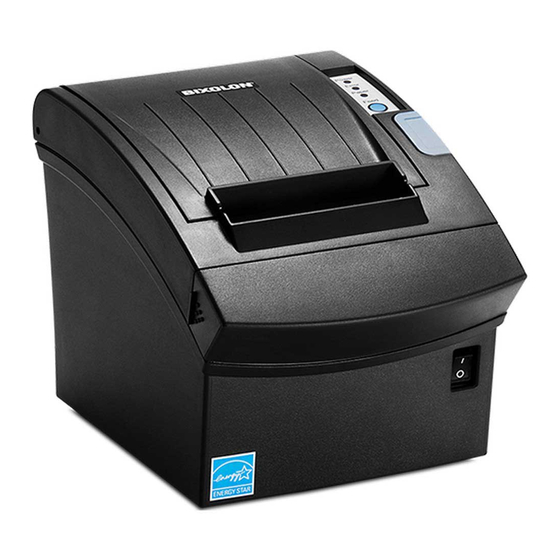
BIXOLON SRP-350III User Manual
Hide thumbs
Also See for SRP-350III:
- User manual ,
- Command manual (121 pages) ,
- Installation manual (8 pages)
Advertisement
Advertisement
Table of Contents

Related Manuals for BIXOLON SRP-350III


Summary of Contents for BIXOLON SRP-350III
- Page 1 User Manual Network Interface SRP-350Ill SRP-352Ill SRP-350IIOBE Thermal Printer...
-
Page 2: Table Of Contents
Network Interface ■ Table of Contents 1. Manual Information ......................3 2. Specifications......................... 3 2-1 Hardware version ..................... 3 2-2 Configuration Tool ....................3 3. How to install ........................4 4. Ethernet Test by using Windows Test Page ..............5 5. -
Page 3: Manual Information
2-1 Hardware version Printer Interface Card Picture SRP-350III IFJ-E TYPE SRP-352III SRP-350IIOBE OnBoard 2-2 Configuration Tool BIXOLON provides 2 types of network and serial communication set up utilities as a below. - Configure_Vx.x.x.exe - Web Server Rev.1.00 - 3 -... -
Page 4: How To Install
3. How to install 1) Check the interface version. [Note] Each version uses its own Configuration Tool. 2) Turn of the printer and insert the interface card. Interface Card Printer SRP-350III IFJ-E TYPE SRP-352III OnBoard SRP-350IIOBE Rev.1.00 - 4 -... -
Page 5: Ethernet Test By Using Windows Test Page
Network Interface 4. Ethernet Test by using Windows Test Page You can use the Windows printer driver as shown below when there is no test program. Operating systems that allow you to use the Windows printer driver are Windows 2000, XP, 2003 Server, VISTA, 2008 Server, 7. - Page 6 Network Interface 4) Select the “Ports” tab from the “Properties” window. 5) Click “Add Port…” Rev.1.00 - 6 -...
- Page 7 Network Interface 6) Select “Standard TCP/IP Port” and click “New Port...” 7) Click the [Next] button in the “Add Standard TCP/IP Printer Port Wizard” window. 8) Enter the IP address assigned to the printer in the “Printer Name or IP Address” field in the “Add Port”...
- Page 8 Network Interface 9) Click the [Next] button in the “Additional Port Information Required” window. [Note] - Click the [Next] button to proceed without any changes. 10) Click the [Finish] button at the “Completing the Add Standard TCP/IP Printer Port Wizard” window. 11) Click the “Cancel”...
- Page 9 Network Interface 12) Click the “Configure Port...” button in the “Properties” window. 13) Enter the same number as the local port number set during the installation of the interface card in the “Port Number” field in the Raw Settings. [Note] - Do not change any other items except the RAW Settings.
- Page 10 Network Interface 14) Click [OK] when you finish entering the required values, and then click the [Apply] button. 15) Select the “General” tab in the Properties window, and then select the “Print Test Page” to check the printing status. Rev.1.00 - 10 -...
-
Page 11: Factory Reset
Network Interface 5. Factory Reset Default setting after factory reset - Activate DHCP mode - Local Port: 9100 - Inactivity Time: 0 2) How to reset (1) Turn off the printer. (2) Turn on the printer while pressing Function Key . [Note] - Press Function key 3 more seconds after turning on the printer. -
Page 12: Function Key Set Up
1) How to use (1) Turn on the printer. (2) Wait 10 or more seconds until the Ethernet interface boots up. (3) Push the Function key. - Printer : SRP-350III, SRP-352III Function Key - Printer : SRP-350IIOBE Function Key (4) The settings will be printed only one time since the printer is turned on. -
Page 13: Troubleshooting
Network Interface 7. Troubleshooting When printing doesn’t work Check network setting When using Ethernet IP Address Check whether the IP Address band of the printer rand the AP (or wireless terminals) are the same. The first three digits of the four digit value in the IP Address must be the same. -
Page 14: [Appendix 1] Details Of Interface Card
Network Interface When you see “Request timed out.” as shown below, it means that there is no collision. The corresponding IP can be used. On the other hand, if there is a reply as shown below, then the corresponding IP is used by another network terminal and it cannot be used for the printer IP.
Need help?
Do you have a question about the SRP-350III and is the answer not in the manual?
Questions and answers