Table of Contents
Advertisement
Advertisement
Table of Contents

Related Manuals for Audio Technica AT-PL120


Summary of Contents for Audio Technica AT-PL120
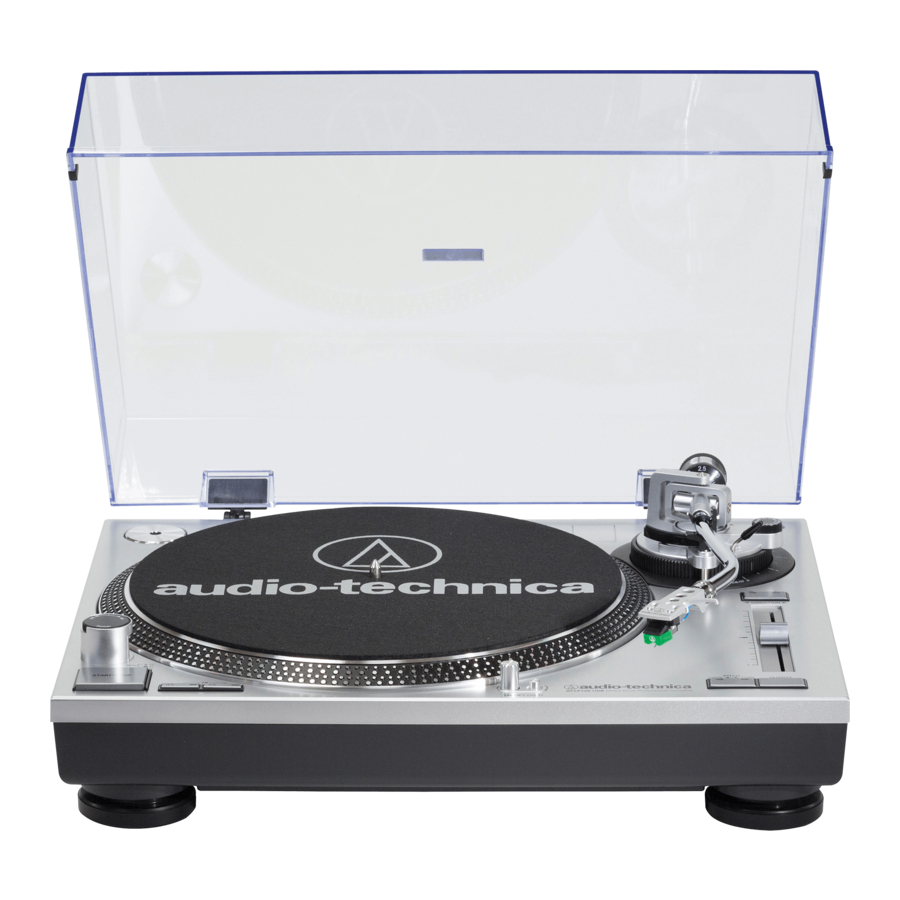
- Page 1 Direct Drive Professional Stereo Turntable AT-PL120 Installation and Operation...
- Page 2 Installation and Operation Thank you for purchasing the AT-PL120. Audio-Technica has been a leading manufacturer of innovative stereo phonograph products for more than 40 years. We are pleased to provide this turntable, with its excellent performance and many convenient features, for your enjoyment.
-
Page 3: Main Features
(Access through holes in platter) Selects operating voltage (115V or 230V AC, 50/60 Hz). 18. PRE-AMP SELECTOR SWITCH (Access through holes in platter) Allows the internal stereo phono pre-amp to be bypassed when the turntable is used with equipment having magnetic phono inputs. - Page 4 (Hidden under counterweight in drawing) Locks the tone arm height setting. (Always fully unlock before attempting to make a height adjustment.) Figure 3 Rear View of Turntable 30. PITCH OUTPUT (RCA jack) Provides a 2.5V square wave variable pitch output signal...
-
Page 5: Initial Setup
WE RECOMMEND THAT YOU SAVE ALL PACKAGING MATERIALS FOR POSSIBLE FUTURE STORAGE, MOVING OR SHIPPING. Assembling the Turntable The AT-PL120 requires some assembly before first use. IMPORTANT: Do not connect the AC power cord until assembly is complete. Setting the Voltage Selector Switch This turntable has the capability to be used with either 115V or 230V AC power, 50/60 Hz. - Page 6 CD players and other external devices. Finally, after all other connections are made, attach the included AC power cord to the turntable; note that the small connector only goes in one way. Then connect the power cord’s plug to a convenient AC outlet.
-
Page 7: Operation
For best results, do not install or operate this unit near conditions of heat, moisture, dust, or heavy vibrations. (Note: Bright fluorescent lights may affect the visibility of the speed-indicating strobe dots. If this is a problem, simply cover the area with your hand, an album cover, etc.) Preparing to Play Remove the stylus guard from the stylus assembly and unlock the tone arm rest if it is locked. -
Page 8: Replacing The Stylus
Replacing the Stylus The AT-PL120 comes supplied with a high-quality Audio-Technica ATP-2 cartridge. The stylus should be replaced with a genuine Audio-Technica ATP-N2 stylus. Release the headshell assembly from the tone arm by turning the locking ring clockwise. Carefully remove the headshell assembly and turn it over so the stylus is visible. -
Page 9: Troubleshooting
• Do not touch the stylus tip with your fingers; avoid bumping the stylus on the turntable mat or a record’s edge. • Clean the stylus tip frequently, using a soft brush and a back-to-front motion. -
Page 10: Specifications
Turntable Specifications Type 3-Speed, fully manual operation Motor DC motor Drive Method Direct drive Speeds 33-1/3 RPM, 45 RPM, 78 RPM Pitch Variation +/- 10% or +/- 20% Turntable Platter Die-cast aluminum Starting Torque >1.6 kgm-cm Braking System Electronic brake Wow and Flutter <... - Page 11 One-Year Limited Warranty Audio-Technica brand products purchased in the U.S.A. are warranted for one year from date of purchase by Audio-Technica U.S., Inc. ( A. T .U.S.) to be free of defects in materials and workmanship. In event of such defect, product will be repaired promptly without charge or, at our option, replaced with a new product of equal or superior value if delivered to A.
Need help?
Do you have a question about the AT-PL120 and is the answer not in the manual?
Questions and answers